I’ve done a bit of searching and, although finding some projects that involved bending veneer, there wasn’t a lot of guidance. Despite many years of classic woodworking, veneer is one of the areas I never got into and so I could use a bit of advice.
I’ve got a project where I’d like to basically wrap the outside of a box with some veneer. Since I’ve got a sheet of proofgrade maple veneer from my sample box, I figured I’d start with it. I’ve got a box with rounded corners (I went with 1/2" rounds since it seemed like the internet thought that was relatively easily managed) and I’ve cut the veneer to the right size to go around the box.
So now what?
I’m assuming that either a bit of water on the surface of the veneer or some steam will help make it more pliable. And that since it is adhesive backed, just applying with pressure is all that is needed (no heat/iron/etc.). But if anyone has done this and has advice, I’m all ears - otherwise I’ll just make a couple of tries at it and report back…
I’m replying just to follow! I have used and love the 3M backed veneers but noticed right away that as they come they will bend very little before cracking.
I hope you or someone comes up with a good way to do this as it would expand their usefulness quite a bit.
I tried a forum search, didn’t turn up much other than these:
A “living hinge” type of cut on the corners would probably help you get it around the tight spots. I have no idea what wetting / steaming would do to the backing!
Your searching was more successful than mine! Although there isn’t much in there, the tip of using a hair dryer mentioned in the flask link seems like it might come in handy - heat with no moisture is another option to try…
My guess would the that the adhesive layer is (at the micro scale) pretty rigid/incompressible, so that the change in length around a curve all happens to the wood. Maybe heat and pressure as in an iron? And/0r (if you are sure it will come off afterwards) some packing tape for compression? That sometimes works for conventional bending.
Evening (for me) update: I gave it go tonight to see what I could do.
Bending without doing anything to the wood felt like it would crack - I didn’t push it to the breaking point since I didn’t want to cut another piece if I didn’t have to.
Since the proofgrade veneer is pre-finished, water wasn’t going to be any help. I suspect a bit of water might help if I was using raw wood.
I had a modelling iron so I used it on medium heat instead of a real iron or hair dryer (although I expect either would have the same effect) - gently warming the wood definitely made it more flexible and made it easier to bend around the curve. The end result here was pretty good and I’d definitely consider it a success.
As a final note, I bent it around a 1/2" radius curve. I suspect it could go tighter, but it would be challenging. For my real project I might ease it up a bit more, I haven’t decided.
I’ll post pictures in the next few days - I’m putting some finish on the box to make it a full test of my eventual project…
The bottle wrap was mine, and the living hinge with the hair dryer was definitely a breeze. I think geek2nurse’s idea here
Would actually be really good, if that were the look you were going for, that is. Another option I could think of would be just cutting it into four segments and using the heat to mold it, that way you have a controlled “break” point.
Sounds like you got it figured out, though, so good work on that! Can’t wait to see the pictures
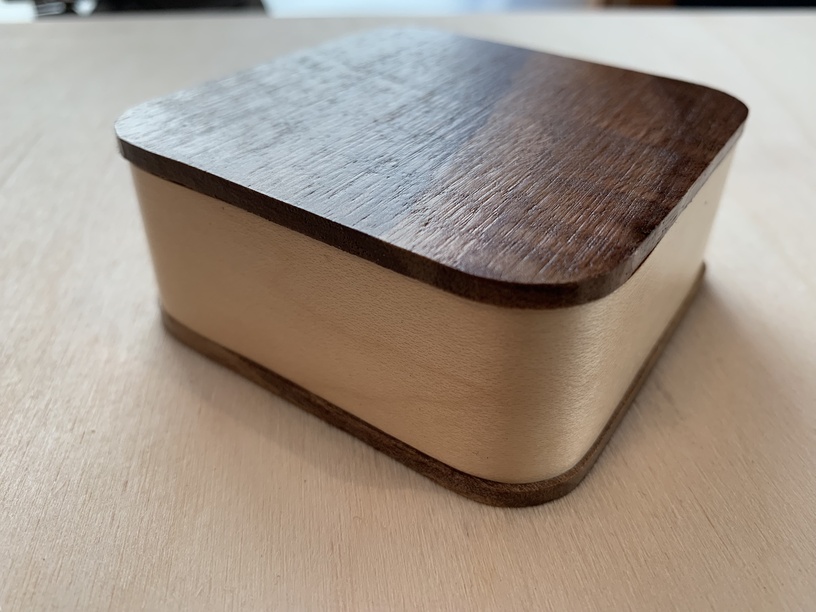
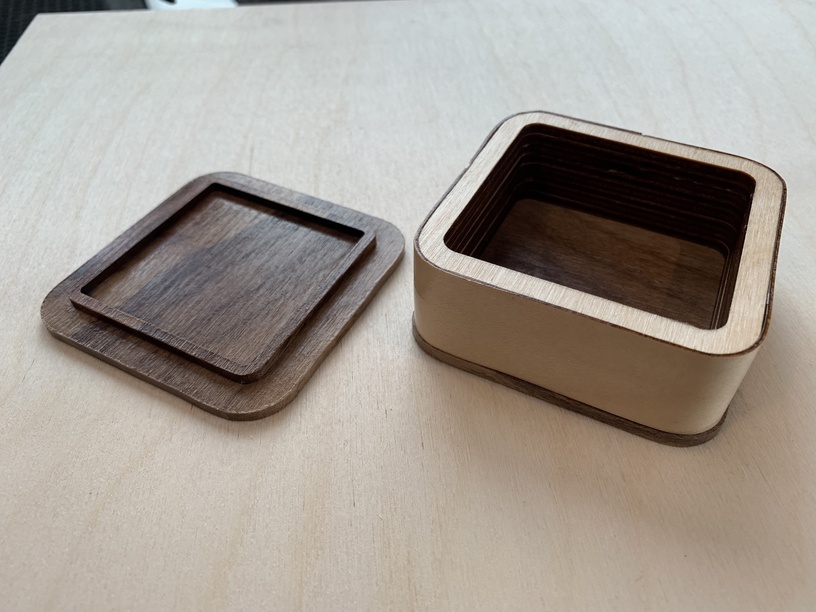
As promised, here are some pictures of the result. This was pretty quickly done with only minimal processing. The basic setup is that the base and lid are from walnut hardwood, the frame of the box is done with layers (8) of baltic birch plywood, and then wrapped with the proofgrade maple veneer. Size is 3" x 3" x 1". Finished relatively quickly with a few layers of spray shellac.
Overall pretty happy with how this worked out and will definitely do it again!
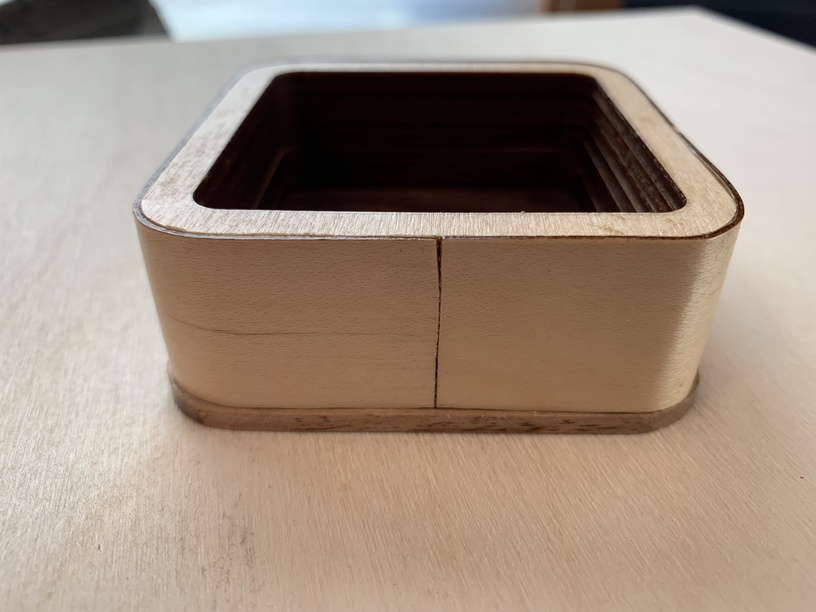
That is basically what I tried to do - from what I can tell, the technique in classic woodworking is to overlap the seam, cut through both layers (thus matching the two ends) and then getting rid of the extra pieces and laying it flat. I suspect with some practice that I could get good at it…
I did consider just trusting the length that Fusion 360 said it should be but I wasn’t sure if it was going to be right - I suspect it would have been close…
Do you know about K factor? If you are using the sheet metal tool and have the K factor set right, then yes, it should be very close.
Not knowing how you got to where you got I have no idea. Nice box though!
I’m aware of it, but not the details. I figure, though, that getting it set right would take experimentation and, well, this wasn’t a real project but just a test project all around… I’ll do some research and see what I can do for my real project…
This is 100% correct. The k factors of steel and aluminum alloys are well known but woods and plastics will be a guessing game. Lacking all data .5 is a good starting point.