First and foremost, this is not an official guide from Glowforge, nor is it condoned by them to do this repair yourself. I can’t help diagnose whether this is your problem or not, so I’d suggest going through the proper channels and having the professionals let you know. This can quite possibly void any warranty that you have, so please do not attempt this repair unless it’s your last option. With all of that out of the way, if this is your issue, it can possibly save you hundreds in repairs and shipping, so it is certainly worth attempting if you’re confident it’s something you can do. I had requested the part and Glowforge was able to source it for me, but this is not a guarantee that they will be able to do the same for you.
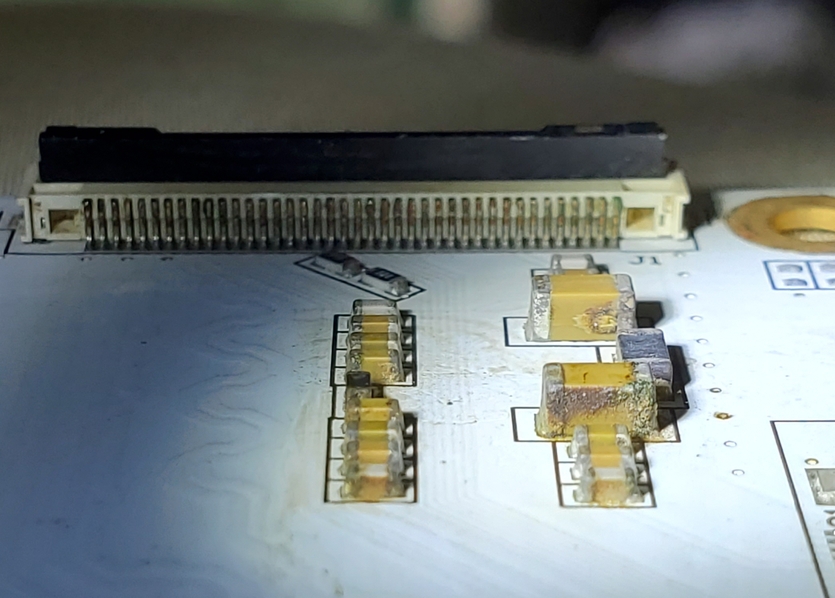
Alright, so here’s an example of what mine looked like:
Obviously mine was in need of repair, so with very little to lose, I went ahead and taught myself. What you need to know about this repair is that there are only 5 screws necessary to remove to replace this part. There is a single white ribbon cable that runs to this board that has a double sided adhesive attaching it to the frame of the machine. There are only a few tools you’ll need for this job:
- A T10 torx screwdriver
- An H2 hex tool
- Some have mentioned using a sanded/grinded down paint can opener for the tabs, which will I’ll link to the thread shortly.
- A hair dryer (not to be confused with a heat gun, please do not use a heat gun…)
The most difficult part of this repair will be removing the glass panel, a fairly easy guide on how to do this is found here.
As mentioned in that above guide, 100% unplug your machine before doing anything. This will help prevent any possible electrical damage while working with these parts. The guide linked above is on how to remove your exhaust fan, which is helpful if that’s what you’re looking to do, but as we’ll be working on the opposite side of the machine, be sure to follow the steps but for the right side of the machine. You will not need to remove both panels, it is only necessary to do so on the right side.
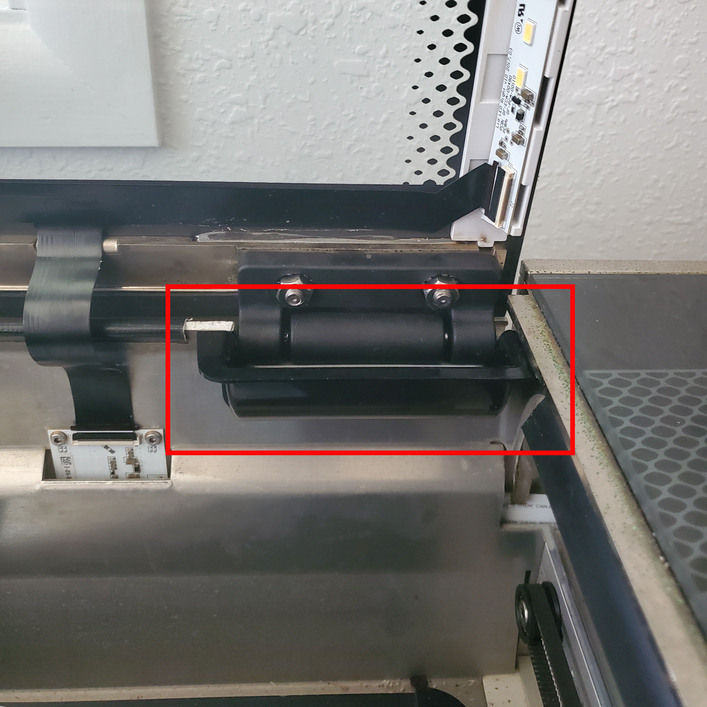
The first three screws that are mentioned are hidden underneath the rubber flap, go ahead and lift that up to access them. One in the front, two towards the back. I found removing the plastic hinge protector helpful, this guy here:
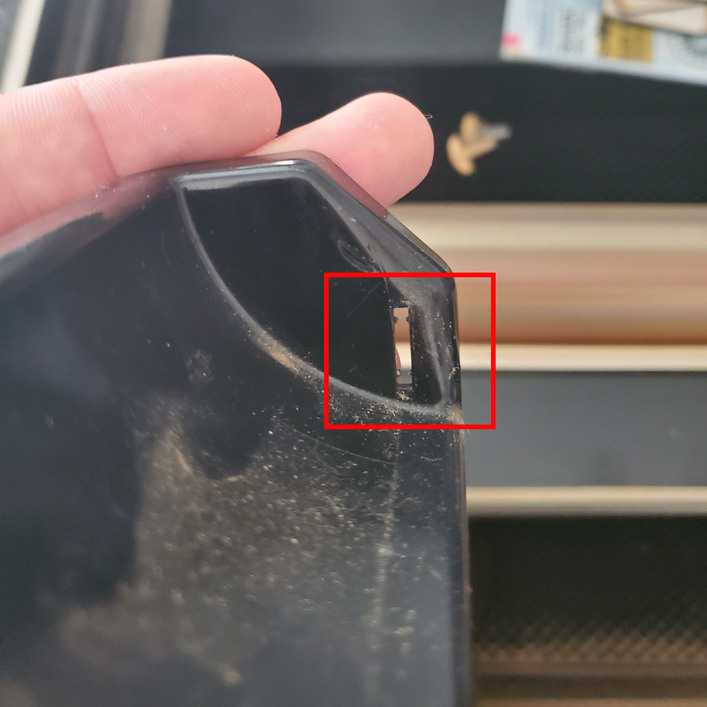
If you press the inside of this plastic piece to the left and then down, one side will release fairly easily, and it’s simple enough to wriggle the other side out. If you look closely, it’s held in place by a metal extrusion that’s inserted into the plastic. This is why pushing to the left and down “releases” it.
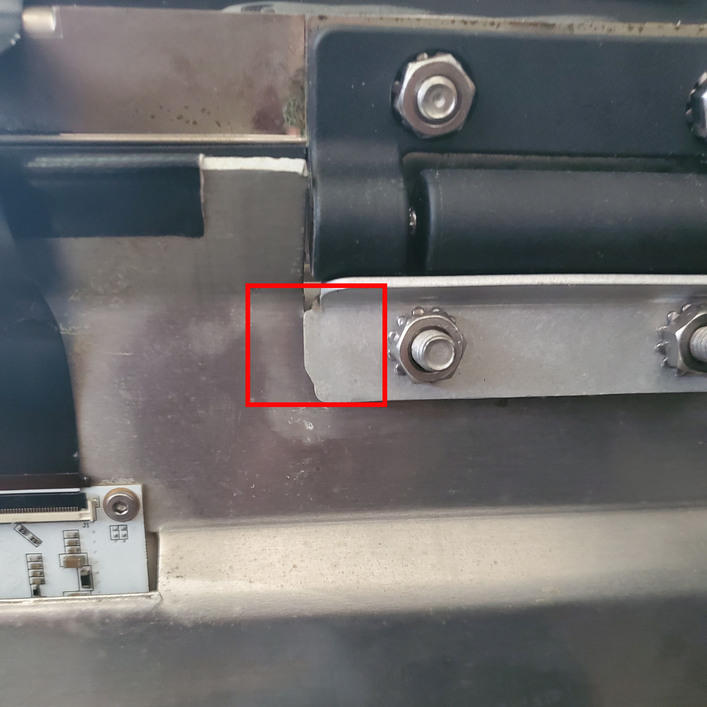
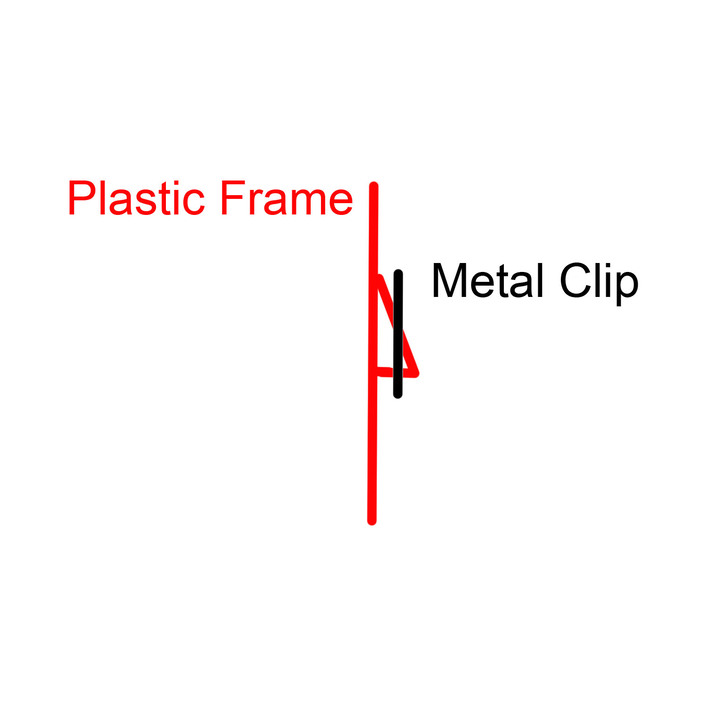
Okay, where I mentioned the paint can opener, that is in replacing the the hex tool to pop the clips holding the panel in place. They’re quite rigid, so using something that is also rigid is helpful. This is going to be the most difficult part of the entire repair, so be patient with it, because everything is downhill from this point. I found that this image was a tad confusing, but it’s the clip that holds the panel in place. The circular opening is what is hidden underneath the aluminum tape, and this is where you would slide your tool into to wedge between the clip and the casing to release the clip.

There’s a type of plastic ledge built into the casing of the machine that grabs onto this clip, I’ve drawn a simple diagram to show what it looks like from the side.
Once you get the hang of it, you’ll pop all three of those clips and be on your way. The biggest difference between the right panel and the left panel is the go button for the machine is attached to the right panel, so unless you unscrew the button, you won’t be able to completely remove the panel. It isn’t necessary at all to entirely remove the panel, though, so unless it makes you feel more comfortable, I don’t advise doing so.
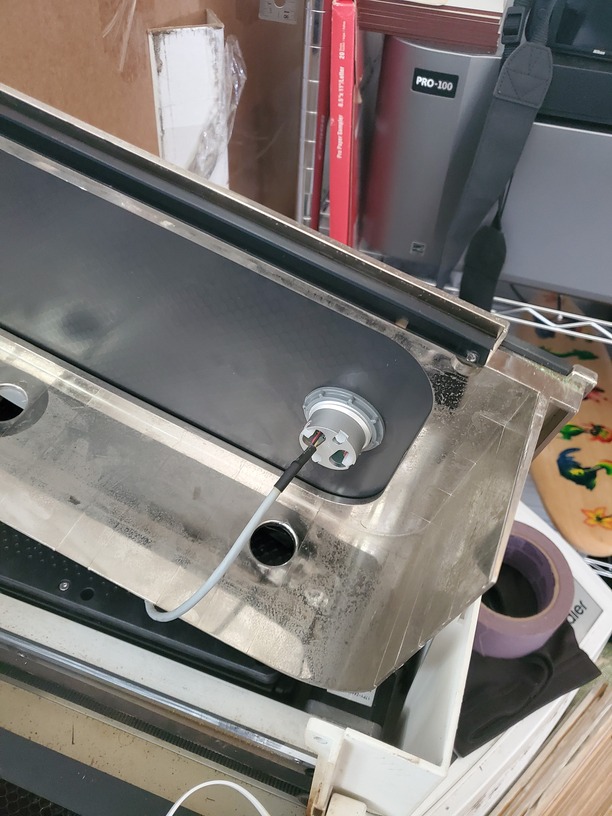
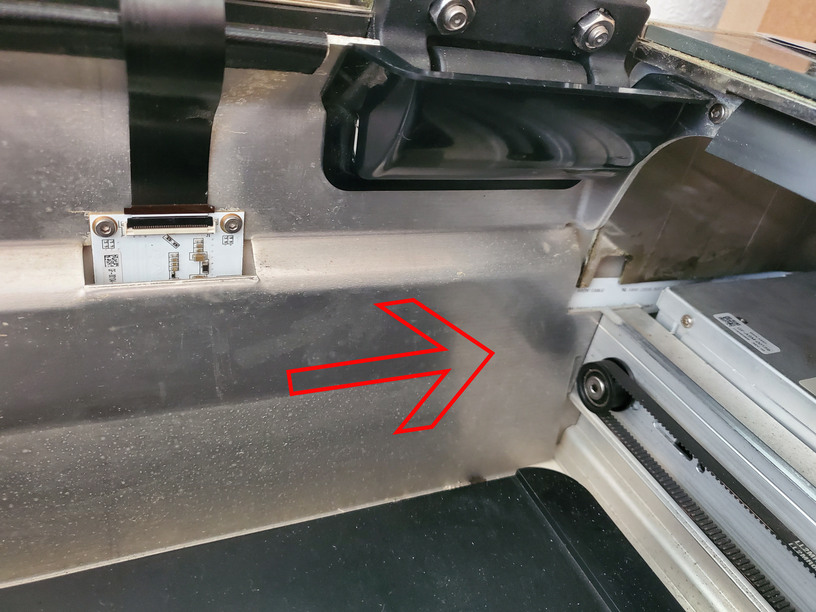
The cable is quite long, so it’s possible to set aside the panel, just take care not to rough it up too much. You have a couple of options at this point. You can choose to remove the black cover that protects the connections and main board of which the white cable running from your bad circuit board connects to, or you can forgo that. This is, again, a matter of being comfortable. If you do remove the black plate, you can remove the white cable from the board which gives you a little more wiggle room when replacing your broken part. Whether you choose to remove the plate or not, the white ribbon cable that runs behind the power supply, and into your damaged board, will be important to have access to. As mentioned at the top of this guide, this cable is attached to the frame with some double sided tape. It will be stuck towards the back of the machine, roughly in this area:
This is where the hair dryer comes in handy. If you use the high heat and low air to blast this section, the adhesive will soften enough that it will let go of the cable. I recommend doing a sort of sweeping motion over the area, rather than a consistent burst, the cable itself has a plastic coating, so you do not want to melt this cable by accident. Gently pull on it while heating it up until it pulls away from the machine. Once you’ve got it off of the adhesive, we move on to the next step.
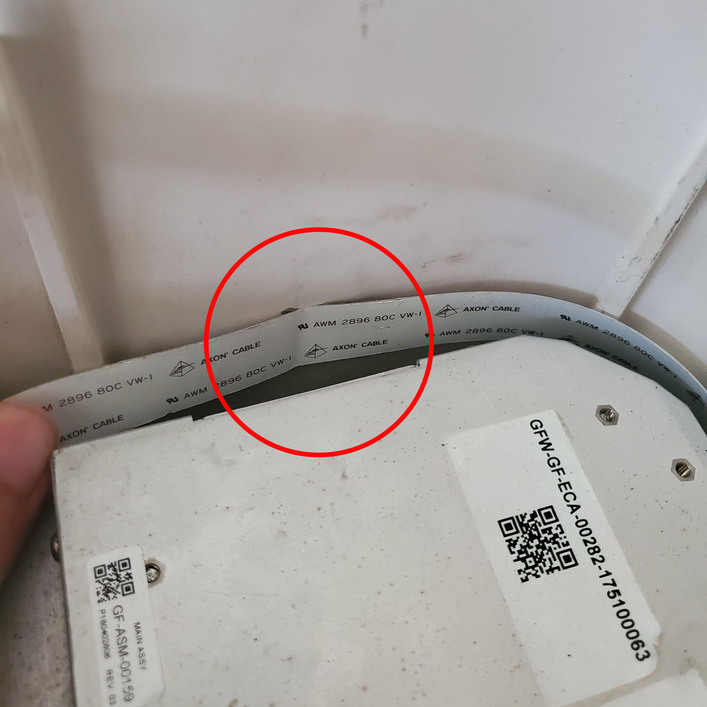
At this point you’ll want to remove the black ribbon cable from the board. There is a black clip that holds the cable in place on this circuit board, it’s easy enough to open the black clip holding the cable in place, just insert a fingernail between the clip and the cable, and pull down and forward on it. Here an image of what it should look like after being opened
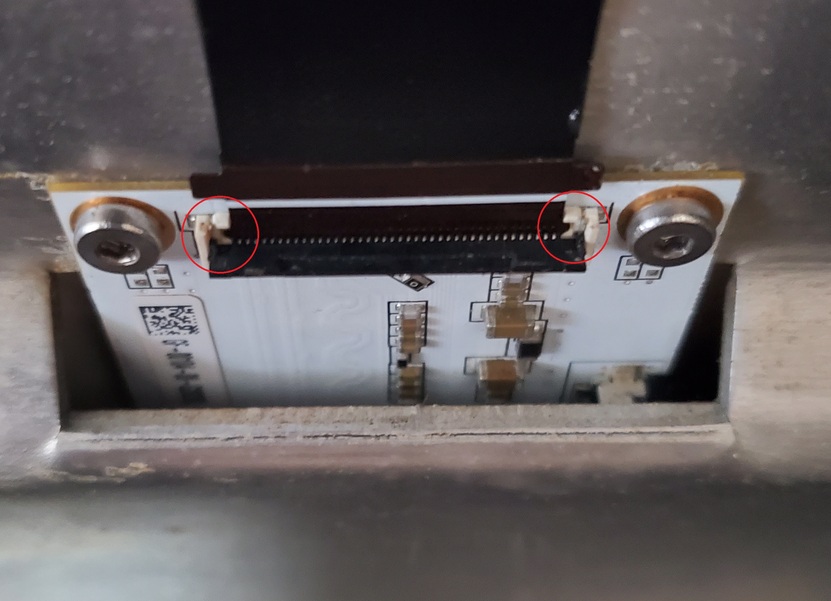
This also has a bit of adhesive sticking it to the machine, so once again, you’ll want to gently pull on it while warming it up. The cable sits in a sort of pocket, so pull it towards you and up, and it will come out. When you eventually go to put the cable back in, just be aware of it needing to go back into that “pocket”. I’ve circled in red where you’ll want to pay attention to. Onto removing the board itself.
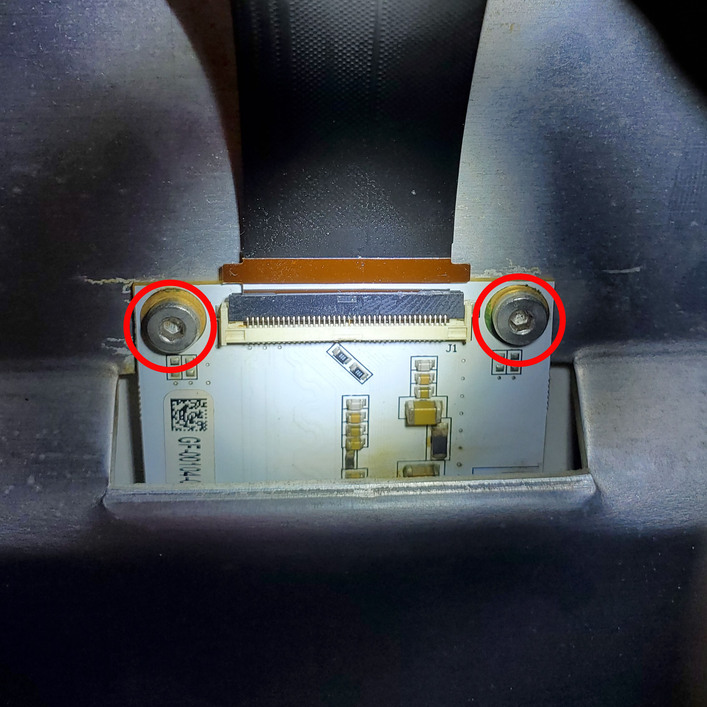
There are two screws holding the tiny board in. Whatever you do, do not drop these screws ![]() This is a picture of my old board when I did my repair months ago, so ignore how bad it looks
This is a picture of my old board when I did my repair months ago, so ignore how bad it looks
Mine was sort of stuck to the machine, so I had to pry it off a little, and since it was damaged, I wasn’t too worried about hurting anything. Once it is free, it should freely drop a little. Grab the white ribbon cable that you unglued earlier, and gently pull it to the right. This will bring circuit board out from behind the frame of the machine.
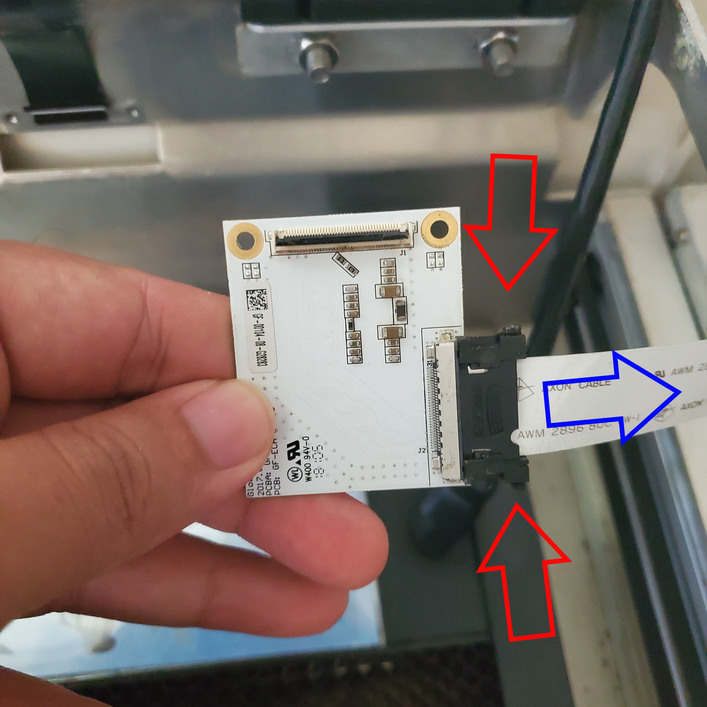
Undo the white cable by pressing down on its sides and pulling it away, and plug it into your replacement.
Slide this new part back into place, and plug your black ribbon cable back in. Before putting everything back together, I would suggest turning the machine on and seeing if it runs through the regular startup process normally. Just be sure that nothing will stop the laser tube from moving freely when doing all of this. I put some tape over the ledges that hold the clips in for easier access if I need to remove the panel again in the future, and since the screws hold it in place, it’s not like the machine is any less structurally sound. That’s about it for this guide, feel free to message me with any questions you may have about this, and I’ll gladly answer them!
