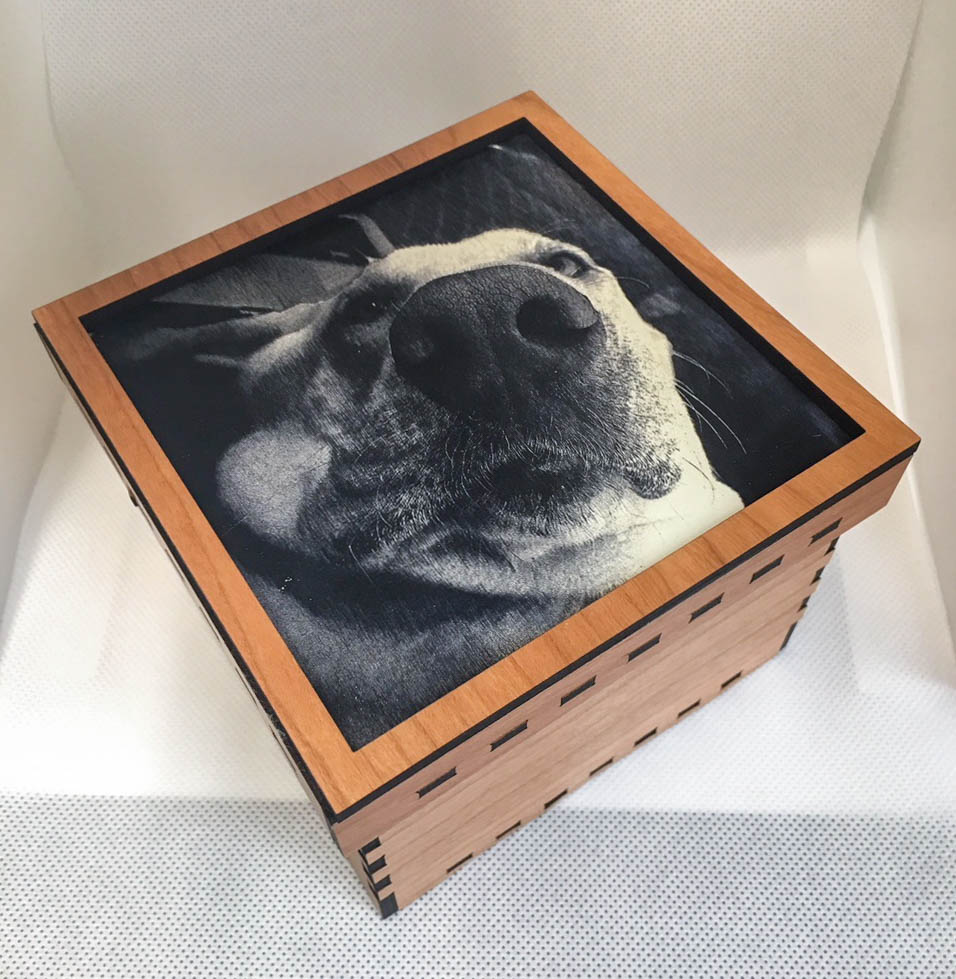
Here’s the SVG for the laser tile lid box I showed in made on a glowforge. You should double check the dimensions of your tile, this is a pretty snug fit to the tile i printed on, but it fit. The inner dimensions of the lid are set up to 109mm square x 8mm tall.
here’s the link to my final settings for a different image in the laser tile thread. i think i used the same settings for this one as well (not at my home computer to check), but if not, it was very very close.
keep in mind that every photo is a little different. this picture and the one in the link above had a lot of contrast and dark areas, so ymmv depending on the image you’re starting with. i did a lot of photoshop work on both of them before burning as well.
you can see other people’s settings in that thread as well.
the six pieces on the left are the lid. four sides and the base which has the fingers to join into the sides. the top left piece is simply flush mounted to the top and glued after the laser tile is inserted and glued.
the six pieces on the right are the bottom. Well, the five pieces. I accidentally left that top right corner object, which isn’t necessary. Four sides and a finger-jointed base.
I cut this out this afternoon and inserted a laser tile of the twins. We’ll use the box in their nursery for nail clippers, nose cleaners and stuff like that.
It’s a great design, but I did find the bottom section to be a very tight fit with the side pieces, but I finally got them inserted by tapping, tapping tapping (and many more times) with a hammer.
it’s definitely a snug fit. very much a friction fit, no glue necessary.
keep in mind that even PG isn’t necessarily the exact same thickness every sheet, so there could be minor variations that could make things either tighter or looser. when doing finger joints, i often chop out a pair of joints and/or a tab and slot and cut just a set to test fitness before creating the whole piece.
 LaserTileBox.zip (6.1 KB)

