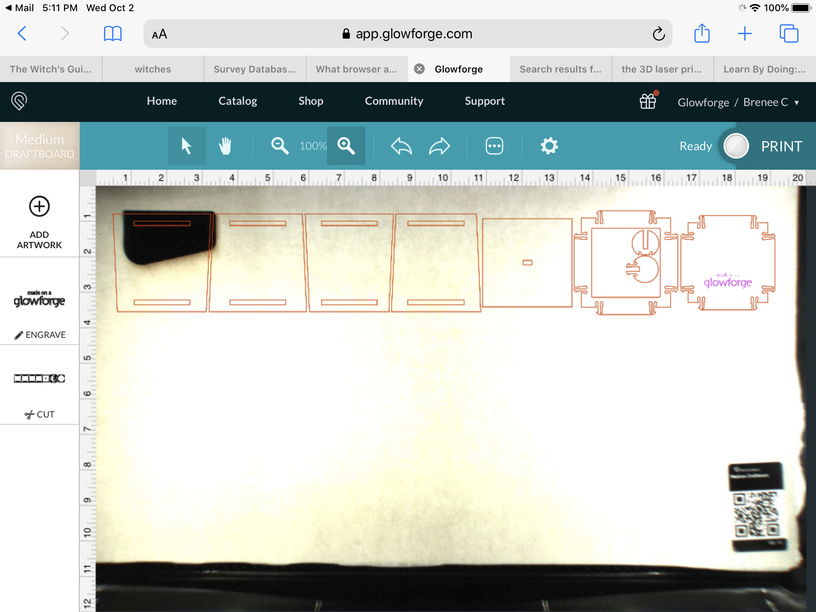
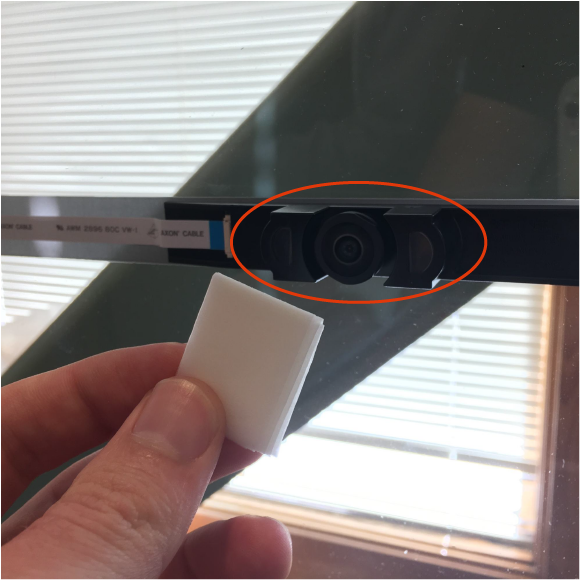
Your camera image doesn’t look excessively blurry to me out at the edges…because of the fisheye effect of the lid camera lens the outer reaches are always a little blurred looking.
Sometimes the QR code sticker gets stuck slightly out of range (they do that to keep people from having to remove the sticker if they do a large engrave, but it does make them hard to read sometimes).
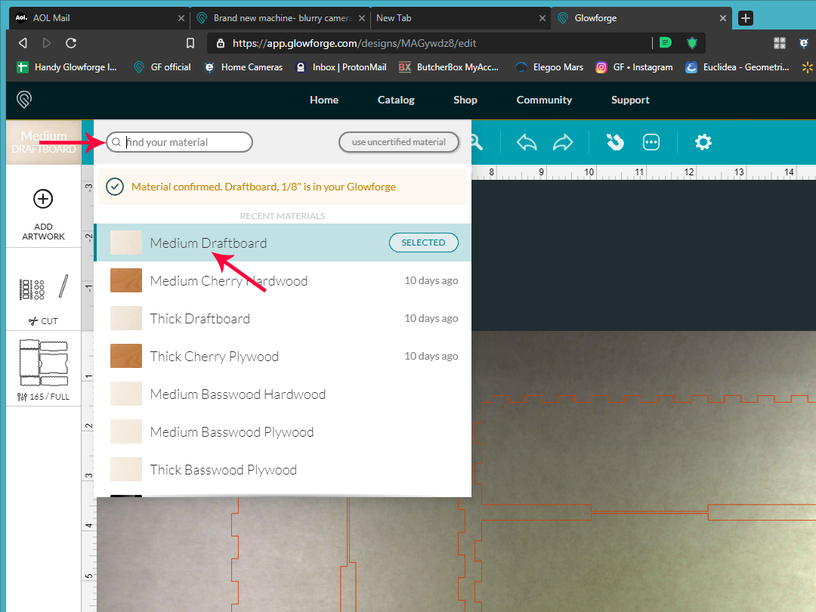
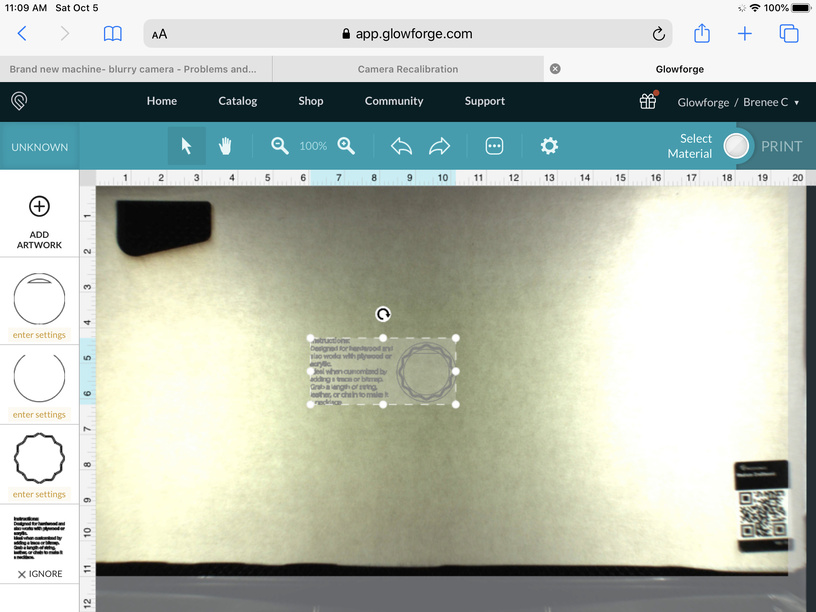
If you click on the name of the material, or the words Unknown Material, over the top of the left thumbnail column you can enter the correct material just by clicking on it. If you need to search for one, just type Medium Draftboard or Thick Walnut in the little magnifying glass search area.
Your image doesn’t appear to be far from the norm. While these are pre-release early units, they are representative of what to expect.
More important are you able to place designs accurately?
Not reading a QRC can be an indication of a problem with the machine or as @Jules pointed out, depending on circumstances and materials. I had to get a machine swapped out because it was very blurry, no QRC detection and the design placement was way out of specs, more than the 1/4".
Thank you for responding! Ok, I was worried that the camera should be very clear since it’s new, and it’s blurriness would give me a blurry engrave, or that it would never read a code. I did put in the material manually, and that worked fine. Thanks for the screen shots, that helps since I’m so new!
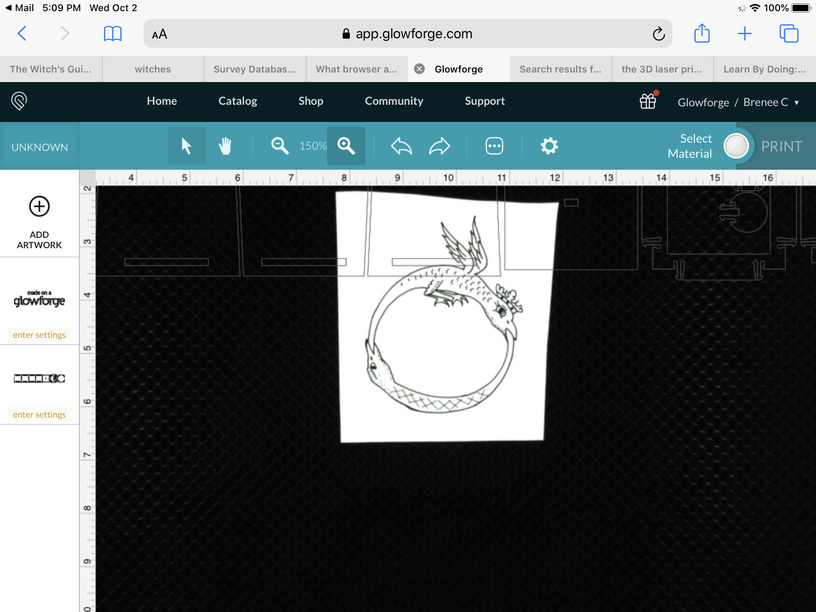
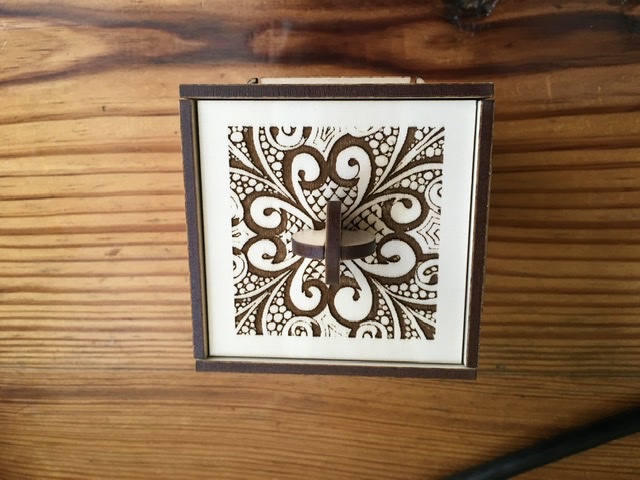
I printed a different artwork just to see,(Maybe should have done my original one, next time😁) and I think it turned out pretty good. Of course the design is shrunk so much that it makes it sharp, but it worked! Not all the lines turned out like a solid line, is that normal since it was a black line but the thinnest of the bunch in the artwork?or do I need to learn to darken some for a more complete image? Haha, so much to learn in time! Here’s a pic-
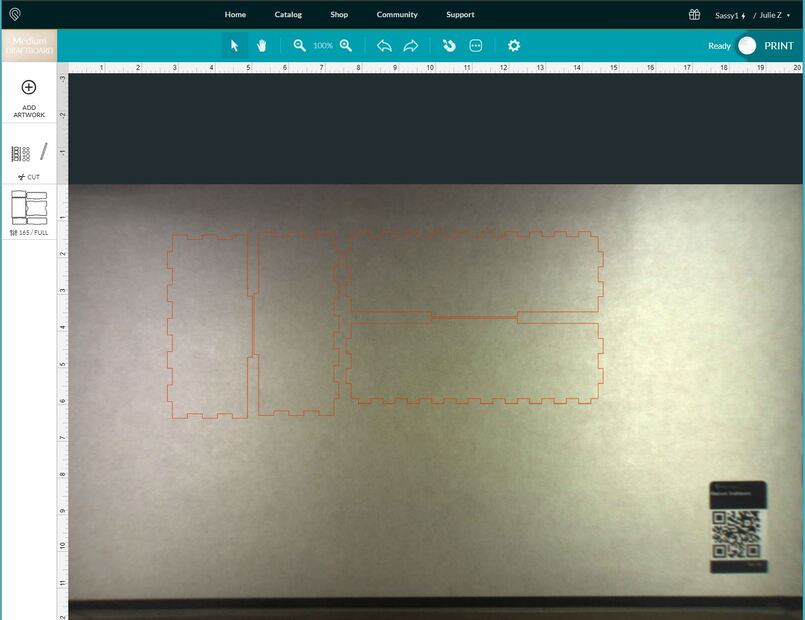
Thanks for responding, and yep, I’m still new at replying to all obviously😁 I have not done a calibration on the machine, but great idea! I’ll check out the link for the link you sent to see the other lid camera pics people have sent in. I would love for mine to read the codes, and like I said in a previous reply I worry about the engrave not being clear because of the camera not being clear. With the picture I uploaded in the previous reply, I think I can answer your placement question. I looks to me to be aligned pretty well, I’m happy to say. I tried to center it in the lid and that’s how it came out. The whole design also came out where I expected it to on the material as well. So I think it’s just a camera issue, if that can be solved
I’m hoping the design sharpness looks normal to you as well, despite some of them not being solid. But I think a calibration is a good idea, maybe that will help the camera to see clearer. I did clean the camera with a Zeus wipe btw, and everything was tight. Thanks again, and any insight is welcome!
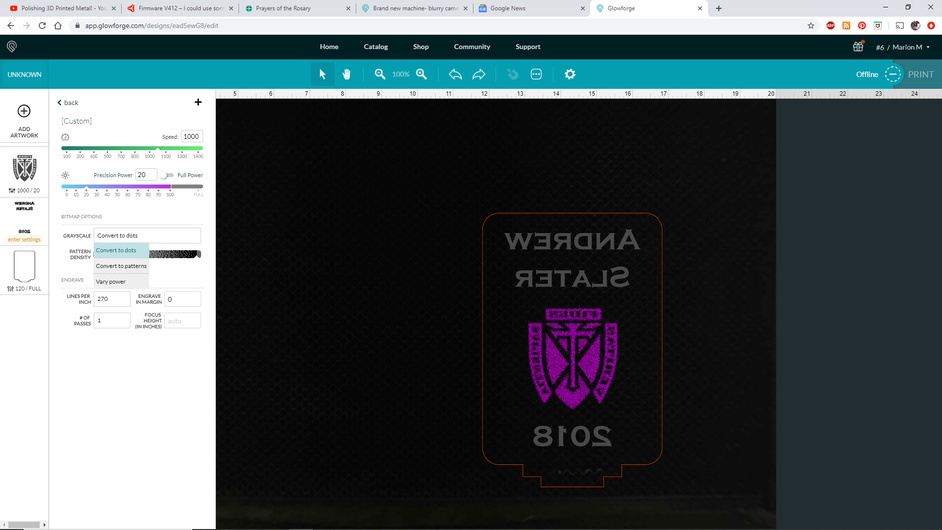
It might depend on your artwork. If it is a bitmap image like a png , gif, for jpeg, it could have different levels of color/gray. This is called a gradient. Depending on what you select for the engraving, that can make a difference, especially if you use vary power in the engraving setup. And if your design contains very small bits of an image, depending on how many lines per inch you engrave, you get finer detail.
And as to replying to all, you can highlight the post you want to respond to and the “quote” function will come up. That will start a reply post and link to what you are replying to. You can reply to multiple posts this way. Easier on a device with a mouse or touchpad, a bit harder on a tablet, and harder still on a phone to select what you want.
As to making the camera see clearer, might not at all, but what it will do is allow you to place the designs more accurately in relation to the lid camera image.
Also, don’t forget that if you have a 20x12 design art board for your project, the design will always end up where you want it on the entire bed. That can be helpful with jigs and repeating things.
Thank you for trying that out for me. Unfortunately, it looks like your unit is experiencing an issue that we can’t resolve remotely. I want you to have a reliable unit, so I’m recommending we replace this one. I’m closing this thread and I’ll be in touch via email soon to sort out the details. I’m so sorry about the bad news.