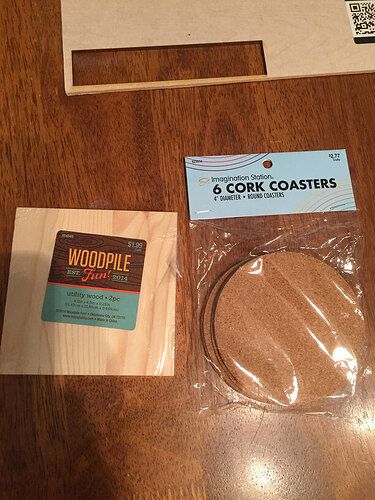
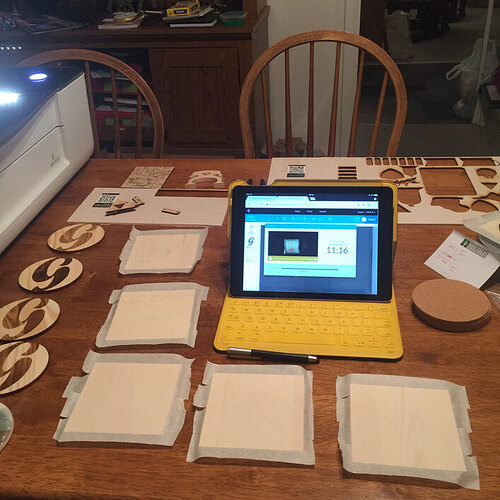
I work for a local church helping them out part time with graphics and communication, and wanted to take the church logo and make some simple coasters for each person in the office. During the shopping frenzy that occurred in our house in the days between shipping and arrival, I found some 4" round cork circles and some 4"x4" wood squares at Hobby Lobby that I figured wouldn’t melt my lungs when the ![]() arrived.
arrived.
Earlier this week I decided it was time to quit procrastinating and try my hand at some non-proofgrade material. Again, I knew nothing about lasers before “Emmet” arrived, so leaving the safe waters of ![]() materials and auto settings are a pretty big obstacle for me. I realized the only way to overcome my trepidation was simply dive in, as so many of you have encouraged on these forums.
materials and auto settings are a pretty big obstacle for me. I realized the only way to overcome my trepidation was simply dive in, as so many of you have encouraged on these forums.
Crosses fingers & prays I don’t end up in a hospital or burning my house down.
The Plan: engrave the logo mark on the wood, cut it into a circle and simply glue the cork to the bottom. I set-up the logo in Illustrator and put a circle on a separate layer to cut and saved out the svg.
Going through the interface, I set the material to “Unknown” and it immediately asked for the height of the material. Easy enough: 0.25in. Automatically the “Focus Height” option on each of my settings was set to that same measurement. Sweet! All I need now is power, speed, lines per inch and number of passes. Well I’m guessing to start I only want 1 pass on everything, since that’s what all the proofgrade material has done. Man, this is cake!
Power. Uhhh… I don’t know. Maybe I better start at 50% just to be safe and see how deep that ends up. If it’s not right, hopefully it won’t be too deep and I can adjust after.
Speed… hmmm… speed… I don’t even know what kind of number they’re looking for. I’ll come back to it.
Lines per inch. It’s set to 225 by default, so I guess that’s probably good.
Back to the Speed thing. After digging around on the forums a bit, I came up with the magic number 335 from seeing some test sheet results from others.
Awesome. I’m all set… Oh wait, settings for the cut layer. Uhhh, 100% because I’m pretty sure that’s what I need to make sure it gets all the way through… Speed… Again with the speed. Dang, I don’t know…
I checked the forums again, and looking back I have no idea now where I found this number, but I saw it in more than one place so I thought, “Hey that must be an okay start… but wow that seems like it would cut really fast.” I set it to 197. Mistake #1.
Still unsure, I looked around and found some test cuts from @jamesdhatch which he started at 190 and worked through to slower speeds and it didn’t cut through 'til about 50%. I knew something wasn’t right, and I should’ve gone off what I saw here but for whatever stupid reason I decided to try 197 and if that was too fast to cut I could just do it again.
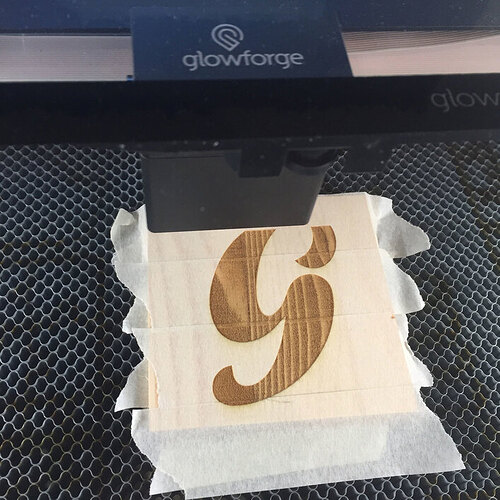
I put some masking tape over the wood so it wouldn’t get smoke burn & I didn’t want any of the wood exposed so I overlapped it a bit—even while I was doing this I was thinking, “Hmm, won’t this make it thicker here and not cut as deep?” Just remember, anytime your brain starts asking questions like this, it’s probably for a good reason. So naturally, I shrugged it off and kept going like an idiot. Mistake #2.
I crossed my fingers, said a prayer, and pushed the button.
I start smelling and breathing something a little different from the proofgrade wood & hope it’s just the masking tape which I SWEAR I read was safe. Suddenly, I realize that I’m an idiot and could very well be killing myself and nobody is even home to help. If I pass out who’s going to call 911? Guessing it’s probably a good idea in the future not to try something new with a laser when nobody else is around. Friends don’t let friends laser hazardous materials alone. Luckily there really wasn’t a problem, the masking just had a different smell and my greatest fear (the unexpected) just kicked in for a minute there.
Overall the first engrave wasn’t as deep or dark as I was hoping, and bonus, there were these raised streaks where I had the masking tape overlap. Crud. when it came time to cut, I went to look. I heard it but never saw it because I didn’t look up in time. It was fast! 197 was a stupid number for wood. Come to think of it, I don’t have a clue what material they were even talking about at that speed. Probably paper. Friends don’t let friends find their own answers on forums without fact checking.
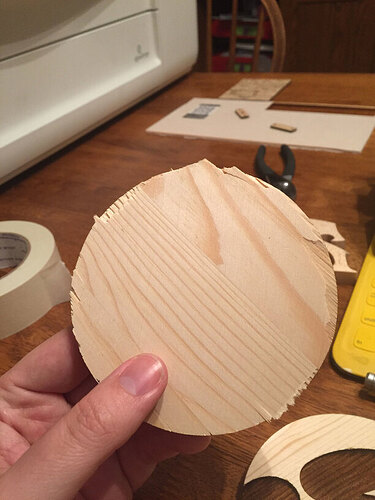
Did I mention I’m an idiot? Well, at least I can cut it again right? But maybe it went through and I just don’t know it yet. I should pick it up and see. Cue brain warning, "But then you can’t just tell it to cut again, you’ll have to realign everything, and that’s not gonna be easy in the UI without some sort of helpful align tools or input for xy coordinates cough, cough HOPPER cough, cough. Cue me once again ignoring my brain. Mistake #3. Picked it up, and sure enough it cut nothing. Tried to realign the wood in the interface (which the camera showing the bed actually was a HUGE help here), and set the cut this time to 50. It barely cut through in a few random spots. Mistake #4. I was done with this piece.
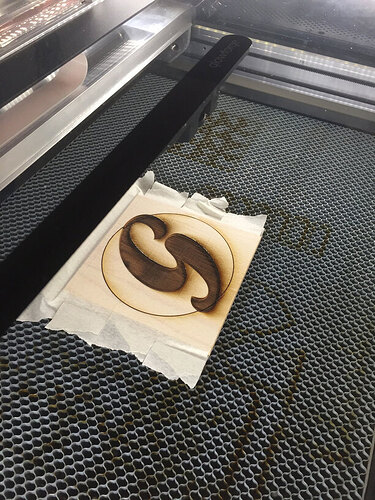
Fail. I shouldn’t have been surprised having never done this before, but now I was frustrated and short a coaster. Oh well. Time to learn from this one. I want it deeper and if 50 is barely scratching the surface, lets just go 100% power. If it burns through, who cares—I still have 8 more tries remaining and I have to go back to the store anyway. Engrave Speed? 335. That worked. Lines per inch? Let’s go 270 this time since it was so light the last. Cut speed? I’m going 30. And I’m just gonna try to get the masking tape as close to each other as I can without overlapping.
This coaster actually turned out well, but I started to worry I really had gone too deep. Also, I didn’t notice it until right at the very end of engraving when it started the final cut, but all of a sudden there was moisture all over it. Not sure why it did that but assumed it was just because it engraved so deep. I just hoped it was no big deal, ignored it and moved on.
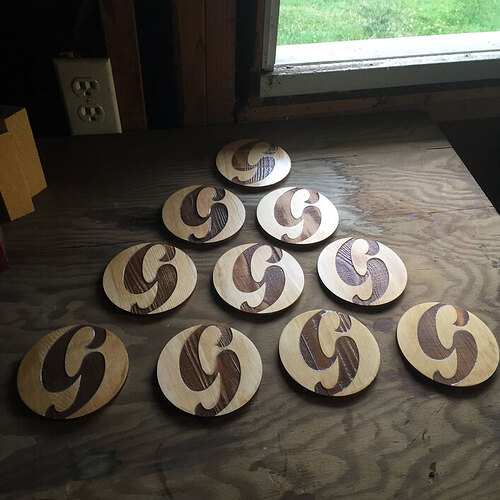
Based off what I learned here, I kept all the settings the same but engraved at 80% for all the rest. The last few didn’t cut all the way through very well, so I bumped the cut speed to 20. In the end, I had most come out decent. A few had some rough edges where they didn’t cut so well but I figured I could sand those down. I was surprised to find the 80% power was so inconsistent. I had at least one coaster that came out as light as the first engrave and one that was as dark as the second, with a random assortment of everything between.
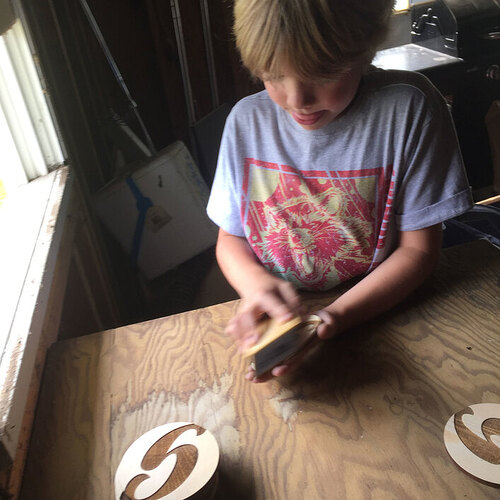
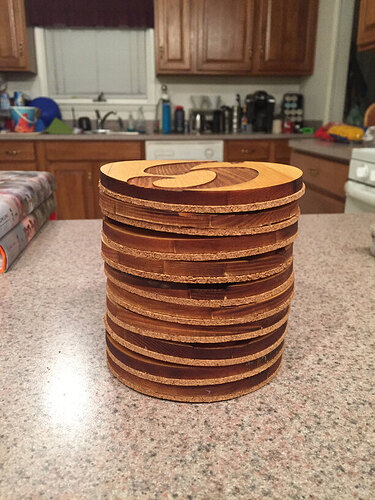
Having never touched a woodworking project since 7th grade shop class more than 20 years ago, I ran to Menards and bought some sanding blocks, wood stain, wood finish, and disposable brushes for the wood glue I’d already purchased. My son was eager to help, so we stood in the garage together and sanded down all of the coasters. I managed to salvage the first bad one, especially since we were going to glue cork to the bottom of it. Whoever got it would just have to deal with the stripes where the masking tape overlapped. We then painted them all with wood stain and let it dry, sanded gently again (per instructions) and added a layer of finish, let it dry, and then painted the backs with wood glue and stuck the cork on. I was really impressed with how they turned out.
Until we went to get them. They had all warped, some of them pretty badly.
Not sure if it was the humidity or what, but they were fine until we put the wood glue on. I was pissed. All that hard work down the tubes on the last step. I was ready to trash them all but my wonderful wife, being much more patient than I, simply suggested we put some heavy books on them for the night and see what happened in the morning.
It worked. I left them under the books for another day and this morning, proudly handed each person at the office a branded coaster. They loved them! Couldn’t believe I made them myself.
And to be honest? I can’t believe I did either.
