Thanks for your patience.
I wish we could connect! Unfortunately, as @Jules said, we don’t offer phone support right now, so online is the best and only way for us to help.
You mentioned vacuuming fans. Does that include the fan on the carriage plate? If not, please try these steps:
- Turn off your Glowforge
- Open the front door and carefully remove the crumb tray
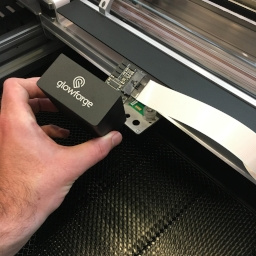
- Remove the printer head
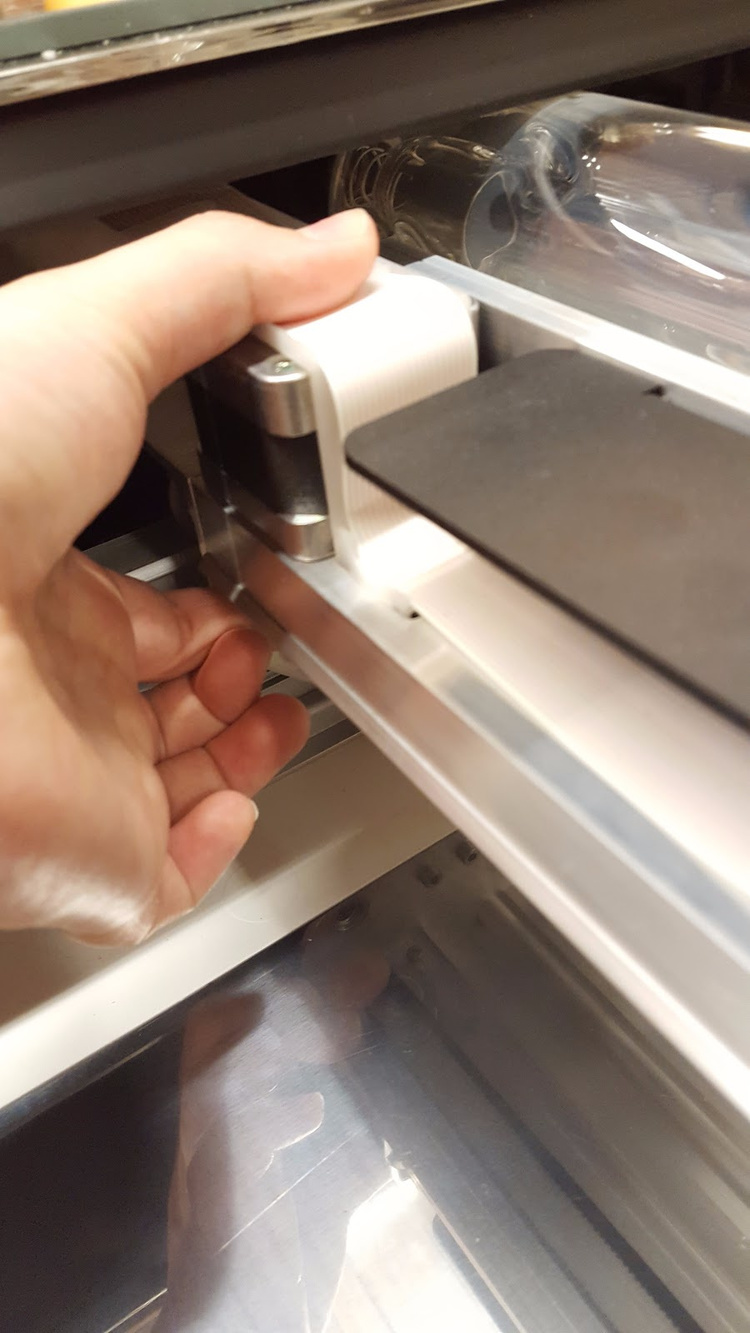
- Holding only the finished black surfaces, grasp the printer head as shown. Pull gently up and back to disengage the magnets and remove the head.
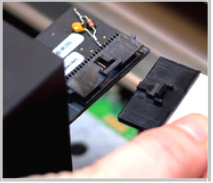
- Push down fully on the wire ribbon tab to unplug the wire ribbon from the printer head. Pull the wire ribbon gently away and tuck it into the laser arm.
- Unhook the belt
- Push the carriage plate to the center of the laser arm so it’s out of the way
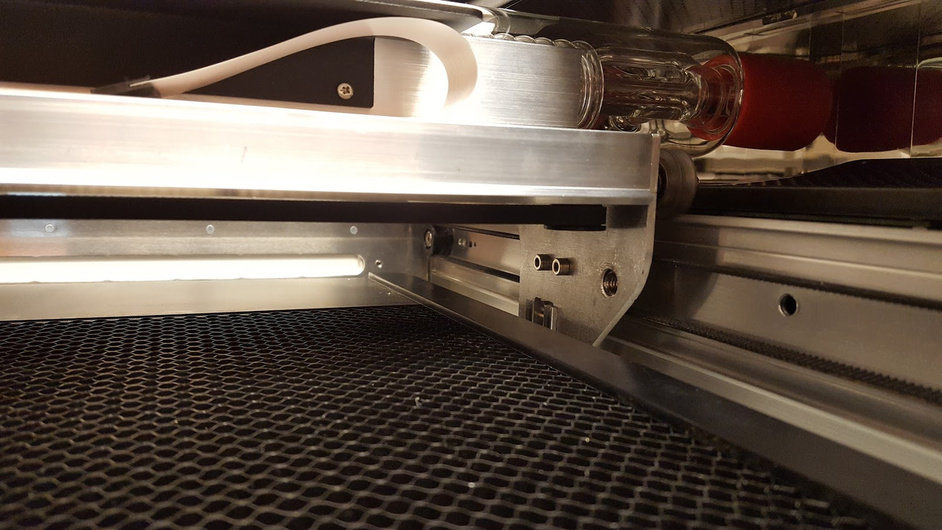
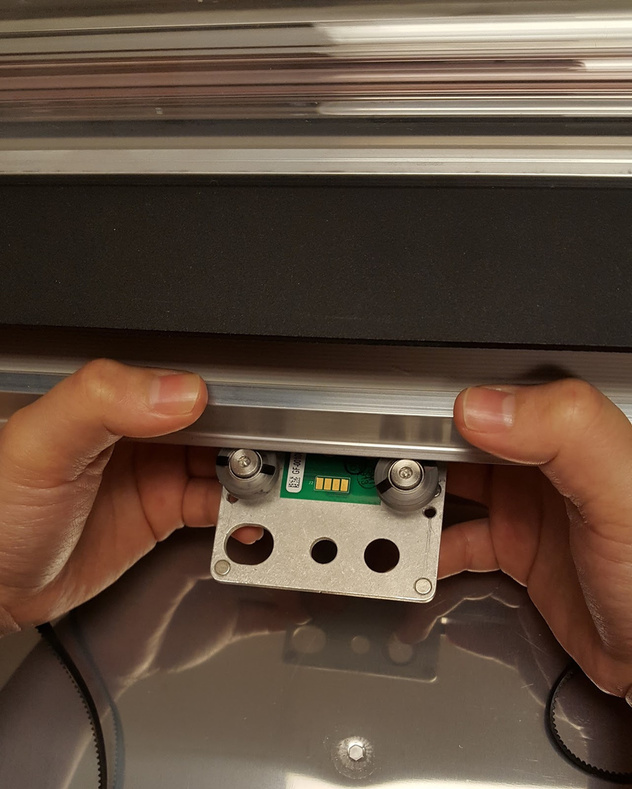
- Reach under the laser arm on the right side and feel for a black belt and pulley
- Take the belt off of the laser arm
- Placing your thumb between the belt and the laser arm near the pulley, push down on the belt while sliding the belt to the right towards the pulley. The belt will slide off of the pulley. Don’t be afraid to use pressure.
- Unhook the belt from the motor on the left side
- Remove the carriage plate
- Place both index fingers on the rear corners of the plate and both thumbs on top of the front wheels. Use your other fingers to support the plate. While keeping the laser arm stable with your thumbs, use your index fingers to pull the plate towards you as far as it will go. Then push down with your thumbs to angle the plate down and towards the back of the Glowforge until the plate pops off of the laser arm.
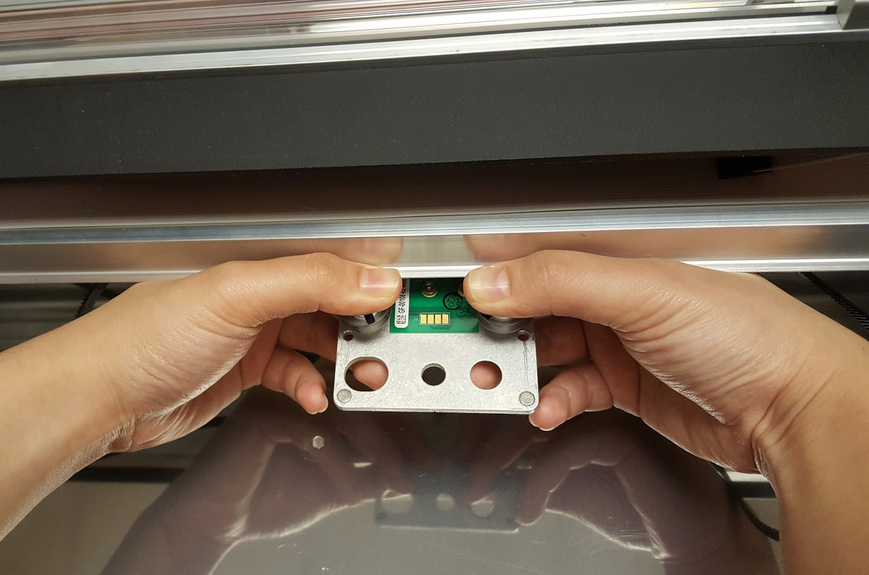
- You’ll find a black plastic fan on the underside of the carriage plate. Please inspect it for damage or debris and send me a photo of the fan blades.

- If you see any debris stuck in the blades, you can use some canned air clean them.
Once you’re done inspecting and cleaning, you can replace the carriage plate and try a test print:
- Reattach the carriage plate
-
Hold the carriage plate as shown
-
Placing your index fingers on the back corners of the carriage plate and your thumbs on top of the front wheels, hook the rear wheels on the groove under the laser arm. The front wheels should be mostly visible.
-
Pull the plate forward until the front wheels clear the laser arm then angle the plate up until the the wheels are in line with the rail. Release the plate – it should grasp the rail firmly.
-
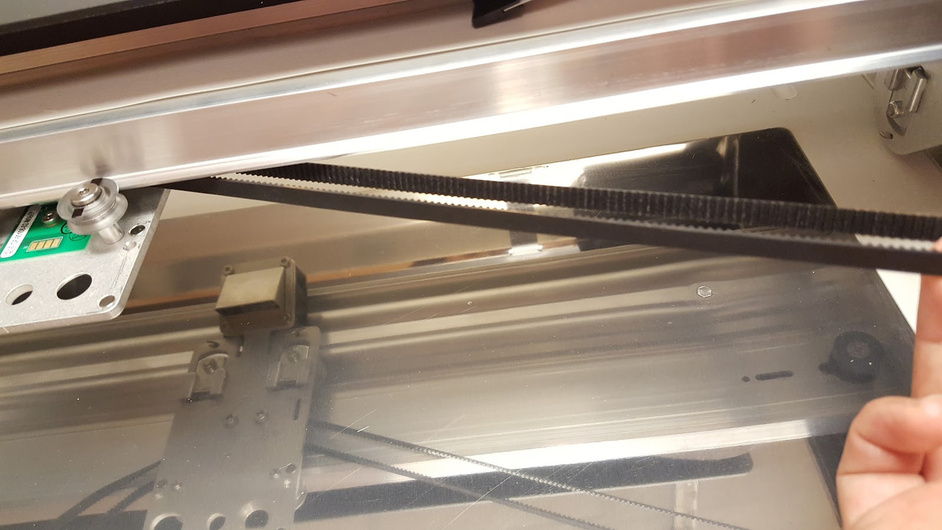
Pick up the right side of the belt and make sure it is not twisted. The outside of the belt should be smooth and the inside should have ridges.
-
Hook the belt onto the pulley on the right side.
-
Make sure that the left side of the belt is not twisted and is smooth on the outside and ridged on the inside
-
Attach the belt on the left side
- Using your left hand, set the belt on the front half of the motor (the silver piece on the left hand side below the laser arm) and support it with your fingers by placing them under the motor. The belt will not be fully on the motor. Use your left thumb and fingers to clamp the belt firmly in place and apply pressure.
- Using your left hand, set the belt on the front half of the motor (the silver piece on the left hand side below the laser arm) and support it with your fingers by placing them under the motor. The belt will not be fully on the motor. Use your left thumb and fingers to clamp the belt firmly in place and apply pressure.
-
Still holding the belt and motor firmly with your left hand, use the pressure from your left fingers to guide the belt clockwise around the pulley as your right hand slowly pushes the carriage plate to the left. The belt should roll onto the pulley until it is secure.
- Prepare to Print
- Gently slide the carriage plate back and forth on the laser arm to ensure that it travels smoothly. If it doesn’t, remove the plate and try again.
- Replace the printer head and crumb tray according to these instructions
- Turn your Glowforge back on, record a video of another test print, and let us know how it goes!
If you have any questions or concerns, please let me know.