I just got my forge, and have had success with a few smaller prints. I decided to try a larger print using the 20x12 plywood that Glowforge sent. My design is just under this size, so it should fit with a bit a space around the edges.
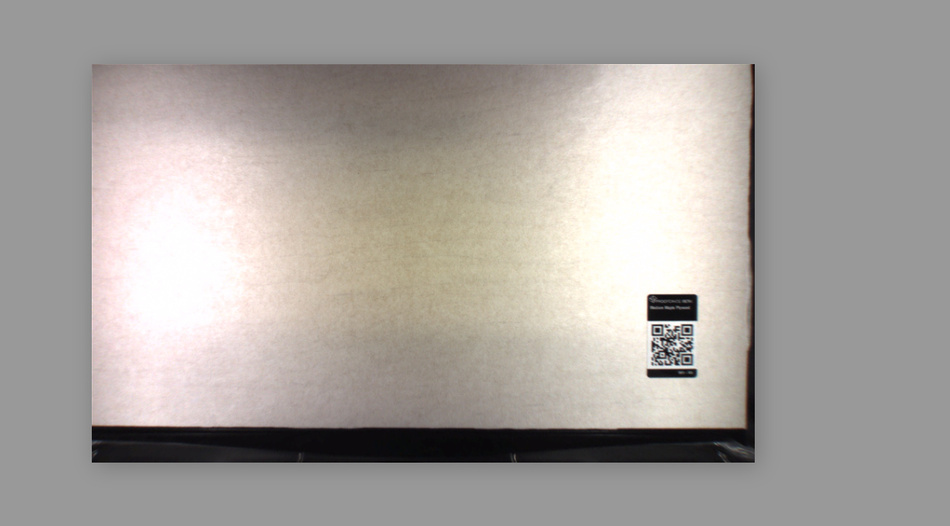
However, when load it on the app, the display shows a bunch of empty space at the bottom, and cuts off the top. The material is centered on the crumb tray, with about a 1/2" of space on both the top and the bottom. Because of this, my design won’t fit, even though the material is big enough. Am I missing something?
The printable area for the thickness of material is shown in the UI. It will eventually be bigger, but it’ll never 12x20. There have been several announcements about this, but the key one for the current state was the acceptance email you replied to in order to receive the unit. It described what the unit will be able to do when it arrives which currently limits the printable area more than they hope.
Thank you! I kind of assumed that this was out there, but my initial search didn’t bring anything up. My camera accuracy is fantastic, so hopefully this will improve as well. I appreciate the links.
No problem. IIRC the current area is 19.5x11 for cuts and 18.5x11 for engraves. The area also varies with the speed of operation (it shrinks the faster you go).
Echoing @markwal’s comments, what you want to know is what your no-go zone maps to. The current cuttable area is 19x10.95 (or close). Where that falls on the crumb tray is the trick you need to figure out. (High speed engraves may reduce this some more.)
So lay the board in the bed, put in a project that will fit the above size and see where it flashes the gray no-go zone bars on the bottom as you move the design toward the bottom of the material. If the material is fully within the gray no-go area then open the lid and move it down some. Then try again until you get the bottom of the material bumping up against the top of the gray no-go bar. Maybe go a bit further down (like an 1/8 or 1/4"). Then mark or tape your bed so you can just drop the material in there. Now you know where the furthest down you can place your design and get it to cut. If your design is taller than the 10.95" max, then you’ll need to resize it.
One of the advantages of the old shiny silver bed was that it became marked up with smoke staining so you could see how far down the bed you could place material. On mine it is the 2nd row of honeycomb cells. I just align the bottom of the board with the top of those cells & I get maximum coverage. Then I can shift it down to use the upper margin of the material.
The left and right sides will also have a bit of margin too. I lose about 3/4" on the left and about 3/8" to the right side.
Alternately, put a big piece of cardboard on the bed (say 20x14) lined up with the bottom of the crumb tray. Score a line at the no-go line in the GFUI and mark that with some tape on the crumb tray. Do the same for the left, right & top and you’ve defined your physical limits and where to align the material.
I’m surprised at the number of my posts that I’ve edited. I think the percentage of my posts that have at least one fumble finger is pretty close to 100%.
If I include multiple misspellings and auto-correct errors, I’m well over 100% edits. I’ve had a few posts that I have had to edit 3 or 4 times because I fix one mistake only to see another after saving the fix.