First time useing machine wont cut all the way though on tje good measure file
I’m sorry your first experience isn’t going swimmingly! But we (or a staff member) will get you back in business!
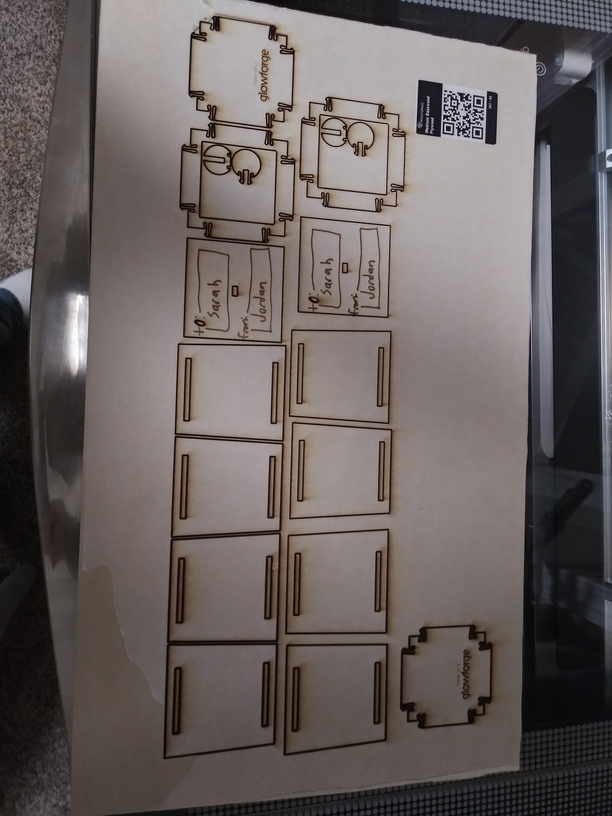
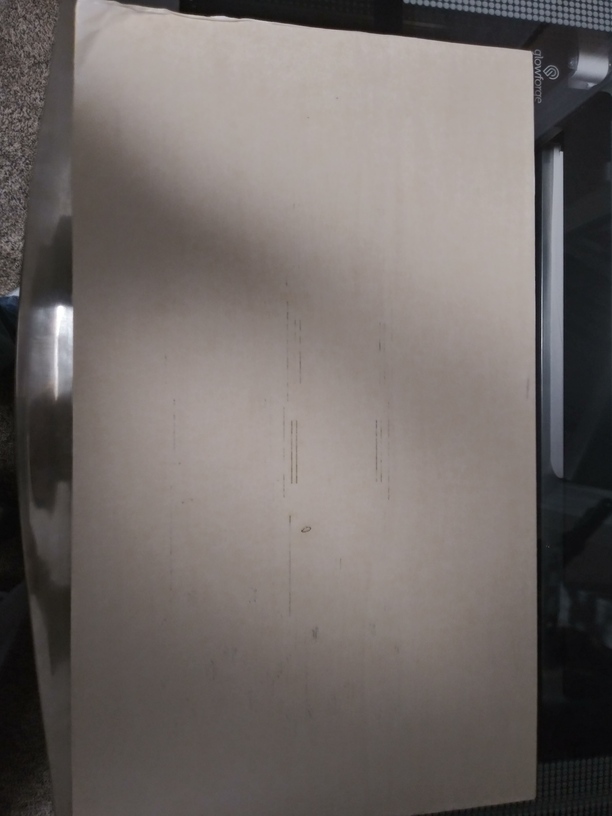
If you post up when (including time zone) you did the print, and pictures of the front and the back of the cut it’ll help out when a staff member gets here.
In the meantime, have you cleaned your optics?I understand the machine is brand new, but they are tested in the factory, and then shaken around quite a bit in shipping so sometimes the lens or the mirrors can do with a cleaning. I believe they still provide a Zeiss wipe in the packaging - use that to gently clean in all 5 locations:
The cut lines look thick - check that your lens is on the right way. “Cup is up” (if I remember right)
3 Likes
And then when you put the head on the carriage plate it’s designed for you to put your thumb on the glass port on the side ![]() Nice big fat thumbprint messing up the beam on the way to the mirror & lens.
Nice big fat thumbprint messing up the beam on the way to the mirror & lens.
2 Likes
Checked that
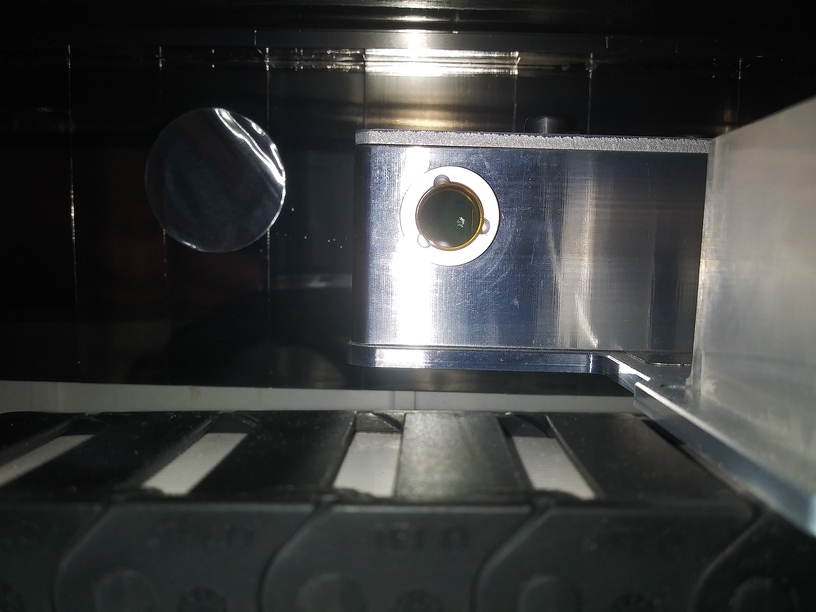
Try wiping that off with a Zeiss wipe. (While the machine is turned off.) If it doesn’t come off, it might need replacing. (Fortunately an easy replacement…that little window just screws in.)
okay so I was able to get that off with alittle work was like glue or something but still did not cut
any clue on how long it will take to hear from tec support?
Three business days is standard, but often sooner.
You need to post pics of the Gift of Good Measure print, that’s the standard for determining if there is an issue.
1 Like
Okay, in that case, there are a couple of things you can do…
Your machine is almost cutting all the way through, which is good. It likely means that the problem is just a need for fine tuning on your settings, or how you are anchoring the material.
If there is any warp in the material at all, the beam will not cut through everywhere. The Glowforge team shoots for “perfect cut” with the default settings, and kerf minimization, and although I love them to death, it’s impossible to make that work consistently every time, for all people, because the material can swell and warp slightly in humidity. If you live in an area where humidity is high, you are going to need to adjust your settings. My draftboard material never cuts completely through at the default settings here - it’s high humidity all the time.
So here’s what you can do to stop wasting material:
You can set up your own Custom settings for materials like Draftboard (MDF) that tend to swell. There is a writeup at the link here that tells how to save your own Custom settings for each material. You would probably just need to slow the speed down by about 5 to 10 points for your Draftboard Cut settings - that has worked well for me. No more than that or you’ll overdo it, and widen your kerf.
The other thing you need to do every time is make sure the material is pinned down before you start. We use these Honeycomb Pins, that we can print ourselves out of scraps. You want no warp, not even the tiniest amount when it’s cutting.
Second option you have if you forget to use your own settings is to just do a second pass. Do not move the material on the bed, or the image on the screen, set any Engraving steps to Ignore, and just hit Print again to send a second cut in the exact same place. (Critical thing here is to not move the material, so it’s another good reason to pin it down at the start. You can check to see if it cut through by using some doubled up tape to lift the cuts.)
You’re going to love it once you get familiar with how it works. 
slowed it down by 10 and made 2 passes still not though all way
What kind of machine do you have? (Basic, Plus or Pro?)
plus
Was this on Draftboard? Can you take a screenshot of the settings information for the operation and post it here?
okay ill get one cut
thanks elfyguy
Forgot to say - must be on draftboard using default settings.
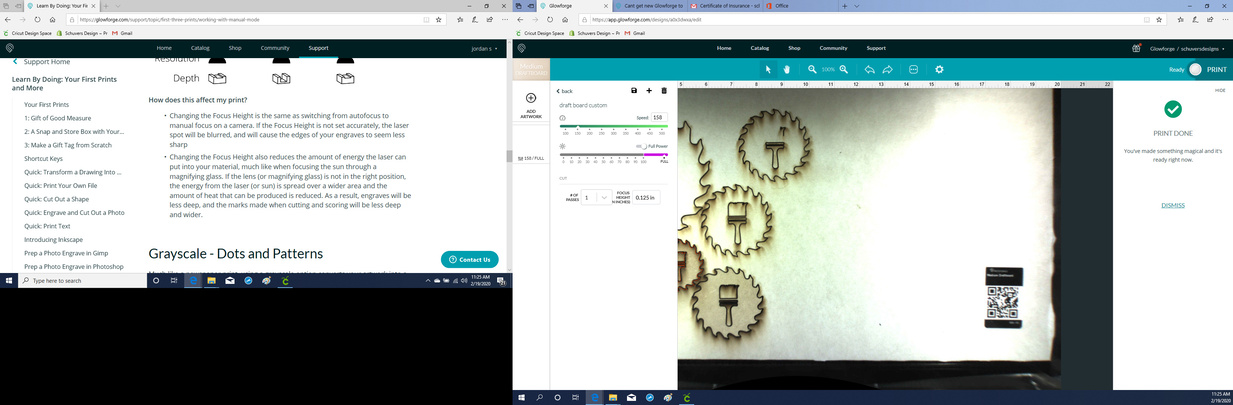
Okay, those settings should be getting pretty close. You can try taking it down to 153, and pinning down the material. (I have the Pro model, which has a little more power, so mine tends to run in the 158-160 range. You might need to go a little slower with a Plus at full power.)
Try it and see…but try it on a simple shape like a small square. You don’t want to run tests on full detailed designs…it wastes too much material. Once you have the correct settings for the material, then you try it on your full design. 