Celtic knot etched onto Apple's leather iphone case

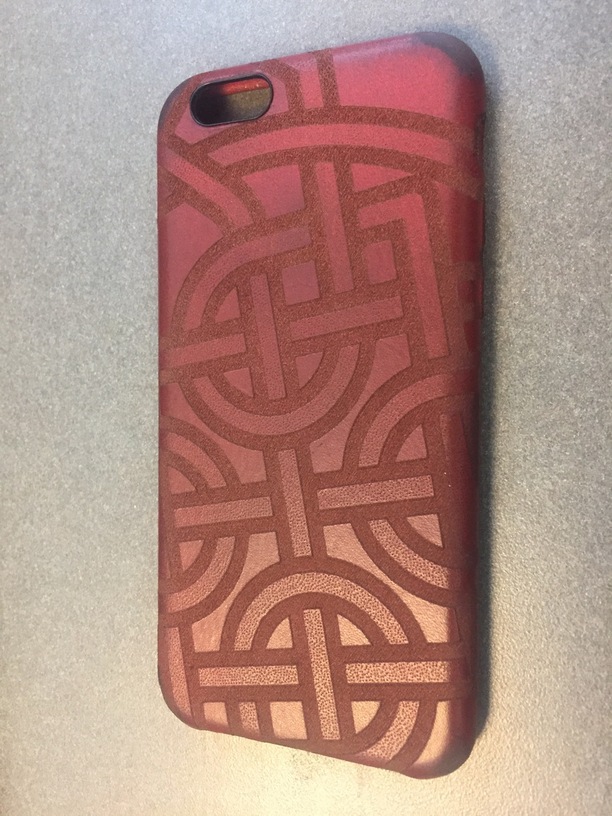
I wanted to share my first experimental project, that I just completed last night. It’s a celtic knot etched onto a leather iphone case (the one apple sells). I thought I’d share it and my settings so that if anyone else is interested they can try it for themselves.

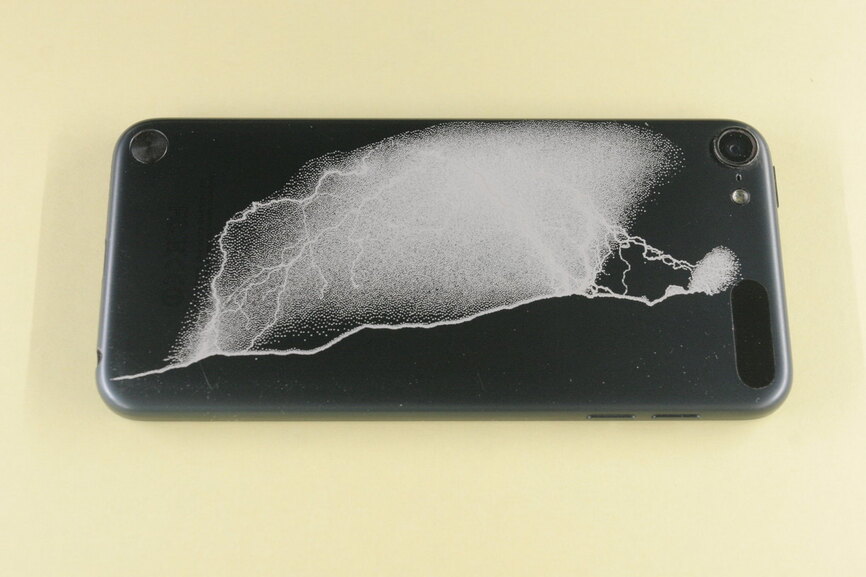
Here’s what it ended up looking like:

How I did it:

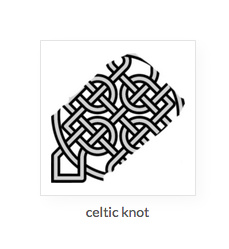
I searched around for a celtic knot design I liked, and ultimately found one on this page: Celtic Knots - History and Symbolism (it’s the sailor’s knot)

The original source I tried was from wikimedia commons (File:Celtic-knot-insquare-39crossings.svg - Wikimedia Commons) but that file had some weird pathing that didn’t work well on the glowforge. So, I converted it to a png and filled in the green with white.

I then uploaded the image to my glowforge and put my case inside. The initial job was set at 500 spd/10pwr, .38 focus height, and estimated at 52 minutes, which was too long for me to wait. So, I erased/cropped out some of the image to get this:

33 AM

And changed settings to 600spd/30pwr. That estimated the time at 25 minutes, and I hit go.

When it was done, I had to wipe the soot out of the etched area (and it still smells like burning). Ultimately I’m very happy with the outcome.

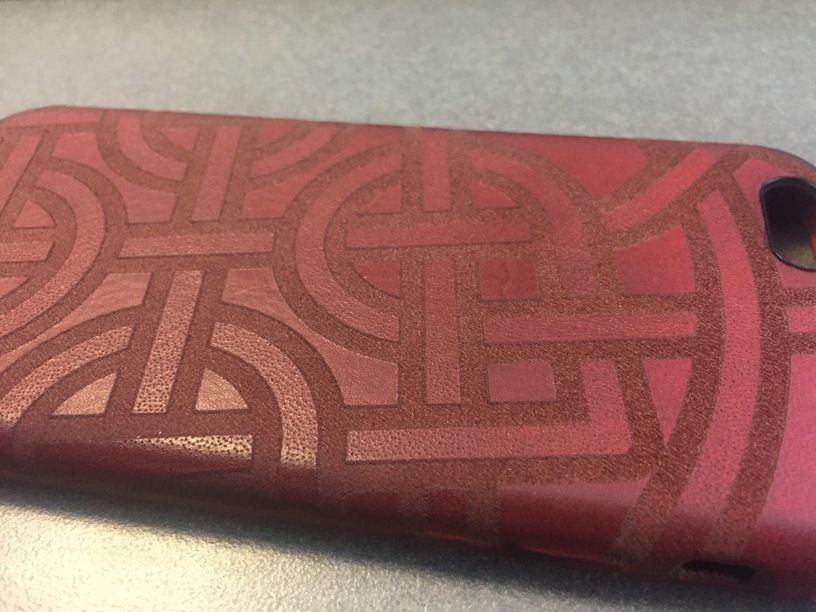
One interesting thing I discovered: the image source I ended up using was black, white, and transparent, which the glowforge interpreted into two levels of etching - which is why you can see dots inside of the knotted area. I like that effect, it gives it a little more appeal, but if you want to try something similar I might suggest using a black & transparent png as your source.

Also, it might be interesting to use gif as the source format since you could control exactly the colors that are in the image.

71 Likes

Oh wow, that looks great! I used to have one of those leather cases but after 2 years it was getting kinda ratty so my iPhone 6 has been caseless the last six months. My girlfriend has been after me to get a new case so maybe I will when I get my GF. :slight_smile:

3 Likes

This looks really good!

1 Like

Looks great.
I’m not certain but I believe once you start talking about settings being used on non-proofgrade material the Powers that be would like the stuff to be posted in Beyond the Manual section.

You could edit the settings out or if you like I could move this to that section for you.

5 Likes

Wow. Amazing! That’s very cool looking. I’m impressed that it lasered so well over the edge a little to. At least that’s what it looks like. Great Job!:grinning:

1 Like

Very good design use. Thanks for posting. Any time you use a bitmap image that you haven’t created, it requires some careful checking. You never know what is in them until you start to process them. Sometimes you can see what shows up in the red print preview or the small thumbnails, but they aren’t always very visible.

I worked on some knot work during the first year of development after the launch and it really was a great exercise in understanding how to use vectors and prepare files. They are deceptively simple. Most SVGs are overlays and clipping paths and masks so they don’t quite work right off the bat. You have to do some booleans to punch out what’s underneath.

3 Likes

Very nicely done! I like how it is printed on there at an angle. That is a nice touch.

2 Likes

That looks fantastic!

And this makes me think about using my 3D printer to make a mold (US spelling) to press leather into a case of the iPhone. Cutting the holes for the camera and switches would be easy enough. Seriously need to start thinking about how I’m going to use my thin leather.

6 Likes

That turned out great! Love how it handled the curved edges as well.

2 Likes

The best way I’ve found to get rid of the burned smell on leather is just to put on some leather conditioner. I just use the stuff I have for my car seats and it works great.

4 Likes

I think this case (knotwork) is one where rasters perform better than vectors… or at least any reasonably complex file might be. Instead of worrying about paths and masks, you render to a png or gif and give it to the glowforge.

2 Likes

That is awesome. I wonder, has anyone tried to etch the back of their iPhone yet? Or a MacBook, like in the video?

You can also get iphone (and other smartphone) shells on ebay for something in the neighborhood of $10 or so. That’s the point where even though I could do something (create one on a 3D printer) I won’t because my time is worth more. They’re the real deal except for no phone guts.

1 Like

Yep. I do that for our company iphones. Also the ipads. Company logo and an “reward if found, call #” message.

4 Likes

Awesome job! :grinning:

I like the idea of wet moulding leather for a thicker leather case. The trick would be whether or not you could wrap the edges just enough to keep it on, and how well it would hold. Gluing to a plastic moulded case would be easier, but maybe not as much fun. Going to put that on my to-do list.

3 Likes

I’ve etched the back of a 5th generation iPod Touch, which is basically the same thing as an iPhone minus the phone hardware.

I should have spent more time on the image prep itself to help make something that really popped but I was giddy and impatient. The cloudy/rainy background wasn’t anywhere near this pronounced in the image but the nature of anodized aluminum you basically have either a colored surface, or exposed aluminum. There is not much gradation possible within the colored layer itself because it is so thin. If you do get the power to stay within the colored layer, the shading is still not very pronounced. So you basically need to have artwork that looks good when it’s dithered and strictly monotone black/white. Maybe halftones to create fades would look pretty cool too.

In case you can’t tell, this is a lightning strike just behind the foothill of a local mountain range - shot from my front porch. :slight_smile:

24 Likes

Kewl! :sunglasses:

2 Likes

Ok I’ll be the first to say it.

How on earth did it handle the curved surface so well? From what I understand the auto focus isn’t finished.

Also, some of these engraves appear to curve under where the laser couldn’t possibly reach it.

Please, prove me wrong! Show me what is possible!

I just want to clear this up because it looks amazing!

1 Like