Glowforge Owners Forum
Chipboard Tests / D&D Map-making
Beyond the Manual
settings
,
materials
,
dungeonsanddragons
joe
November 23, 2017, 3:25am
30
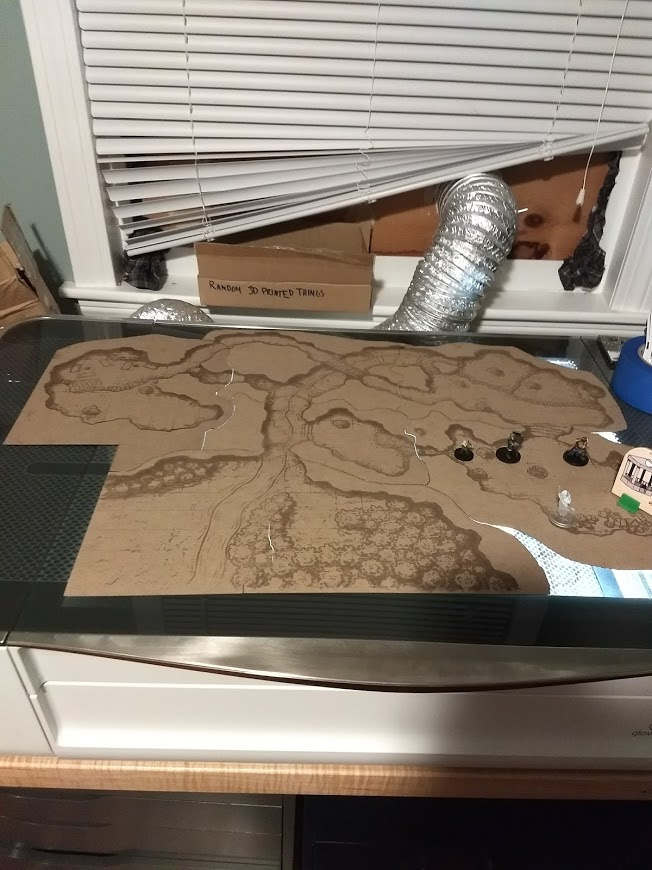
Finally finished the map.
image
652×870 171 KB
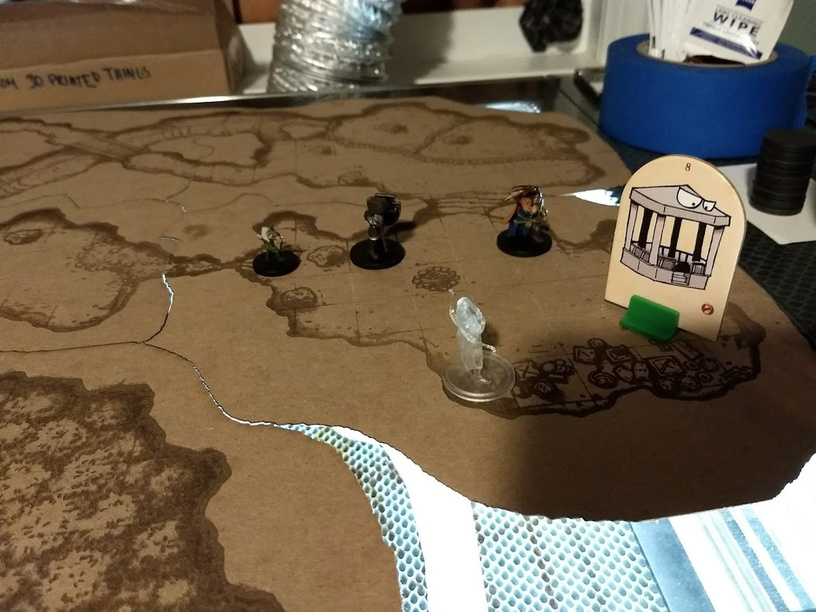
@gernreich
Crap, there was a Gazebo!
image
1154×866 193 KB
15 Likes
Ignore the fingerprints
show post in topic