Hi all, Since I have no GF yet I’d like to know if it is possible to clean off the burn from the wood when you’re done engraving? I’m not sure if some type of grit blast would work or if anyone has tried? I assume using a sand or corncob grit would take away some detail.
7 Likes
I have seen people posting about using the “orange” pumice based hand cleaner. I have not had a chance to try this myself.
16 Likes
Thank you, very helpful. The results looked very good. I was looking for anything that would leave the wood all the same natural color after laser engraving. Not sure if it is possible. Thanks again!
3 Likes
Well, being new to lasers, I once tried darkening an engrave by re-engraving it. Thinking that engraving was burning, for the next layer, I selected the lightest option in the GF App (because I didn’t want my engraved design to become too dark).
Well, my engrave did not get darker with the second engraving, it actually got lighter. A lot lighter. The lighter engrave setting removed almost all of the darker color from the initial engrave.
I guess it might depend on how light you’d like the engrave to be. I think there are others in the forum who can offer a more technical answer than I.
I hope this helps. (I have been using a pre-release model of the GF.)
25 Likes
Oh, now that IS interesting!
So the dark colouration isn’t charred wood - it’s the remains of the removed wood!
Other creative options have now revealed themselves - etching light patterns on previously etched dark areas for instance!
5 Likes
I am not sure what happened scientifically. I can say that both versions looked pretty cool to me.
2 Likes
Wasn’t that idea discussed in another thread a couple weeks ago? I don’t think it was about your experience. I thought it was a link to an article or video. I just searched the forums but can’t find it. Or I could just be getting confused. It’s been known to happen.
1 Like
I have not idea if it was discussed elsewhere, sorry. 
I did. I mentioned that when doing a 3d engrave, if you ended up darkening your engrave, you might be able to do a lighter, faster pass to clean it off. I posted a video from a trotec engrave where they did just that.
So @rebecca, what is happening, is that when doing a dark engrave it only darkens the very topmost layer of the material. When you do another faster engrave it removes that very top layer and leaves a bit underneath that has been subjected to less heat, so it didnt get darkened like it did before on that slower pass.
13 Likes
Ah, that’s it. Here’s a link to it for anyone else that wants to see it:
1 Like
The darkening is mostly re-deposited vaporized material like sap from the wood that re-settles. The protective coating that we use on Proofgrade materials intercepts this to keep the surface clean. To clean in the crevices, you can use orange cleaner as mentioned above (and shown here), re-engrave as Rebecca discovered, or other cleaning-type procedures like washing or sanding.
–dan
19 Likes
Cool! Thanks! I learn something new every day!!
1 Like
has anyone tried one of those melamine foam sponges à la the Mr. Clean Magic Erasers? slightly dampened, probably. might be just coarse enough to take off the smut of the vapor deposition without overly damaging the wood. unsure how well it would work on a detailed engraving, but the bits around cuts and things should work.
4 Likes
Running with air assist and getting the power/speed levels right where you want it for the aesthetic, won’t leave a lot of debris requiring removal. Get your projects tuned for a “one and done” may help avoid having to remove any of the finishing… Is my best advice
3 Likes
I think (my argument from ignorance) that the ‘Fast Orange’ hand cleaner’s solvents probably aid in the dissolution of the vapor deposited sap and probably work well in tandem with the pumice light abrasive… and a toothbrush.
4 Likes
A fingernail brush is good. You get more coverage per stroke than a toothbrush.
4 Likes
A bit stiffer too.
1 Like
A medium bristle clothes brush is good for larger pieces - this is the one I use. It’s not available on Amazon anymore but something similar would work:
2 Likes
Did anybody solve this for acrylic?
My issue is that a soft brush won’t clean and a hard brush scratches the material.
Here are a couple pics:
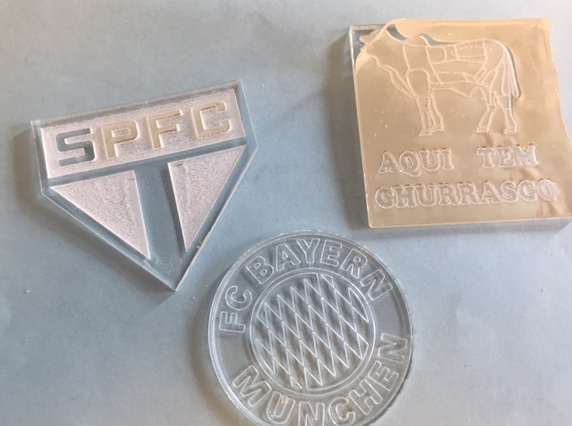
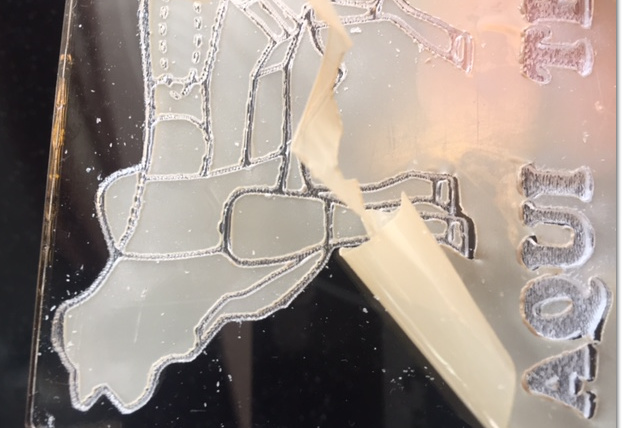
Removing the large pieces is relatively easy, but going through every little piece on intricate designs is a pain to say the least.
Tried a couple home solutions (including various brushes, but not there yet…
If you’re trying to clean the masking paper off & not the white frosted layer, there are a few things to try. You can use the Gorilla Tape method where you place a piece of Gorilla Tape on the engraved object, press it down and then peel it off and it should bring the masking with it.
You can also try scraping it with a plastic scraper or even another piece of acrylic - I used that technique to do 100 challenge coins with a lot of detail in the engraving. It won’t scratch because it’s the same hardness as the acrylic you’re de-masking but it’s stiff enough to push/scrape the masking off.
I believe you can also use a denatured alcohol soak (I think someone posted about that) but I haven’t done that myself as the two previous methods work fine for the acrylic I use. Just make sure it’s not acetone because that will ruin your project 
1 Like