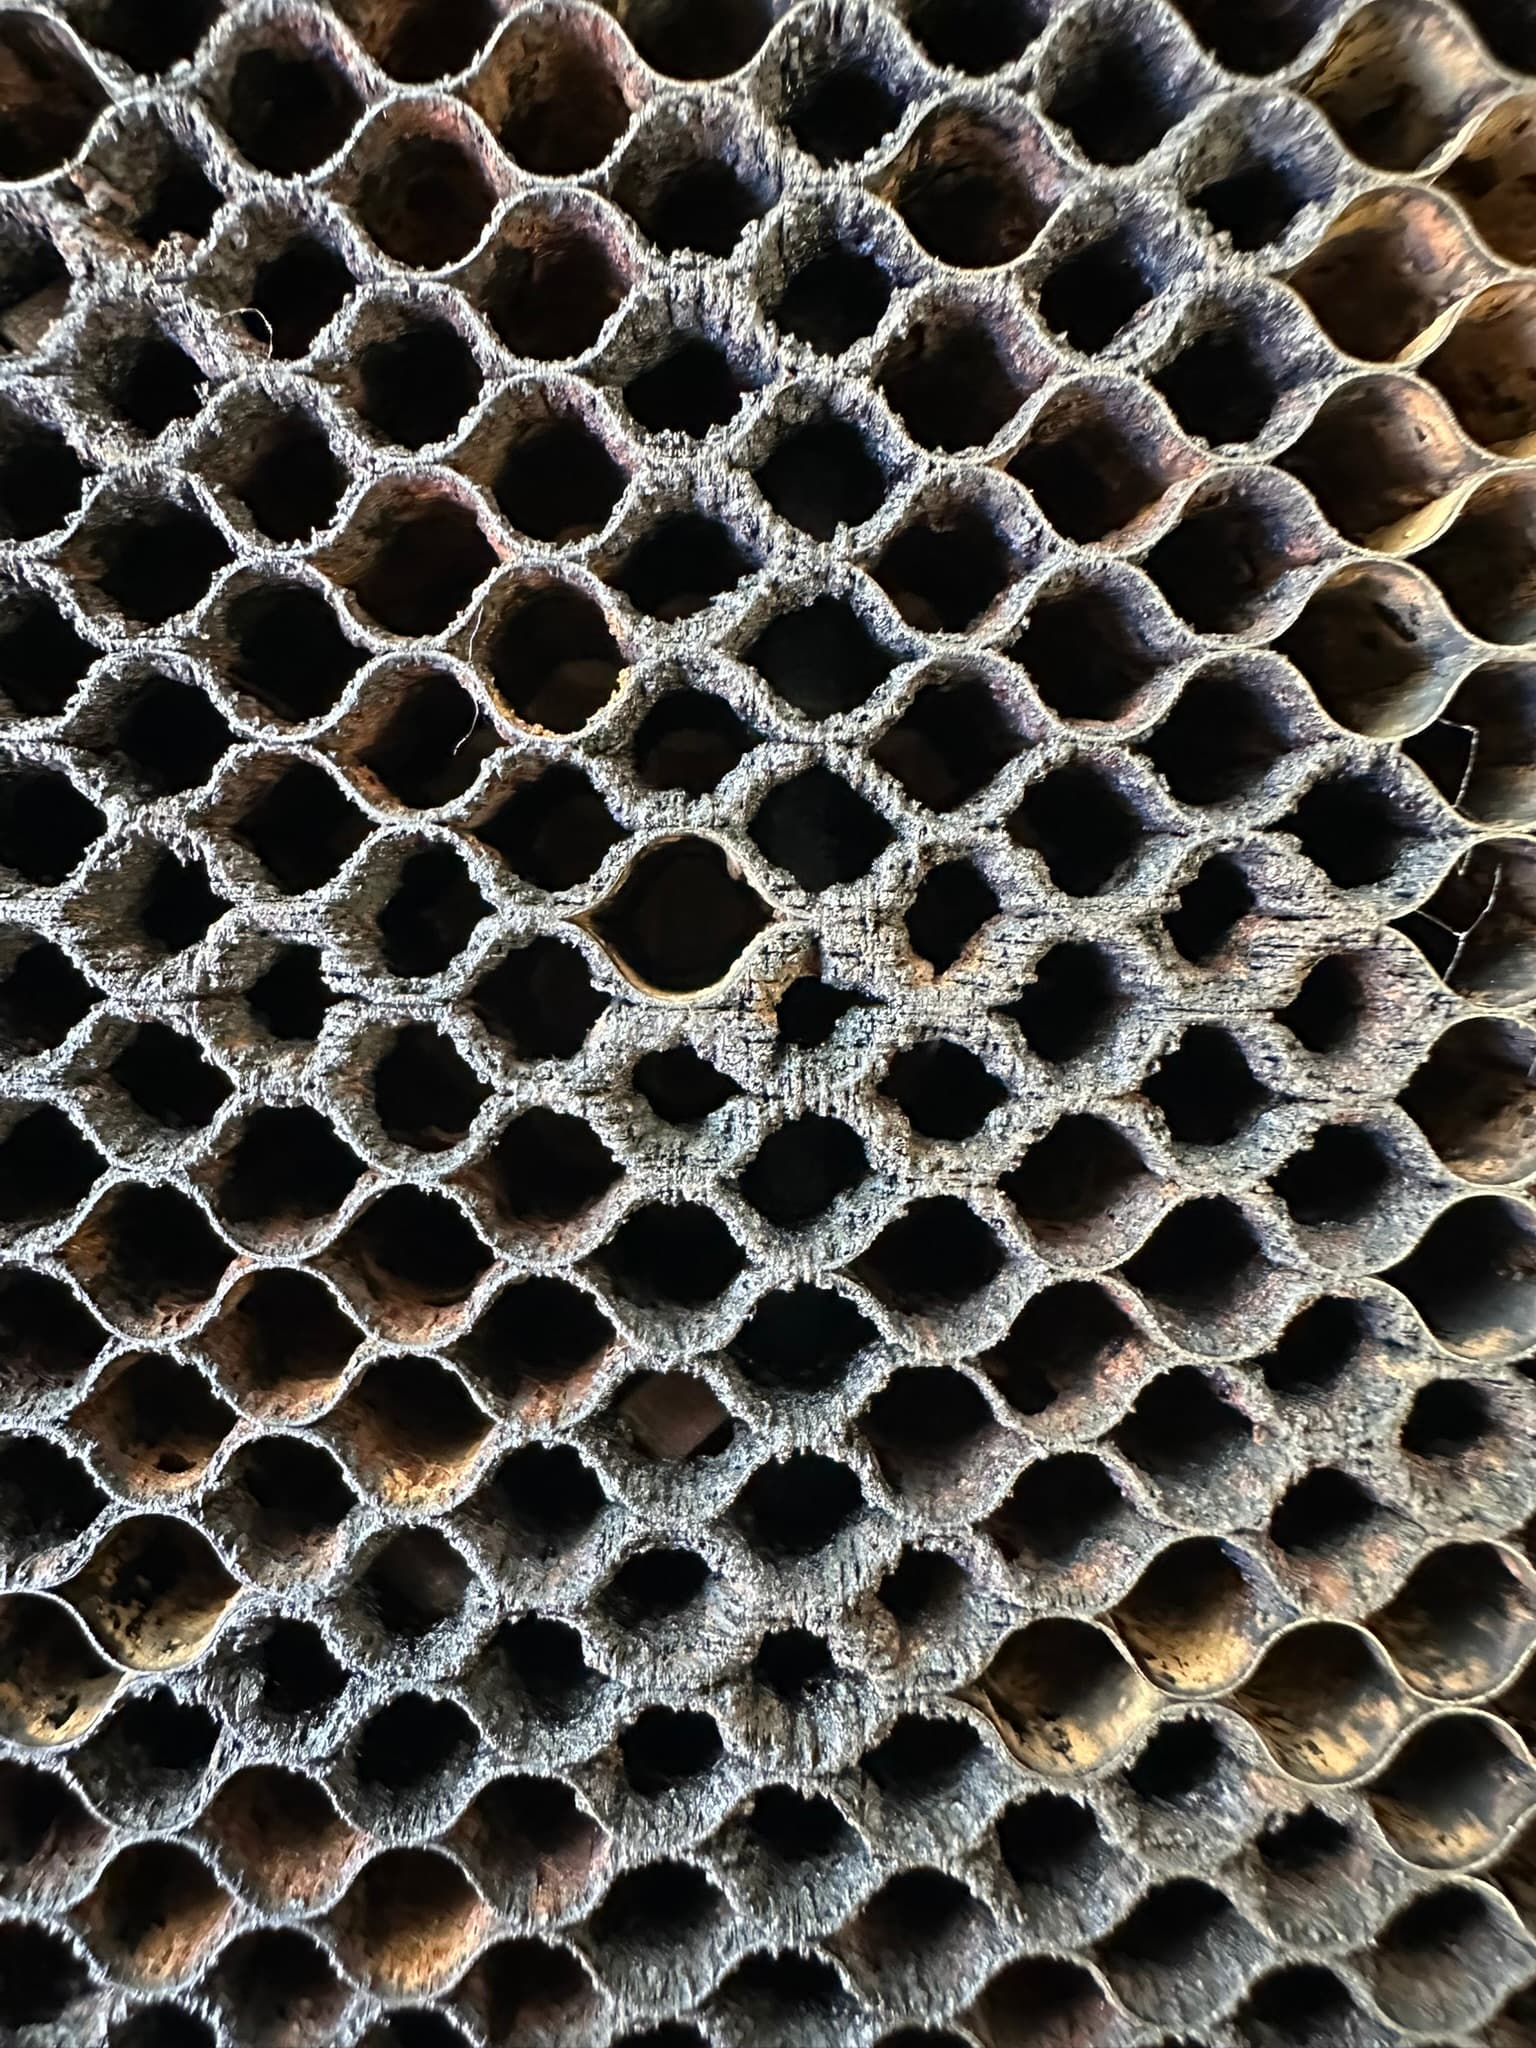
So, I have 2 GF’s and 5 crumb trays… The materials I cut have lots of resins and junk and several of the crumb trays had been retired because they were lost causes. The honeycomb was hopelessly clogged up, creating lots of flashback.
I had tried everything posted on these forums for cleaning crumb trays… soaking, power washing, etc, etc. Nothing really worked on these.
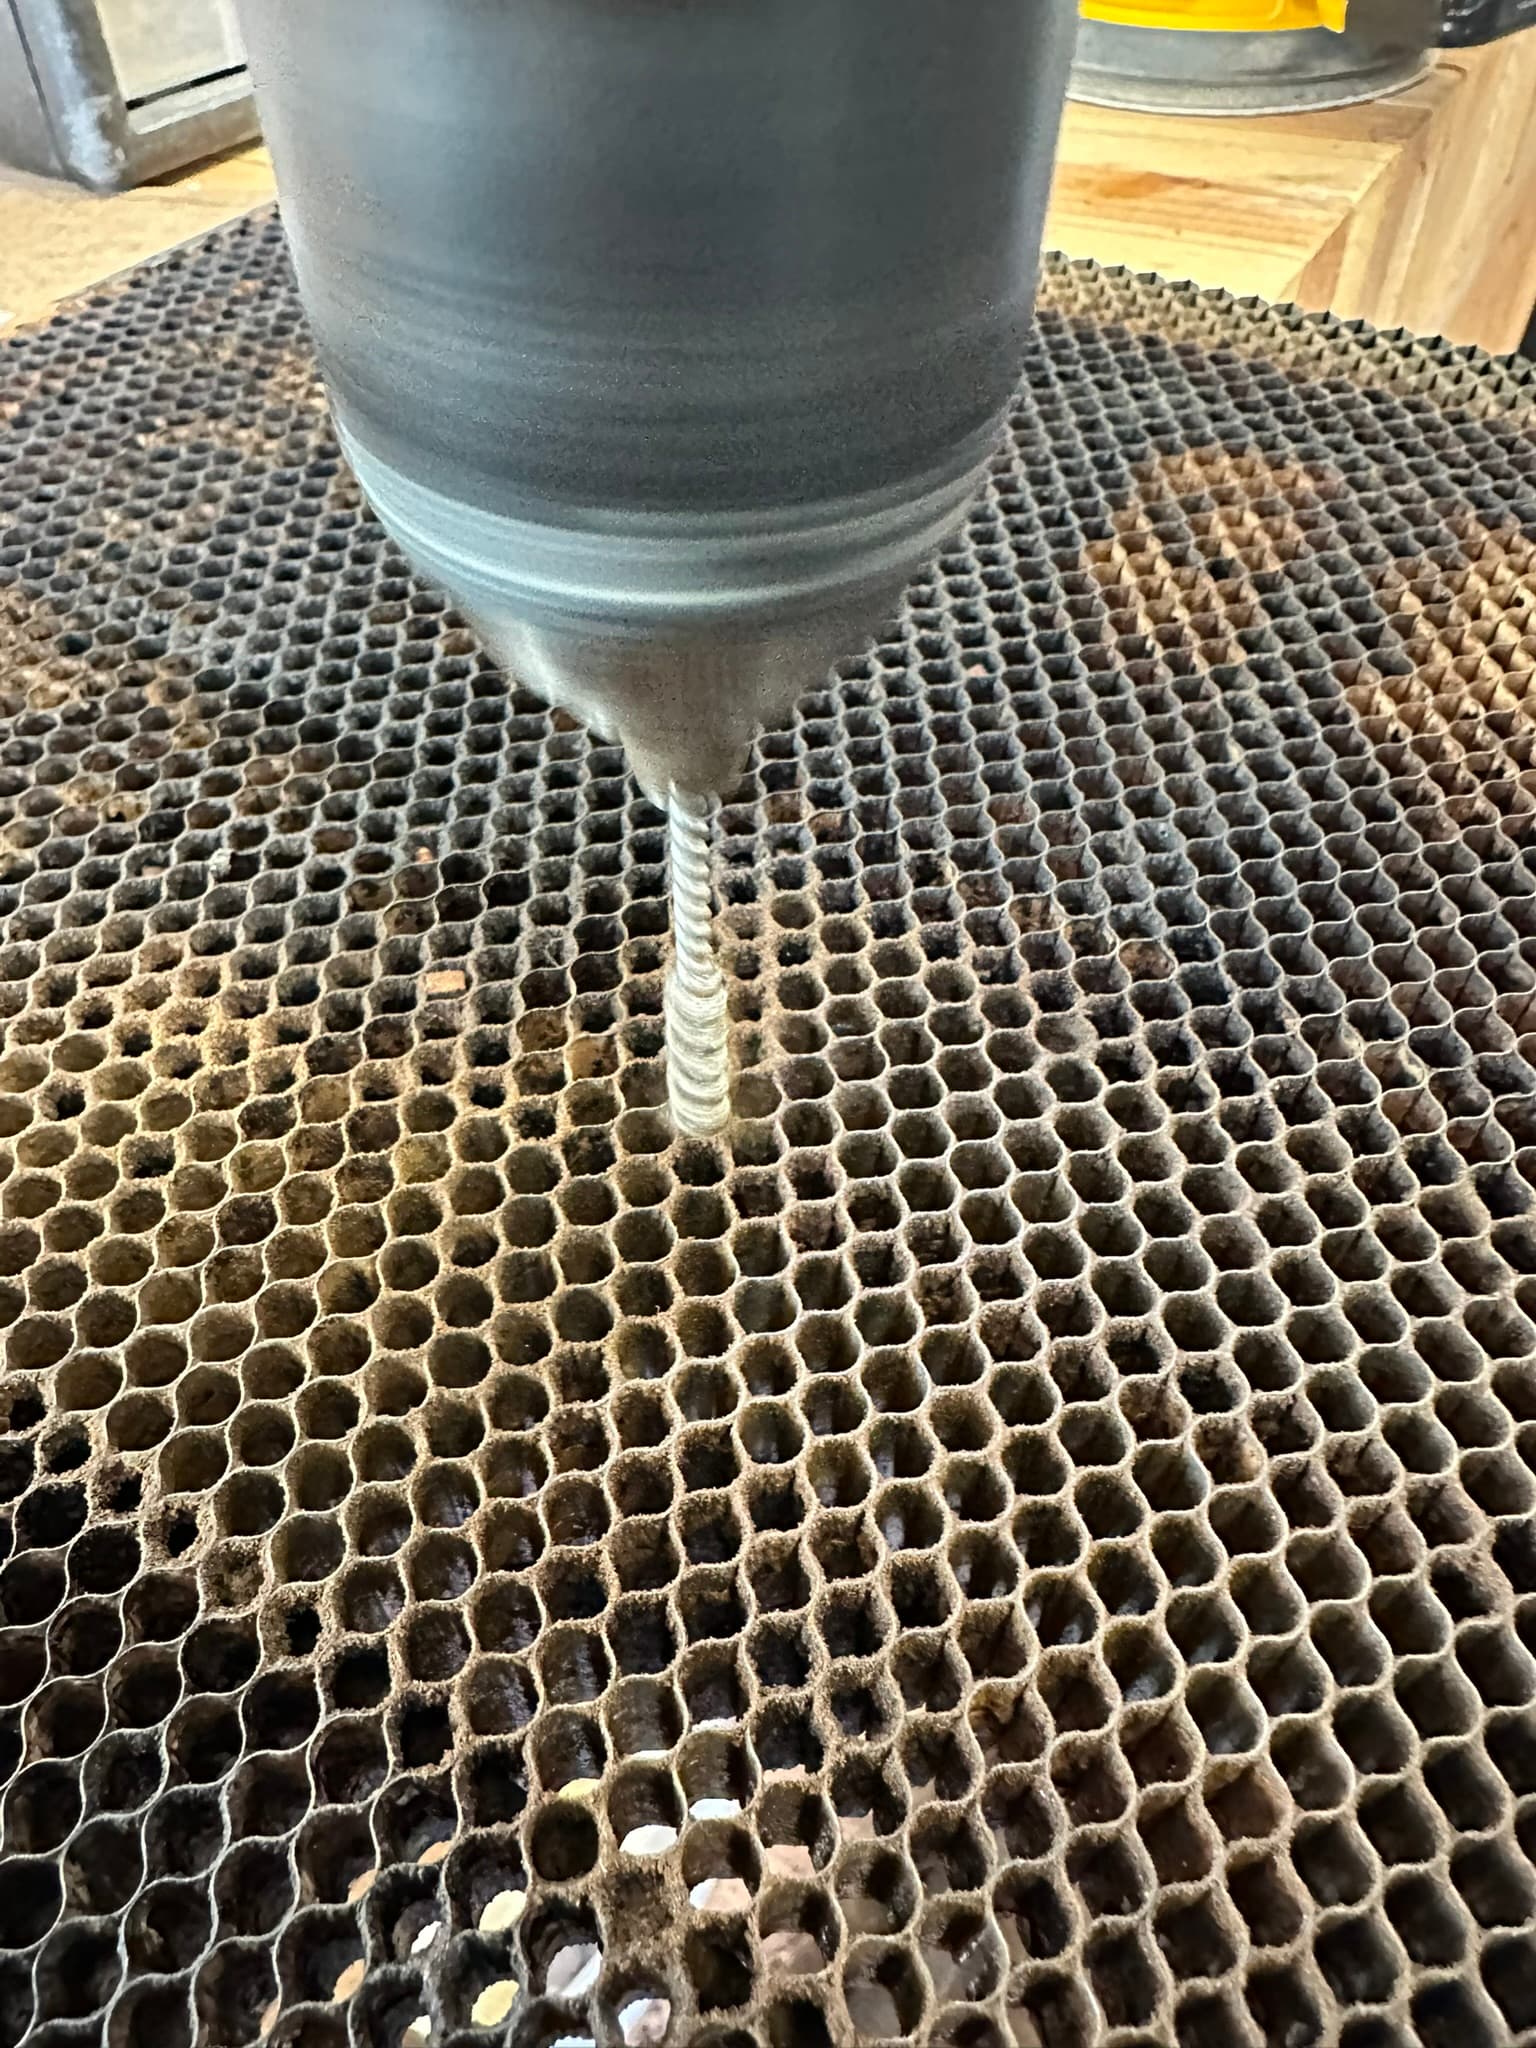
However, it looks like I have a pretty reasonable solution! There are small metal brushes (Amazon link below) roughly in the shape of a drill bit that you can put into a drill and bore out the junky bits. Works really well! (see photos).
A couple things on this process…
The bristles on the bits tend to flatten down after a few minutes. If you reverse the drill periodically, it helps them regain their shape.
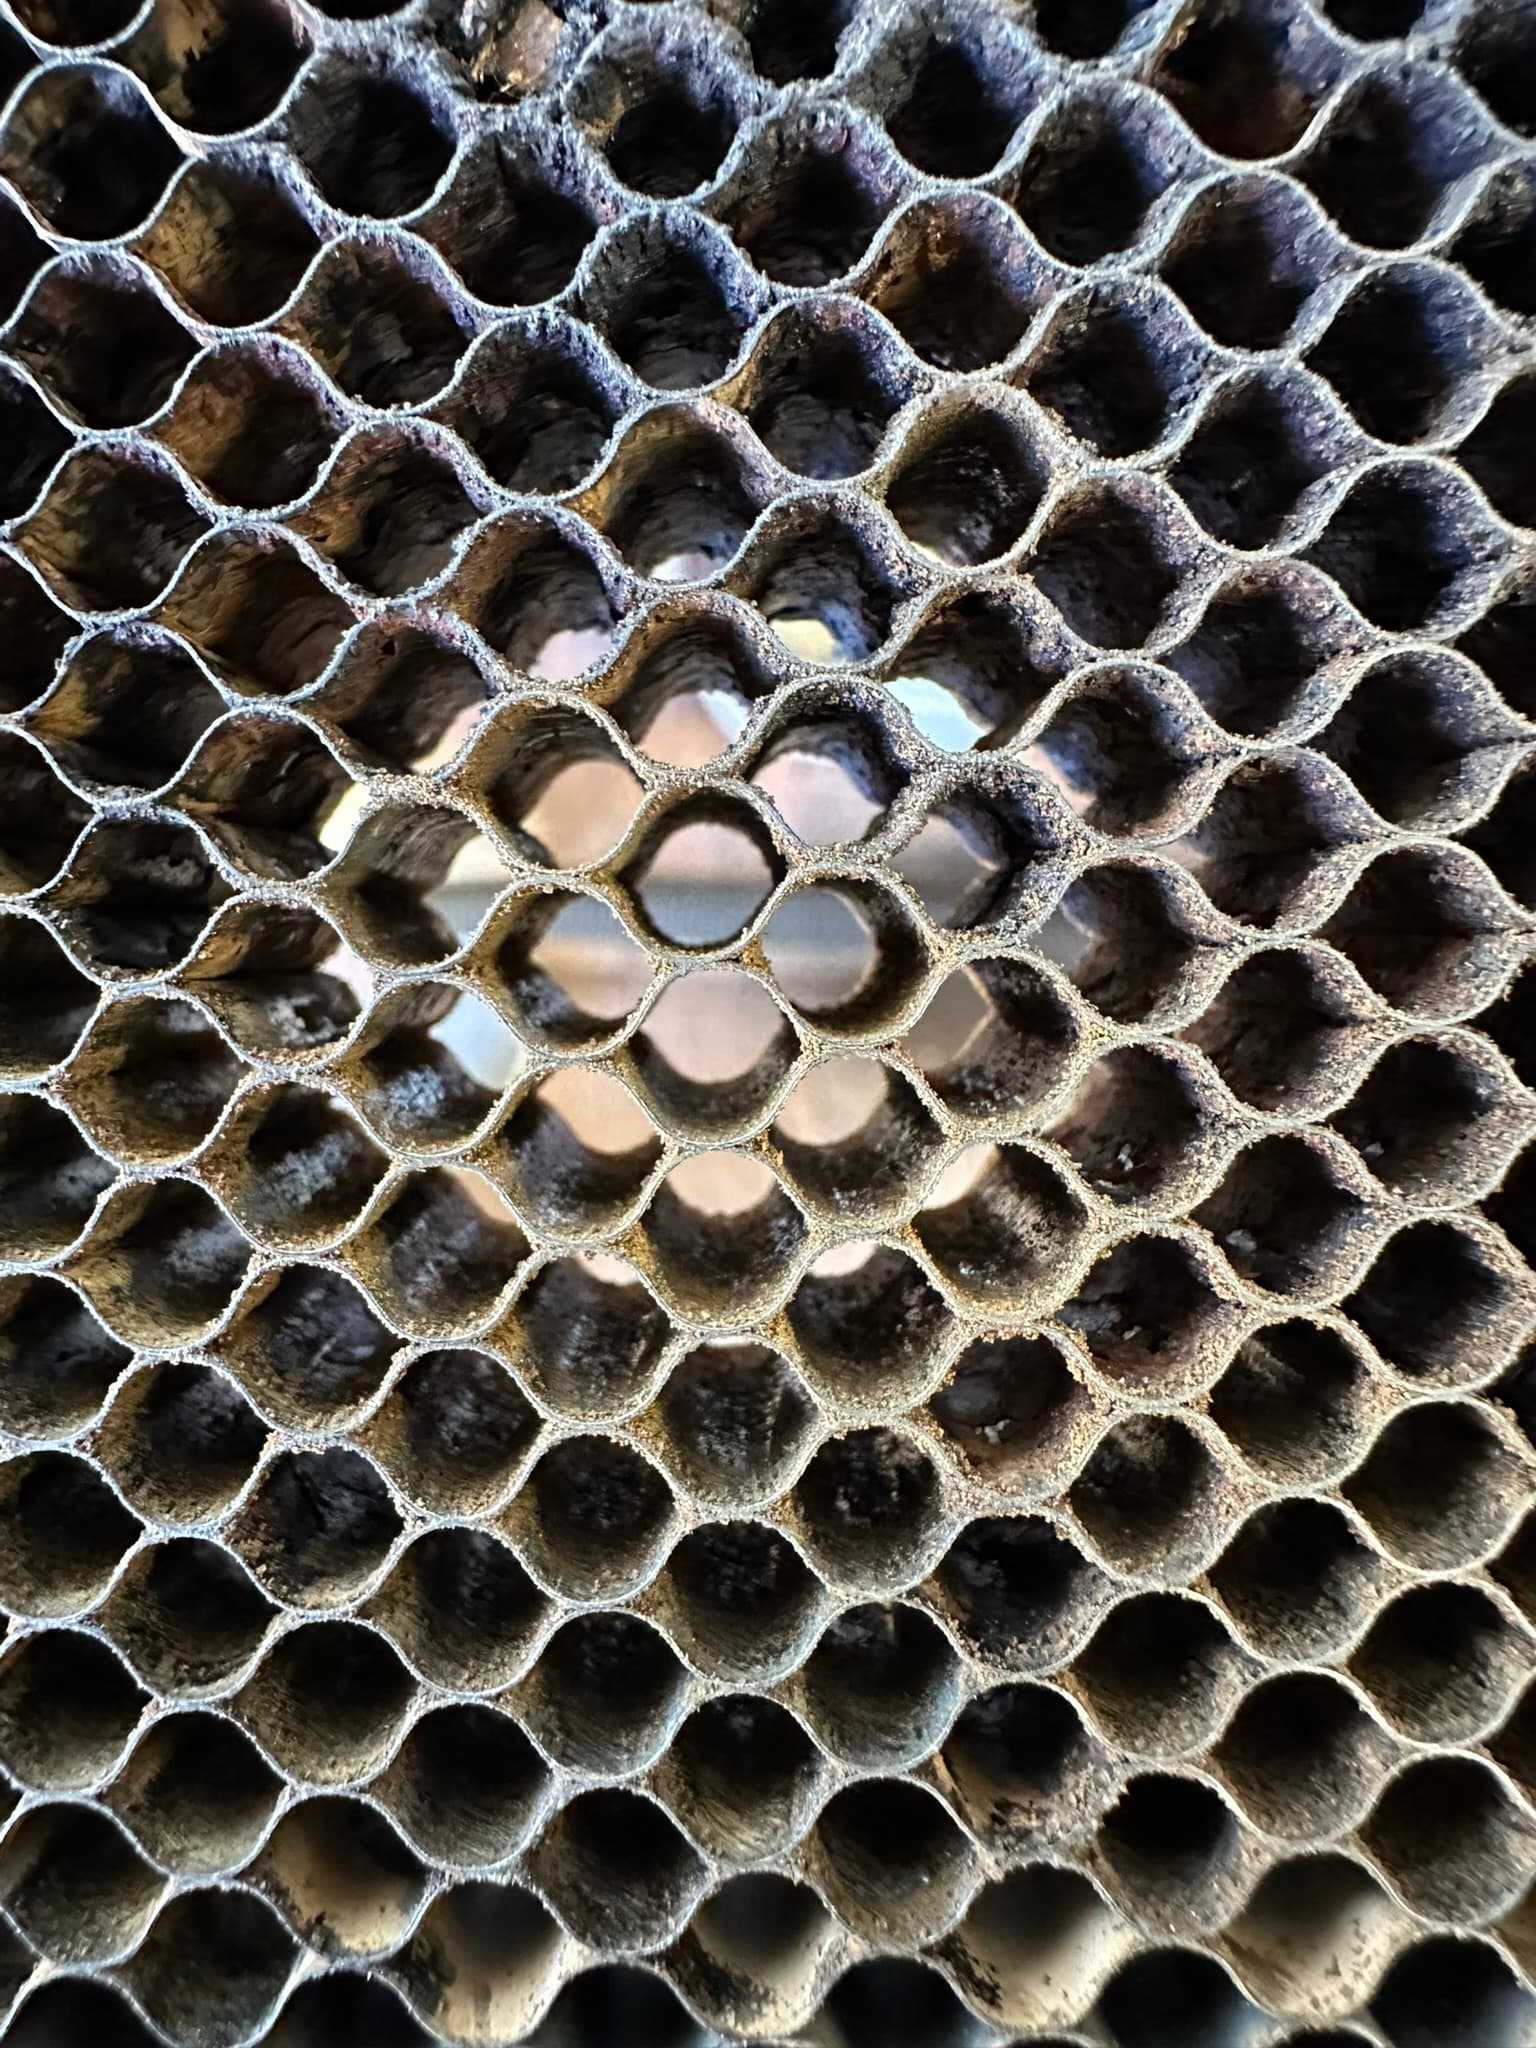
Early GF crumb trays had smaller honeycombs… The bits below are 1/4" in diameter and it is problematic using those on the really old crumb trays. However, all my recent ones are larger holes, so the 1/4" brush bit works perfectly.
It might seem really tedious (it is a bit), but I was able to clean all the holes on one tray in about an hour. Seeing as how the trays are about $150 to replace, I figure that is a good return on investment!
So while I appreciate a good clean crumb tray, flashback is not caused by junky trays. It’s the laser reflecting off the metal of the honeycomb, especially when the settings are overpowered. Even a clean tray will flash back if you’re overpowered. You might be hitting your materials a little too hard, might be time for a material test to really dial things in.
I’m surprised that you can’t clean it with the soaking/powerwashing tricks, I get lots of resin from plywoods etc and I tend to get good results. What are you cutting that leaves such a tough residue?
I thought along similar lines at first, but then on consideration, I think what might be happening here is that the resin buildup is so dense that when cutting clean material above it, the stuff that’s evaporated/blasted in the tray might be causing residue to be deposited above.
I have never let my try get that dirty. You could try oven cleaner. I usually use LA Awesom to clean the tray. I get it at my local Dollar Store, but it’s available elsewhere.
You must be an incredibly patient person! That is impressive that you did all of this tedious work. How long did it take?
What types of materials do you work with most?
The first time I tried to clean my tray, I decided to take it apart to power wash it. Not even trying, one of those bolts holding it together stripped. It was like it was made of tin foil.
Okay, perhaps I misused the reference to flashback. Back of cut material looks way worse with a dirty crumb tray regardless of what is the technical cause.
Everyone seems to have issue with my use of “flashback”. Perhaps I misused the word. My point is that the back of cut material looks way worse with a dirty crumb tray regardless of what is the technical cause.
My GF’s are machines doing production work… not just hobbies. They run about 6 hours a day, most every day. Most of what I am cutting is plywoods with MDF cores.
I wasn’t as diligent cleaning those first few trays years ago, but I have a regular weekly process now to keep my primary ones clean. I was just offering a suggestion on how to unplug those ones I had given up on. Soaking did nothing, power wash didn’t break it up either. I hadn’t tried the oven cleaner route mentioned by another user below, so I will give that a go as well.
Yeah, I clean my primary trays regularly and don’t have this problem. I was trying to reclaim old ones I had given up on. Haven’t tried the oven cleaner trick though. I will give that a go. Thanks for the suggestion!
Did not bother me that you called it that, the end result is what matters so whether it’s technically flashback or debris being vaporized, no matter. But if removing the debris results in a cleaner part, kudos!
Wouldn’t it have been nice if the tray was designed to have the honeycomb replaced easily, and they sold fresh ones? You could then clean up the old while still using the machine with the new.
What I personally started doing was putting a piece of copy paper on the tray when I needed the back side of cut parts from un-masked material to look half-decent. That is a huge fire risk and “never say never”, but after years of experimenting, I know my machine and materials.
I disagree. You need heat, fuel, and air in the correct proportions to result in fire. I think the conventional wisdom about fire risk underestimates the role that speed and cut proximity plays, A tightly sandwiched piece of cardstock will be very unlikely to ignite if your design and settings are correct.
We don’t even need to think too hard about this: Glowforge is notoriously risk averse, and their advice and PG settings are basically “hot and fast is best” and their design guidelines are roughly “not too close together”. Stick to that and fire risk is greatly reduced.
Don’t take my word for it:
Even the great bogeyman of cutting cardboard being an elevated fire risk doesn’t really play out because Glowforge has a proof grade cardboard setting. They wouldn’t do that if it were a material that was just looking for a reason to catch fire.
Caveat: Your machine, your risk. Of course you should use your own judgment here but my experience does not support the idea that a piece of cardstock under your material presents any sort of elevated fire risk.