Made a clock! ![]()
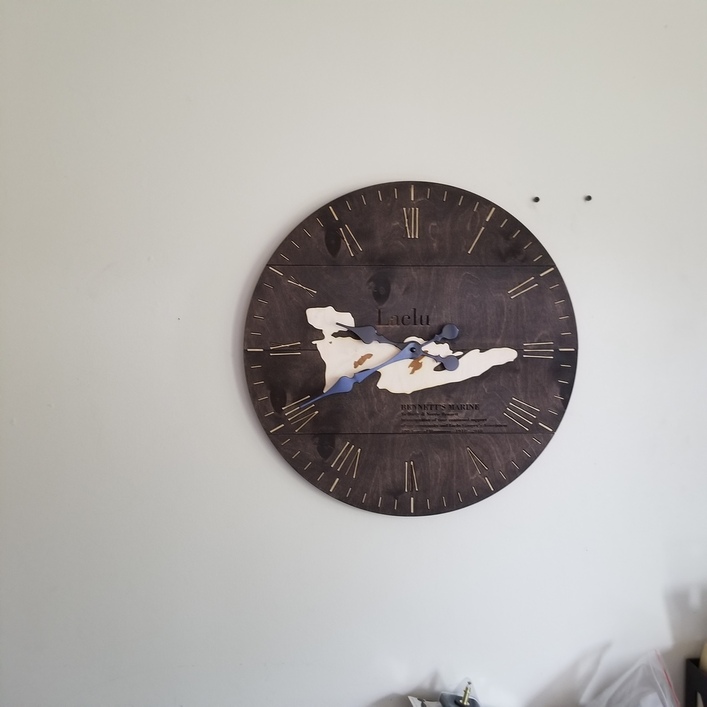


Wow! What’s the finished diameter of that thing?
2 Likes
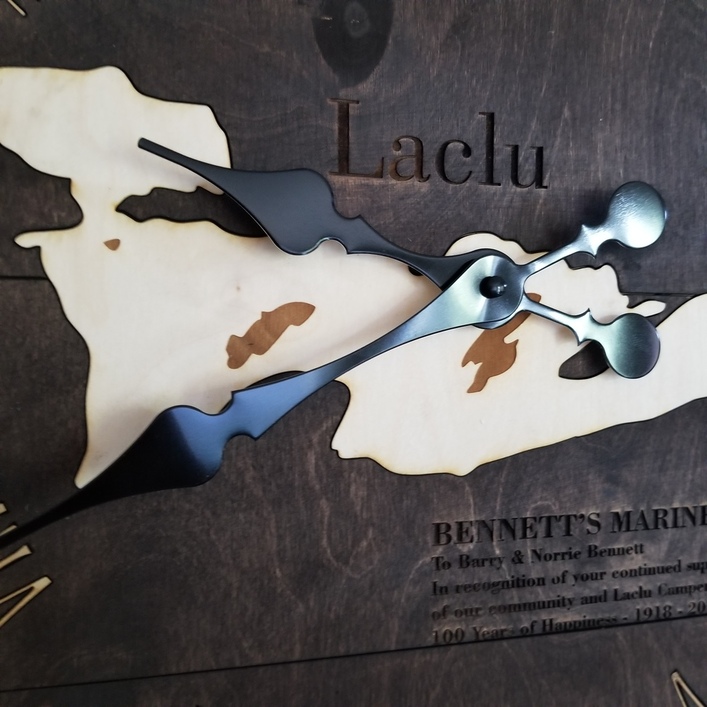
Nice touch with the inlayed numerals.
3 Likes
19 inches. All made on the laser. 
4 Likes
Wait wait wait… You cut it all on your laser as well? I’m guessing you have a Pro then. But then if so, why the 4 sections?
2 Likes
Nope! Just a good old basic! I did the four sections to make it work. I could have just done half’s but it wouldn’t have looked as good. 
5 Likes
Okay, I’m stumped! How did you cut the 4 sections? I mean, it’s 19" diameter. So your slab of wood would, by my calculation, need to be at least 19" x 19".  And the Glowforge can handle ~20" x ~12".
he can do four 9.5 x 9.5" sections, which add up to 19 x 19.
oops, he did strips. so the longest could be 19" cut out of the 20" width, but each strip would only be just under 5" tall. so it could be two 10x20 pieces of wood.
2 Likes
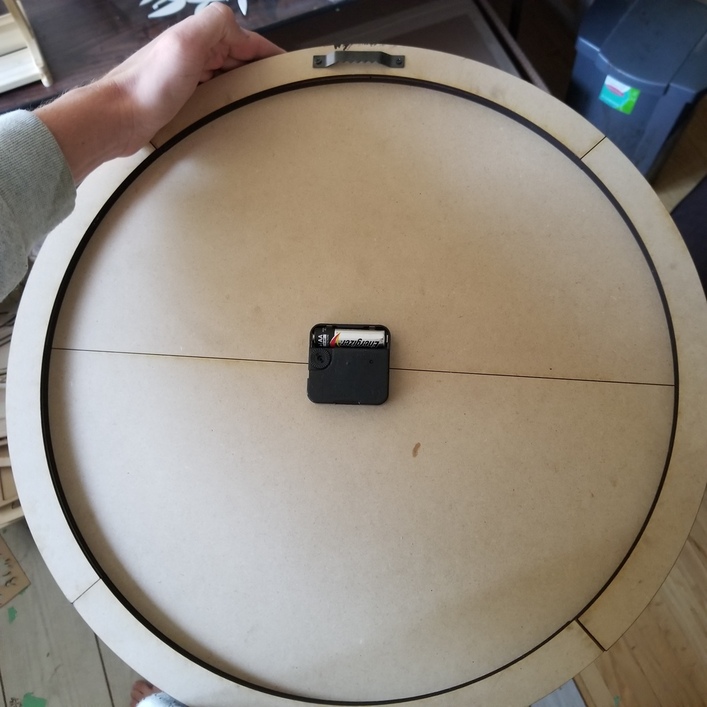
Haha. Okay I’ll give away my secrets. I did the front face in four strips (I could have done it in two 9.5in peices but by doing it in four pieces it just looked a little bit more natural) and then for reinforcement I did two layers of halfs overlapping each other behind the front face. And then around the circle I did a couple layers of one inch bands to give it a little bit more depth. I’ll post a couple photos in second to explain
3 Likes
the Outer Circle also saves material and allows for the clock mechanism to fit without it making the clock stick out from the wall weirdly. Hope this all makes sense!!
15 Likes
i agree that makes it look more like intentional design instead of some sort of limitation.
3 Likes
I think I’m not asking properly. The 4 strips… how did the come to exist? They must have been cut outside of the laser, yes? Well, at least half had to be cut outside of the laser. Right?
I actually did that in the laser tooo!!

Great looking clock! 
2 Likes
Great work making this from smaller pieces, things will fit even better if you add puzzle pieces to the edges. A bit more work during design but it pays off.
3 Likes
Yup!! It’s more work but satisfying
1 Like
i think i like it better as the four strips. it feels more like four pieces of wood stripped together. adding the puzzle edges gives it a completely different feel, and maybe not one that goes with the theme of this clock.
2 Likes
Right, it is a technique that can be used where it helps and ignored where it does not. I agree the front strips look better in this case without but the back rim would have been easier to assemble with them. The backup plate could have used them without changing the look as well.
3 Likes
It looks amazing! The wood color/stain you used complements the project perfectly.
3 Likes