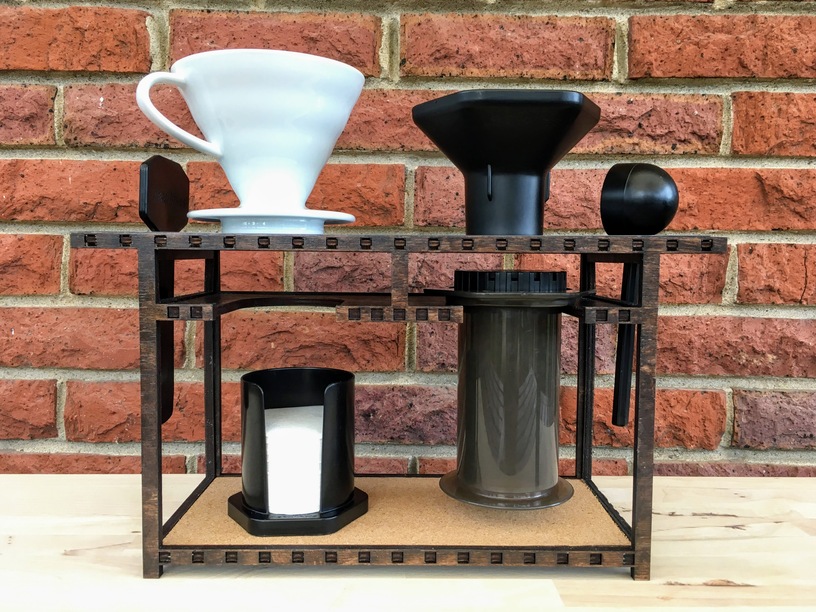
The Aeropress is a wonderfully designed coffee brewer (see a quick video demo if you’re not familiar and want to be). However, it has a number of parts, and they have been cluttering up my counter for too long. A number of different organizers are available on Etsy and elsewhere, but I didn’t really like anything I found. So I decided to make my own. Here’s what I ended up with:
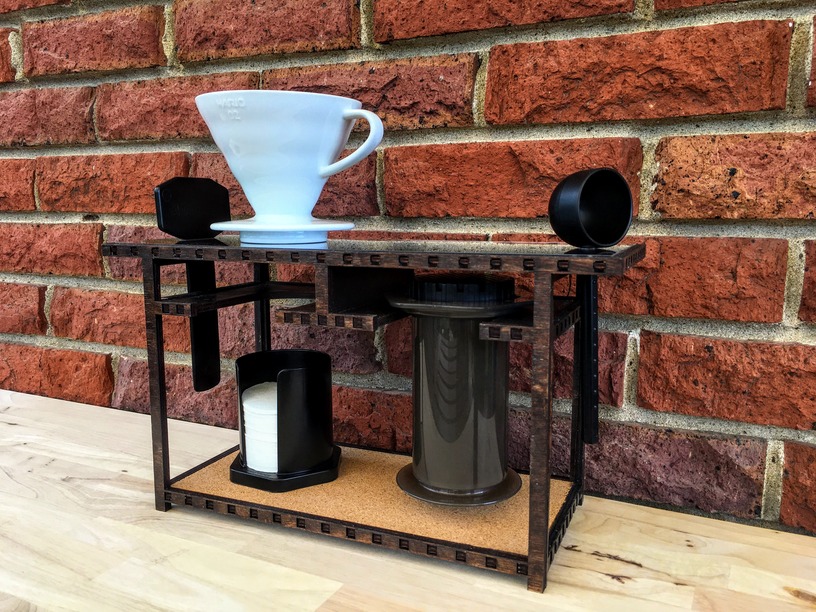
I thought it might be interesting for some if I documented the design process. The final result is a bit different from the first cardboard prototype, though the overall concept of an upper surface, a lower surface, and a shelf for hanging the flanged pieces (plunger and main brewing chamber) are all there in the original:
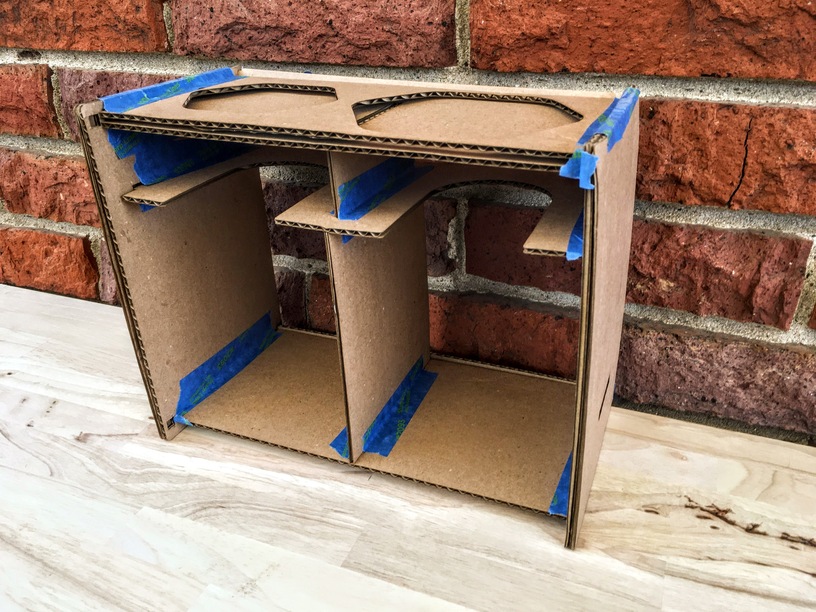
The idea of the prototype was that each of the four sides would be made out of 1/4" plywood backed with 1/8" plywood. Tab-and-slot construction would hold the horizontal pieces in place, and the outer 1/8" wood would hide the joins. The edges would all be sanded and smoothed to show off the ply layers.
However, the prototype made it clear that this thing would need to be pretty big—the base of the final version measures 10 7/8" by 5 1/8"—and the slab sides made it feel like it was a massive presence on the countertop. So I decided to rethink.
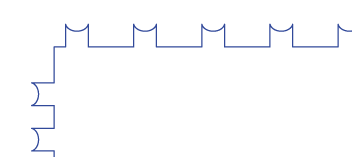
I dropped the idea of concealing the joints and decided to emphasize them instead. At first I thought I might use classic finger joints and emphasize them along the lines of evansd2’s classic post. But of course I ended up deciding to make something that was much less boxlike, and finger joints didn’t seem appropriate. I settled on mortise and tenon construction instead, which you could also call “tabs and holes”. I cut the tenons in a scallop shape to create a more interesting exterior texture. If that’s not clearly explained, the tabs are cut like this:
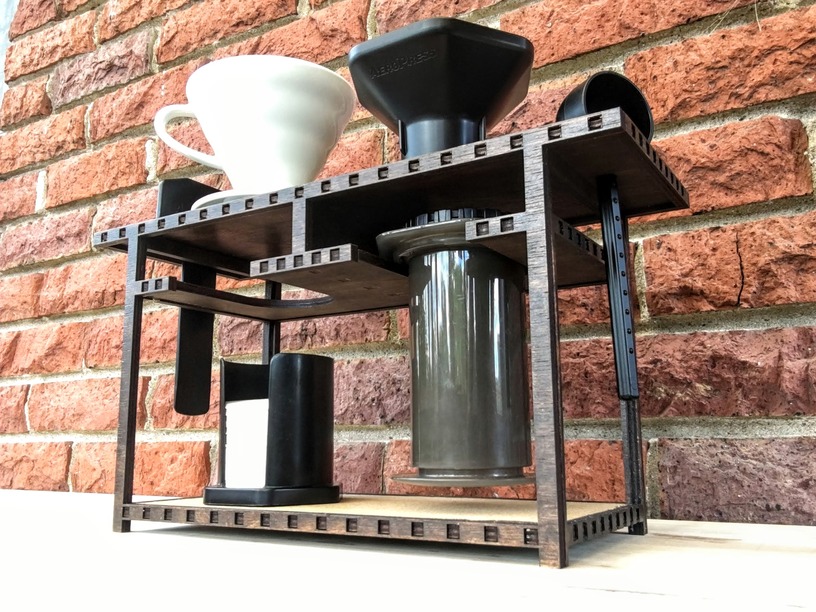
I got the idea to use the Japanese shinmei torii as the inspiration for the final shape of the organizer:
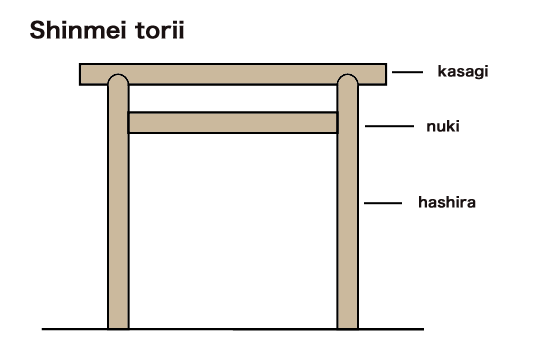
You might be able to see the resemblance here:
Before I started designing the second version, I wanted to see whether the organizer could improve more than the spatial organization of the countertop. So I made coffee for a few days with the Aeropress and noted the aspects of the experience that were suboptimal. This lead to a couple of further design goals:
- After stirring the brewing coffee, I always struggled with where to put the stirring paddle—now wet and spackled with coffee grounds—while I finished the brew. This resulted in adding a clear, easily wiped acrylic surface on top where I could set the stirrer.
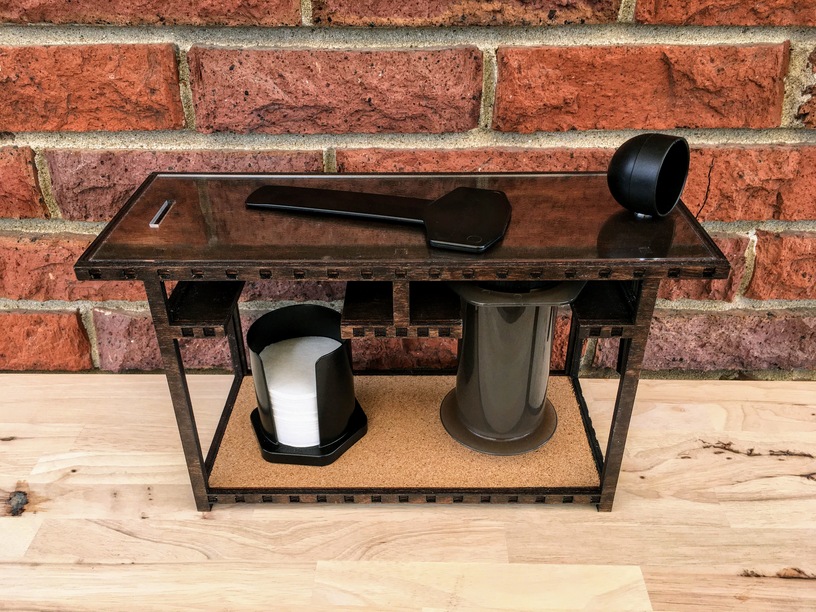
- The Aeropress is very easy to clean up, requiring just a quick rinse, but the pieces ended up lingering in the sink drying rack most of the day. Instead, the organizer itself should work as a drying rack. This is where the cork base comes from (cork being water resistant). The openness of the final design was also partially aimed at faster drying.
Separately, I thought I might also want to sell this to others, and therefore it should also be flexible about where the user put things. Maybe you don’t ever use the Aeropress’s funnel. Maybe you prefer to take the plunger out of the main chamber and hang it separately rather than keep it in the chamber housing. Maybe you want to store other equipment on the organizer too. The original cardboard prototype had cutouts on the top to hold the filter dispenser and funnel in place. I dropped these and went with a flat top, which also worked better with the stirrer situation I mentioned above.
Thanks for taking a look!

