I have been trying to make a minimalist cribbage board. Just the holes, no other adornment. The board is long enough that it needs to use the pass-through slot. I have tried several times and the GF can’t seem to understand, when pulled forward, where it left off.
Any suggestions as to how to keep the design aligned? I don’t think I understand the subtleties as to how the GF keeps alignment.
Some people have reported problems with the pass-thru feature today. I tested it and it was working fine for me, but the way the cloud services are provided, an update/change could have broken it for some users.
Try putting masking tape on the board and scribbling lines on that with a black marker to give the camera more to work with for alignment. I find passthrough gets lost if designs are too simple.
I don’t think this is how alignment works. If I understand correctly does a very specific check on a piece of data that it engraved/printed.
Can anyone confirm this? If it’s checking on a point/area that has been engraved - I will approach the problem differently. If it isn’t the case, masking tape and markings seems like a good thing to try.
It’s a little of both, pass through alignment relies on visual information from the lid camera. Much like Snap Marks.
It’s looking for that last spot that was cut/engraved to align to, but it needs enough visual information in the camera view as a whole to figure out where that is - comparing bed image at end of last operation to bed image of new material position. It accounts for both X/Y movement and some rotation.
The one time I used passthru, I slid a long stick of acrylic along the right hand side(full length front to back and just a bit longer)to slide my material against. Figure if there was less rotation for it to compensate for, the better my chances.
If the design is printed on a suitable material so that each step is clearly visible to the cameras (the lid camera for basic location, then the one in the head itself for precision alignment), you don’t need additional scribbles or what have you. Some materials, especially darker ones, will fail though.
Also, rotation is not really an issue. I have tested where I intentionally moved the material in a crooked fashion between steps, and it picked up the next step perfectly.
I do use guides in-general - I have some honeycomb bed pins that I modified to allow material to be slid down, that design is posted here (and I credit the original). I do not use the edge/lip of the bed as some say is best, as that does not give me the most reliable results. I generally try to locate my material near the middle, under the lid camera.
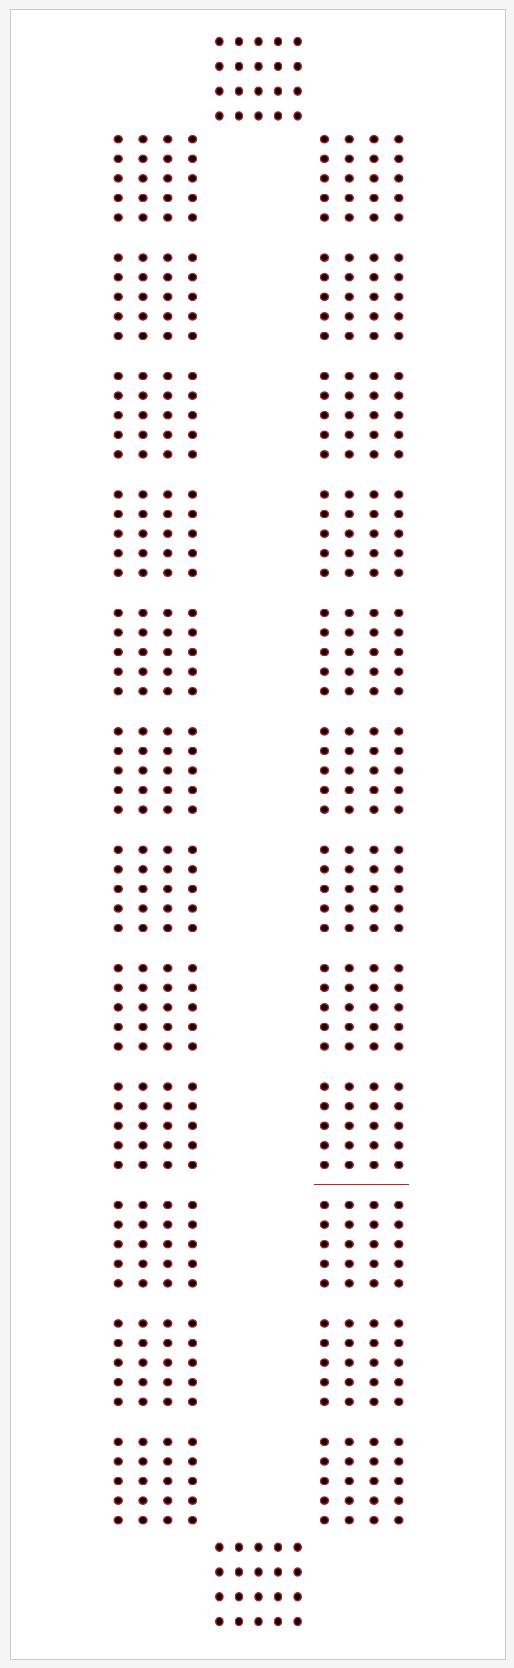
I have been successful with the pass-through with different designs - but in this case (see attached svg), there’s no real visual reference point. I have had it fail a couple of times now. When working with nice wood (in this case marbled maple), not getting it right is expensive.