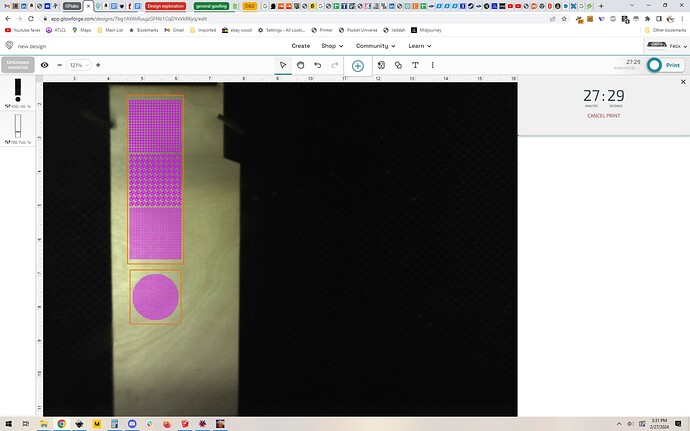
So I thought I’d try some crosshatching experiments. First manually in the GF ui, using the engrave functionality.
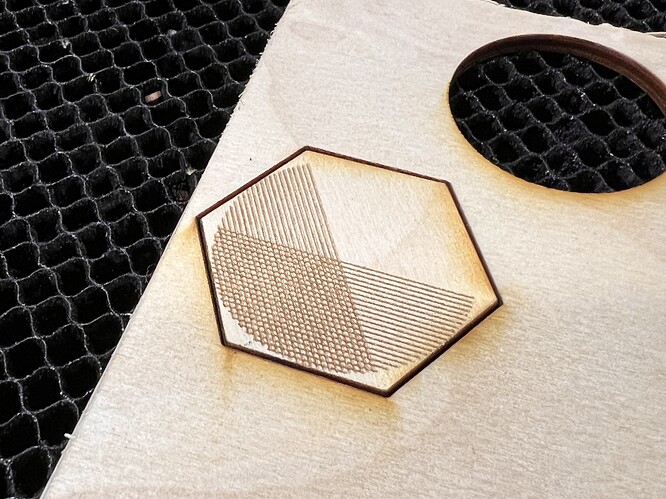
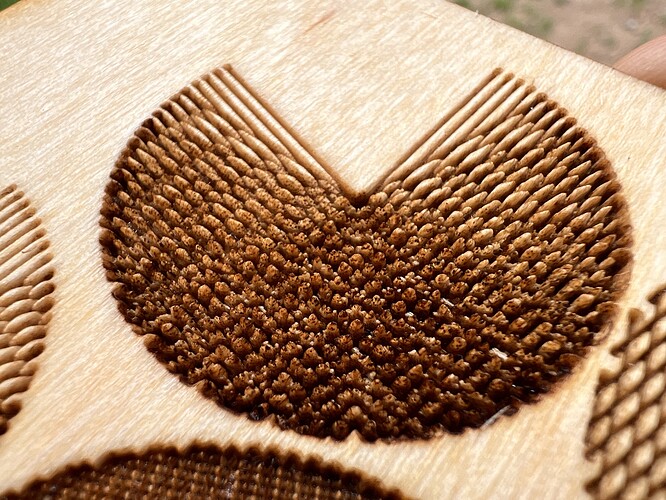
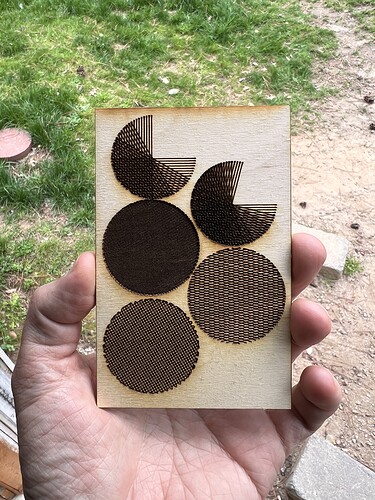
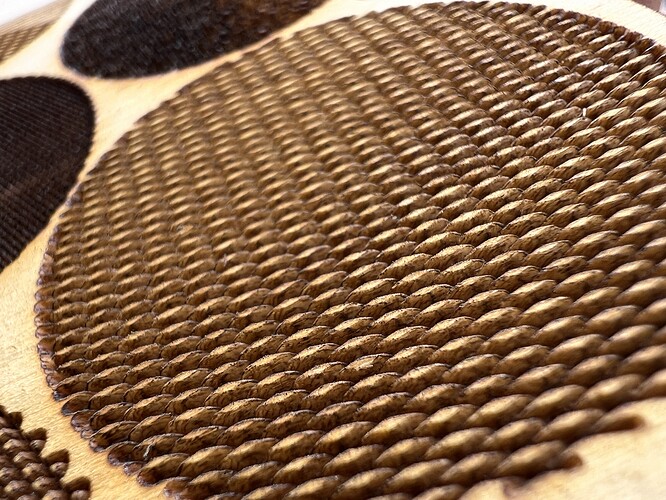
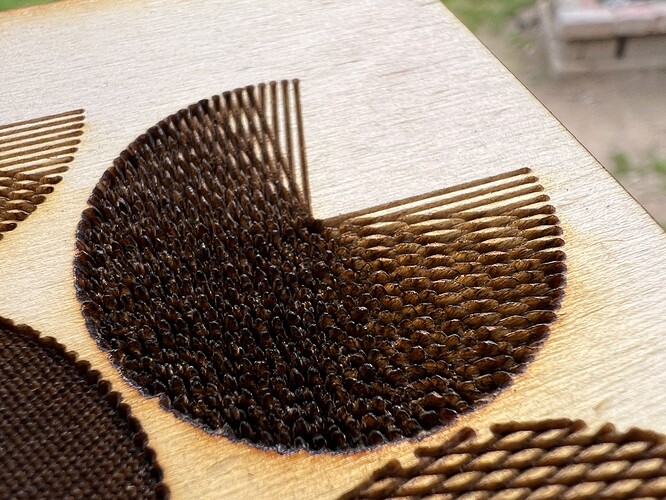
I made a semicircle to engrave inside a hexagon. I then engraved at 35 lpi, cut the hex, lifted it out, and rotated it manually by 60 degrees. Ran the engrave again. Here it is after 2 steps:
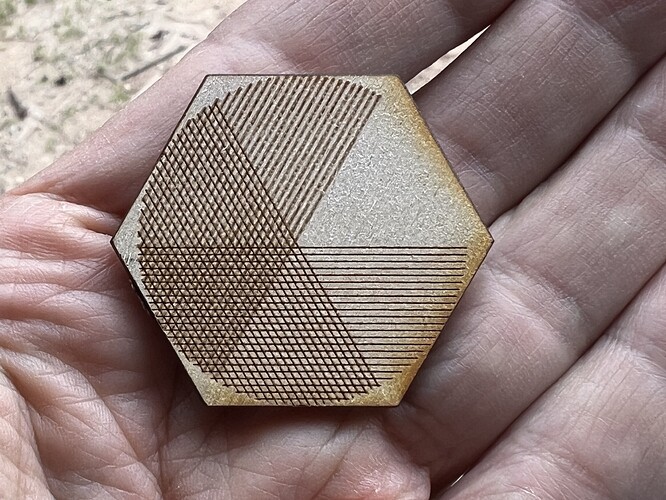
And here after 3:
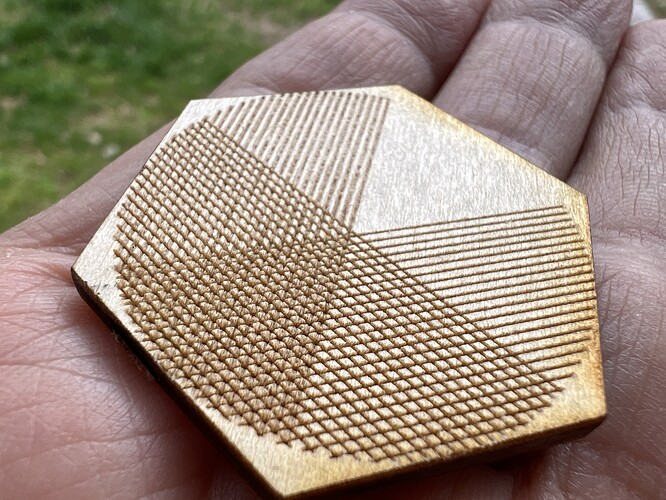
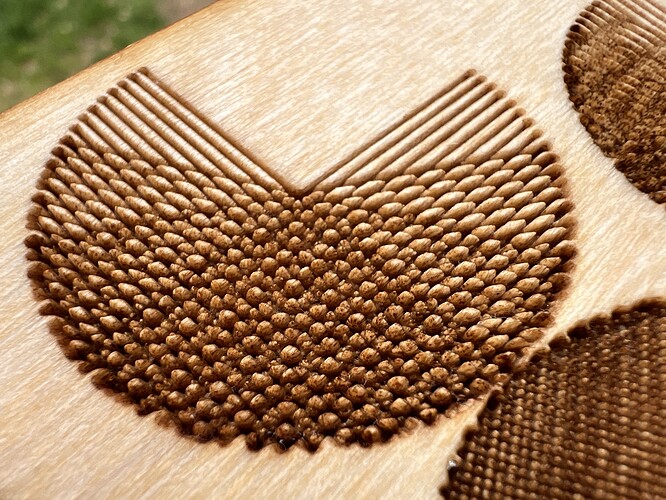
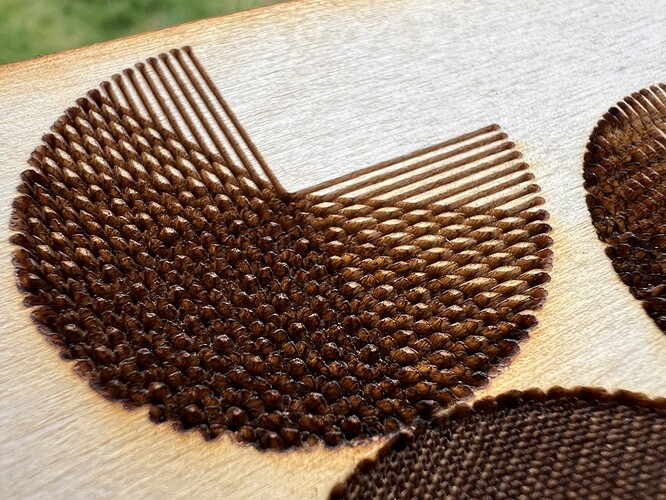
And detail:
It was cool but fiddly and I don’t know how useful.
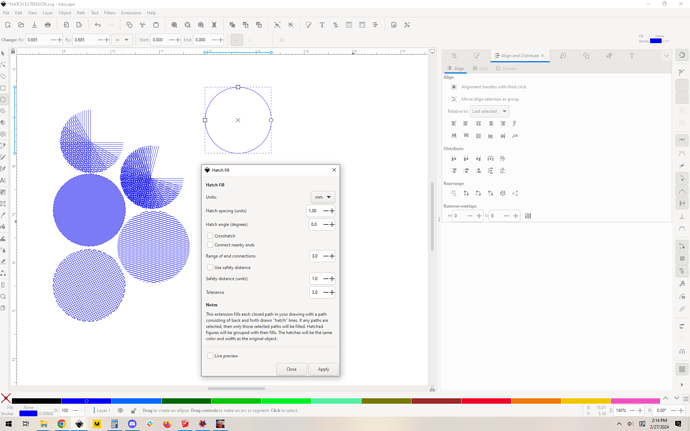
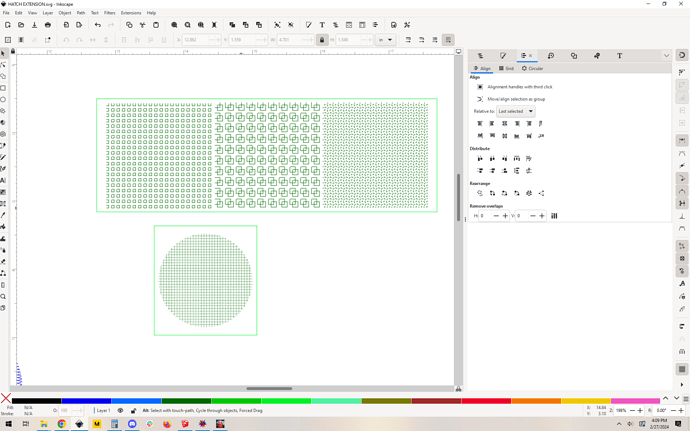
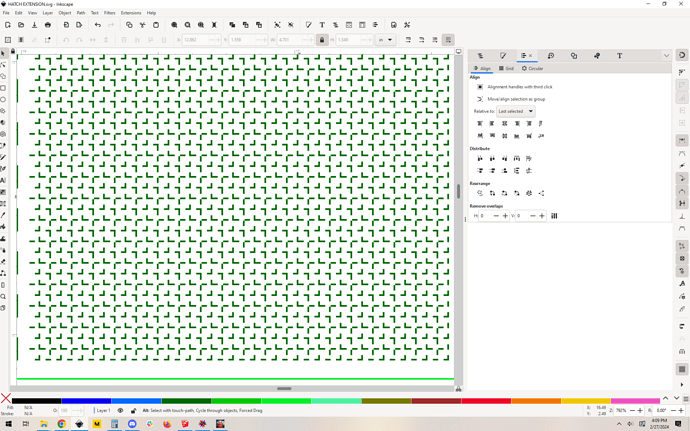
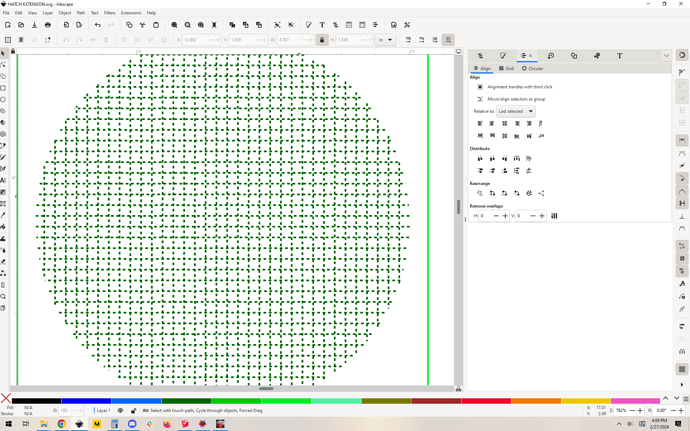
Ages ago I tried manually making fill patterns, it was tedious and this was before clean corners, so I thought maybe I should see what’s up these days. I found a crosshatching extension for Inkscape, which made convenient crosshatching. It looks like this:
And the result… This was after I cleaned the surface (don’t judge me, I used water and soap with a toothbrush, I just was moving quickly and this is a test. As such the surface got a little beat up.)
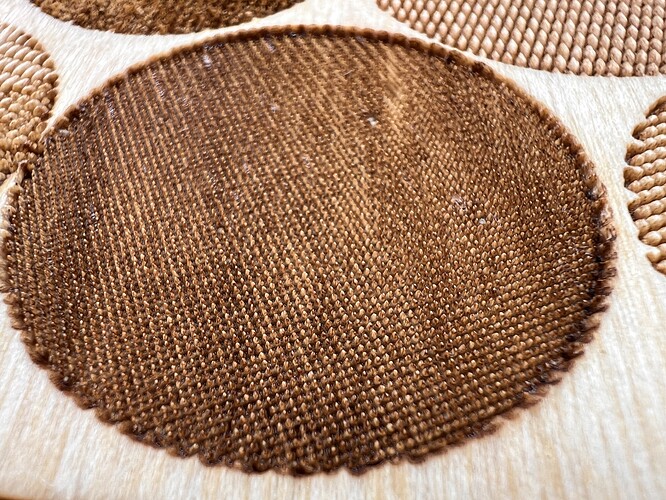
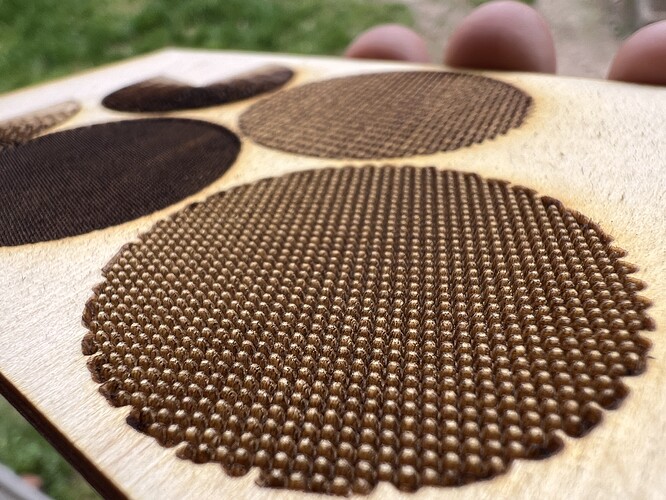
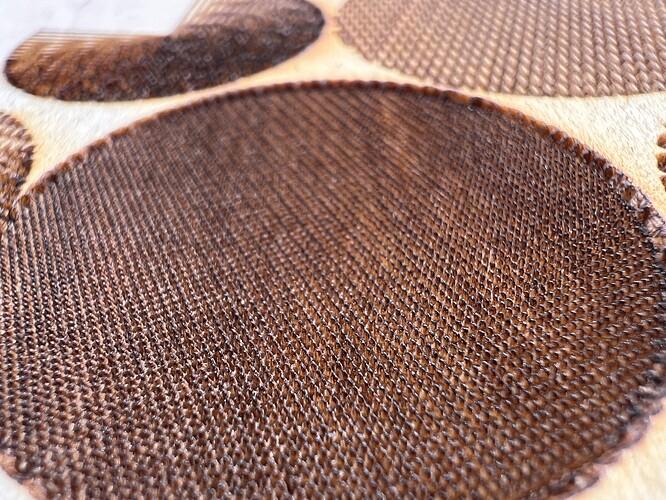
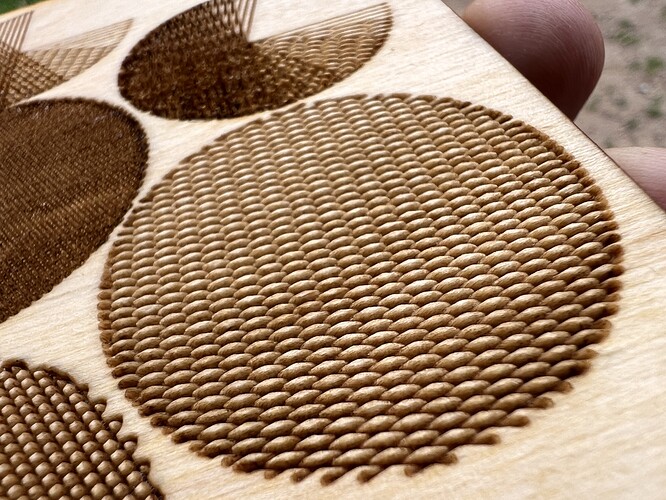
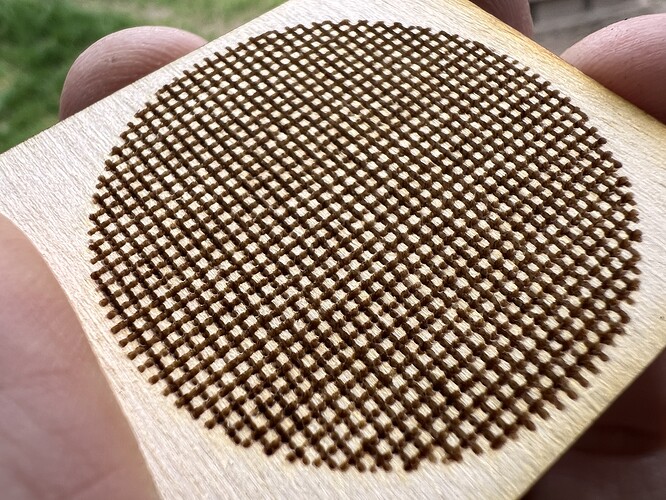
Cleaned continuous path 90 degree 0.5mm crosshatching (roughly 50 lpi I think):
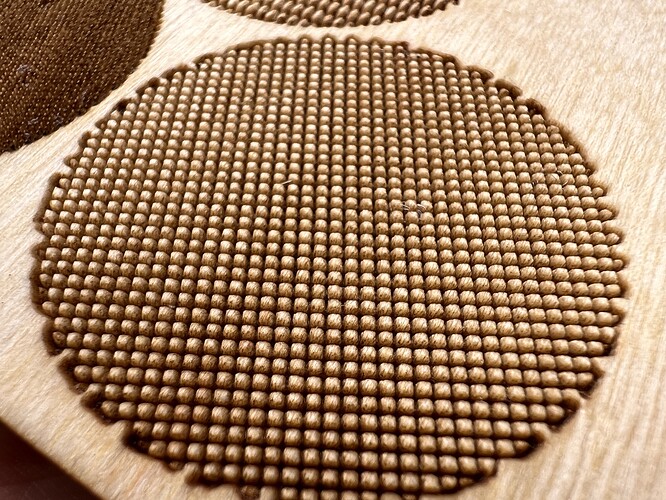
Cleaned continuous path 90 degree 1mm crosshatching:
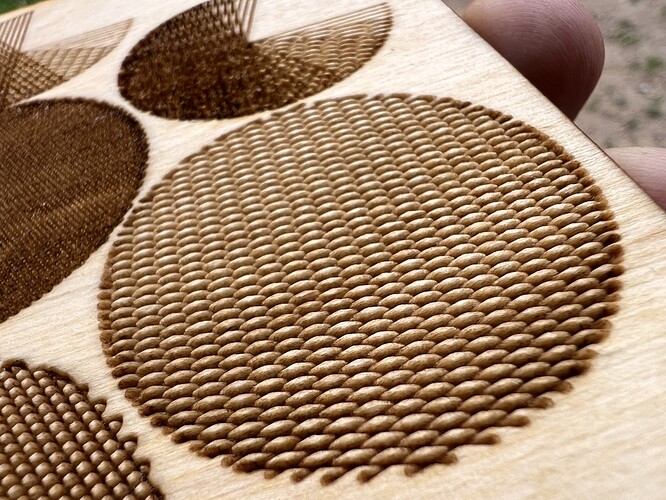
Broken-path crosshatching manually angled at 30 degrees:
6 sets of 15 degree offset crosshatched areas going for progressive shading:
3 sets of 30 degree offset crosshatched areas going for progressive shading:
So, what’s the point here? I’m not sure. It’s faster, and aesthetically it’s different. Different can be good, if you’re trying to stand out at a craft show, so… knock yourself out?
I still can’t believe Glowforge hasn’t experimented with different fill patterns to make new aesthetics and at the very least make engraves faster. I published this research years ago (December 2017), they have had plenty of time to implement it. It’d be such a win for them, I think more beneficial and interesting than many of the design features they’ve released.
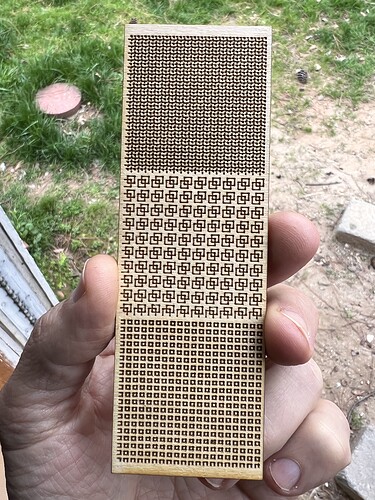
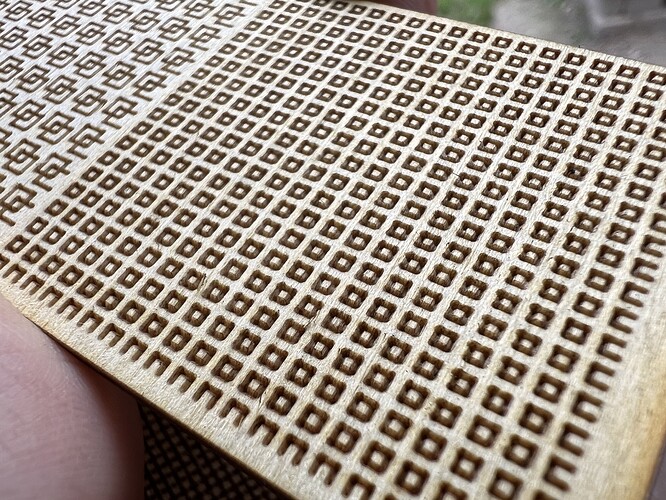
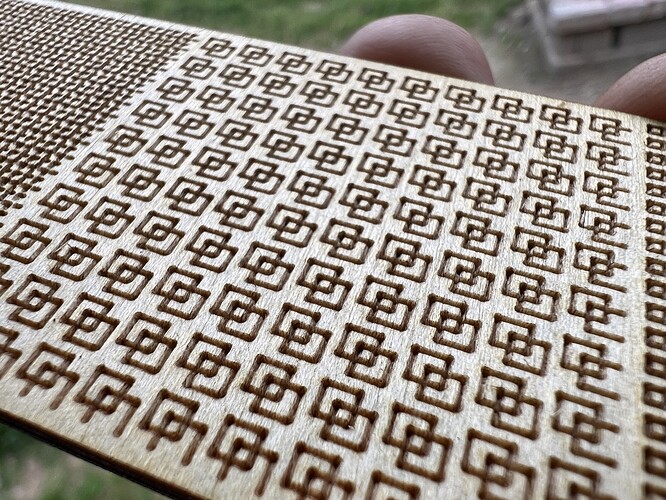
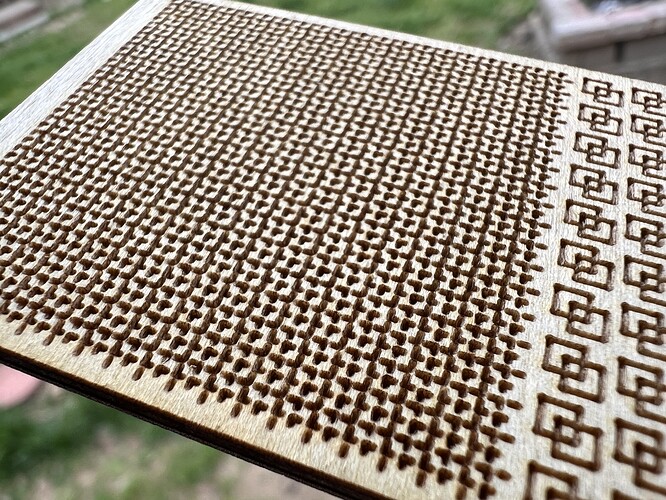
And halftones:
Anyway, laser stuff and have fun out there ![]()
