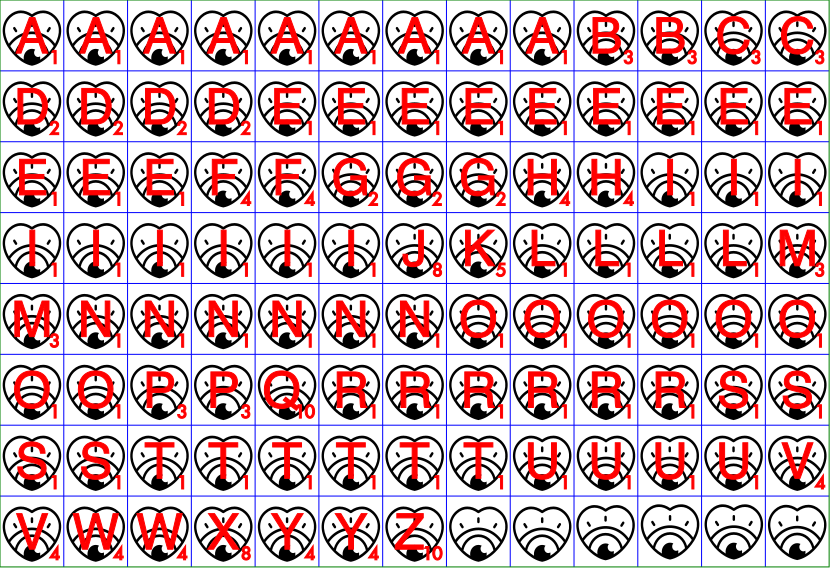
Back in August I made a Ruby program to generate SVG files for Scrabble® tile sets with custom images on the back. We’ve been pretty busy here (as you know) but I got inspired by some of the work that I’ve seen on the forum.
You can customize these by supplying an SVG file that will be used as the image on the reverse side of the tiles. The SVG file will be automatically scaled to fit the backs of the tiles.
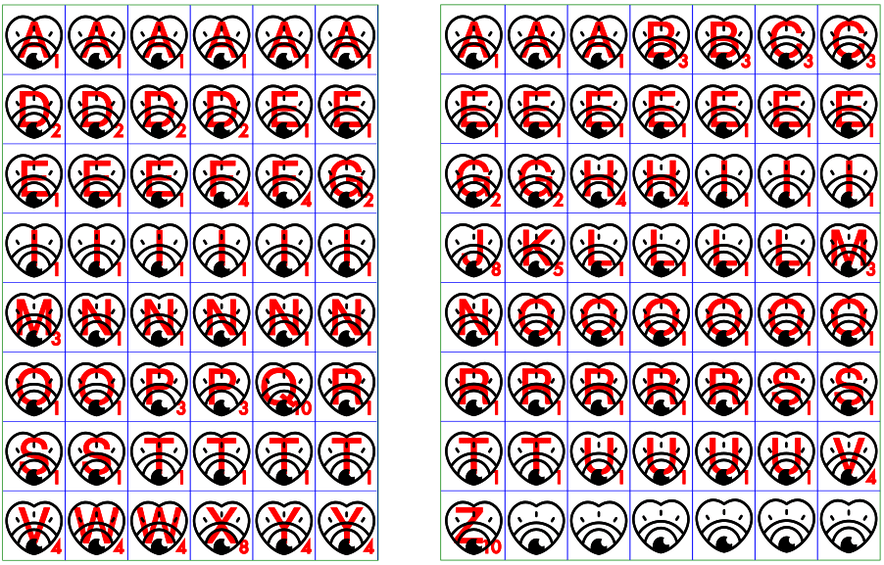
You can also choose to split the tiles into two parts for cutting on smaller pieces of wood.
I’m sharing the source so you can make your own (handy for those teaching languages with character sets not yet covered by the available game sets!).
The example output uses a heart design that was created by cianomagenta from the Noun Project.
The zip file contains examples of both the split and non-split output files as well as the Ruby source file.
Usage: ruby ./scrabbleTiles.rb [-h] [-s] -o <output_filename.svg> [ -b <back_image_filename.svg> ]
    -s, --split                      Split right and left halves
    -o, --output FILENAME            Name of output SVG file
    -b, --back FILENAME              Name of back image SVG file
    -h, --help                       Prints this help
This confirms for me that designing two-sided prints this way is fine. So, the way I’m imagining it, you tell it you are doing a two-sided print (same as you might tell it you are 3d engraving) after uploading the design to your design library and then say engrave red on front, engrave black and cut blue on back. Hit print, then push glowey button. It notifies you to flip it the long way with a pretty picture and minimal text when red is done engraving. It checks the corners for orientation (possibly automatically after detecting lid closed again) and the button glows once again when it’s done. Push it and get ready to remove masking material.
BTW, getting Ruby set up in osSierra (mac) can be a lengthy process for non-coders. In particular, installing x-code & its command line tools can take about 30 minutes.
I used the guide at http://railsapps.github.io/installrubyonrails-mac.html — be sure to follow the instructions very carefully and don’t skip any steps! For this project, you won’t need “rails” so feel free to stop at the “Install Rails” section about half-way down the page.
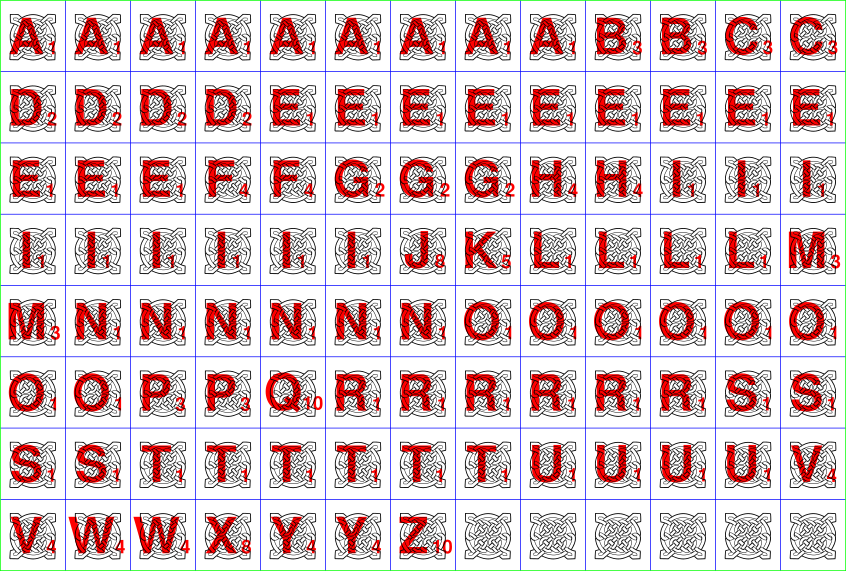
The cat got some extra lap time tonight as I worked this out on Ubuntu. Had Ruby installed but had to hunt for some gems and those needed some development libraries. Then I headed over @ctowen87’s svg library to get an image.
Took a while to figure out what the size and placement of a custom svg needed to be since I didn’t use the noun project icon. So here is mine. It will be a great test for MakForge. Not sure if I’ll keep the vector for the image or not.
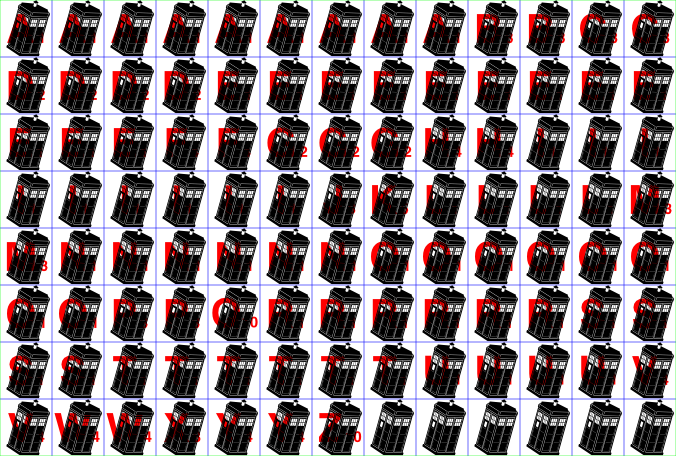
Whovian here…thanks! So is the Tardis in the background with the letter on top?
Can we use the regular tiles (not TARDIS in ones) to sell or is it personal use only…which is ok just wondering. I had something I was going to manually make.
The Tardis would be on the Reverse (back side) with the letters on the Obverse (front).
@ned would need to confirm (he wrote the Ruby script to generate the tiles), but items in this category are generally free to use for personal projects. The tardis icons are from the Noun Project and can be licensed quite cheaply.

 arrives, I can only guess how long this would take to cut & engrave — hours, I would imagine.


