Tom_A
December 19, 2016, 4:24pm
1
The forums are gettin’ pretty big these days. Lots of stuff to get through (which is great)! Here are some potentially-useful items you might have missed from last week!
Last Week’s Highlights
This site’s now secure! You may have noticed the site now uses “HTTPS.” For those who might not know, the “S” stands for Secure.
We’re working to make your Glowforge experience more secure, and part of that is switching this forum to use https security. While that happens, there may be some problems loading the forum - to work aroudn this, try refreshing your cache by following the appropriate instructions at http://www.refreshyourcache.com/
(Note: originally in Announcements, now moved to Everything Else)
Truly a useful item, to be sure: Keyboard Nudging is now enabled
Keyboard nudging is in! Just use the arrow keys.
For those curious about airflow from the fan…
A small bit of safety info:
You do need safety glasses to use the Pro. As @jbk pointed out, it protects the housing, but the Pro housing has a slot. We’re working on arranging for a low-cost pair of safety glasses.
Since this is a safety topic, per the guidelines, I’m going to lock it from further comments to avoid incorrect information being offered down the line.
A note to modders…
No, the bottom is permanently attached. This gives the case significant additional stability and stiffness versus a temporarily attached opening, which improves performance.
A Ray by Ray description of the laser path:
Here’s the scoop:
Beam exits the glass laser tube through an expensive bit called the Output Coupler (a partially-reflective window). It’s permanently welded to the laser, so it’s important to keep it clean.
Beam emerges in a custom molded plastic tube with an airtight seal that protects the output coupler.
Beam enters the solid machined aluminum turning block.
Beam hits two delicate first-surface mirrors, making a U-turn.
Beam exits the machined block through a laser-transparent window.
(thi…
Custom Scrabble Tile Generator
Back in August I made a Ruby program to generate SVG files for Scrabble® tile sets with custom images on the back. We’ve been pretty busy here (as you know) but I got inspired by some of the work that I’ve seen on the forum.
You can customize these by supplying an SVG file that will be used as the image on the reverse side of the tiles. The SVG file will be automatically scaled to fit the backs of the tiles.
You can also choose to split the tiles into two parts for cutting on smaller pieces of…
Double Sided Engrave Workflow
Sorry, I didn’t describe the workflow. What I do is this:
tape the material down at the corners so I don’t disturb it when I flip the engraved piece
ignore all steps except one of the engraves (either the letters side or the back side) and the outside cut border (the green rectangle)
order the steps so the cut is last
do the first engrave followed by the outline cut
use a piece of tape to pick up the cut-out rectangle
flip the rectangle over (using the remainder of the material as a jig to hol…
Mention at 53.15 mark by Tested
Pre-Release Glowforge from Design to Print
Custom Escutcheon
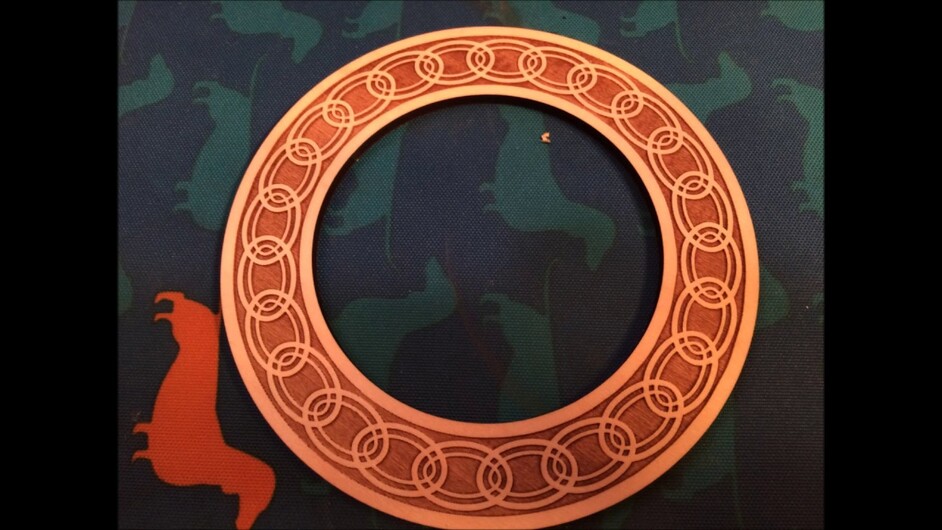
Twice I have forgotten to reconnect the vent hose. It’s been in the single digits and I don’t have a blast gate so I disconnect the hose. Not too bad, except once it was cutting leather and that’s unpleasant. I had been working on circles with @jules and it turns out that one of the rings we cut was exactly 1.6" in for the center hole so it fits perfectly around the print button on the Glowforge:
[image]
That gave me an idea then:
[image]
The design process gets a bit clearer for me with e…
Nautilus
I felt the need to have something for my kraken to play with so I dug up this design. I took a few tries with it deciding what should be a score line and what should be an actual cut. This one still has a few fragile pieces. I think the hardwood was probably a bit more fragile for the parts like the propeller blade than plywood would have been. I’ll probably also reduce the power for the score lines by half next time. [image] [image]
Kitchen Matches Box Holder
Over a year ago I started my first design in preparation for getting a Glowforge. Can you believe I actually thought I might have one in time for Christmas 2015?
I would have done this sooner but I had to redesign for the ProofGrade Maple plywood. One reason why doing a parametric design pays off. I just redid it in Inkscape using the exclusion/difference tool and offsets to make the tabs. After an initial run the other night to dial in the living hinge trough and test tab tolerance I was ready…
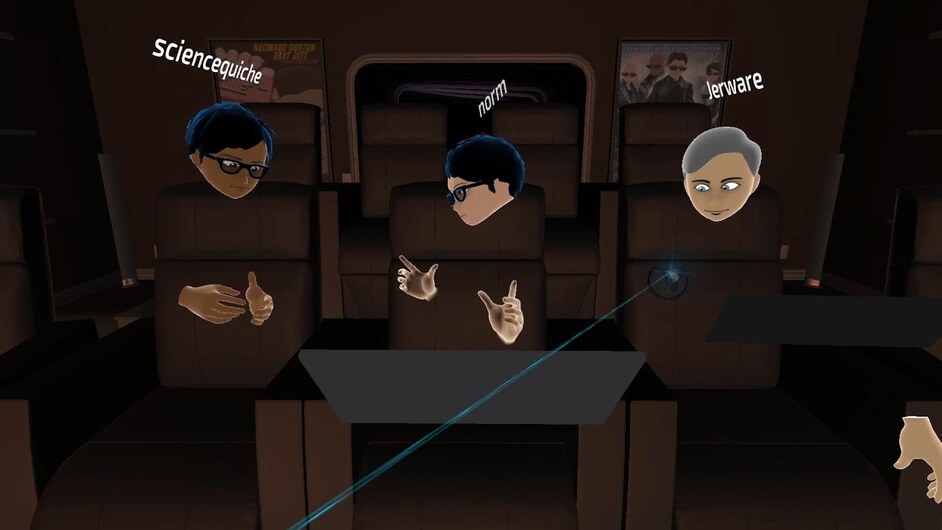
MakForge Live Stream - wherein questions are answered and demonstrations happen
Jewelry Tree
I finally finished off this project after a few weeks, and I’m really happy to be able to share it here.
Feeling Gelty (concept courtesy of the junior beta team)
Gingerforge
With some dough and candy left over from another gingerbread project , I thought I’d try my hand at making a 1/4-scale gingerbread Glowforge.
[image]
If you open the lid, you can see the laser tube, the honeycomb grid, the laser head and gantry, and a little circuit board. Oh, also the work-in-progress that just finished being cut.
[image]
Of course, it’s 100% edible, as all such creations should be. And all I could think while I was making it was how much easier it might be if I could lase…
Acrylic Lamps and source for pre-made bases
Sonic Boom
Rotational Art
I love the line artwork style and since I saw the amaziograph app I knew I could laser cut something similar and it would look awesome.
[image]
Mirrored Cardstock
Hi all! After the latest delay I decided to join a local maker space so I can get familiar with laser cutters in general. As a stationer/calligrapher the first thing I thought to make was a new year’s card. I used Mirri card stock, it cut pretty well and I love how it turned out!
[image]
[image]
[image]
Christmas Baubles
I made some Tree ornaments for friends this year. I reckon they would cut very well with proofgrade materials (I just need a glowforge to cut them on). Anyway, files as usual over on my site.
[image]
36 Likes
MikeH
December 19, 2016, 6:34pm
2
Nice job on the summary @thomas.alessi.jr
5 Likes
hansena
December 19, 2016, 10:01pm
3
Well Done! Thanks for doing the Highlights this week!
3 Likes
I am digging these weekly highlights! Thanks for putting these together
4 Likes
dan
December 20, 2016, 10:55pm
5
These are super cool! I send them around to investors, employees, etc who want to keep up on what’s going on on the forums, too.
13 Likes
Jules
December 26, 2016, 10:50pm
7
Okay, there it is…this one was wandering around the ether for a while! Chuckle!
1 Like
Blame the creepy elf on a shelf for stareing at people too long and not getting his day job done.
3 Likes
Jules
December 28, 2016, 2:07am
9
Those things really do freak me out…shudder!
Tom_A
December 28, 2016, 3:07am
10
Dude. Those things are the creepiest. I have one, of course, but I think I’d rather have a possessed troll doll.
4 Likes
![]() KEEP FORGING AHEAD!™:glowforge:
KEEP FORGING AHEAD!™:glowforge:


