Custom Wooden Claymore Sword Build

I was commissioned by Glowforge to make a sword for their regular employee raffles. I was given carte blanche, just to make them a sword that I thought was worthy. I looked at my sword projects and decided that revisiting my old claymore design and customizing it for the occasion was just what was needed.

Here it is, dollar bill for scale. It’s big, roughly 53" (135cm) tip to pommel.


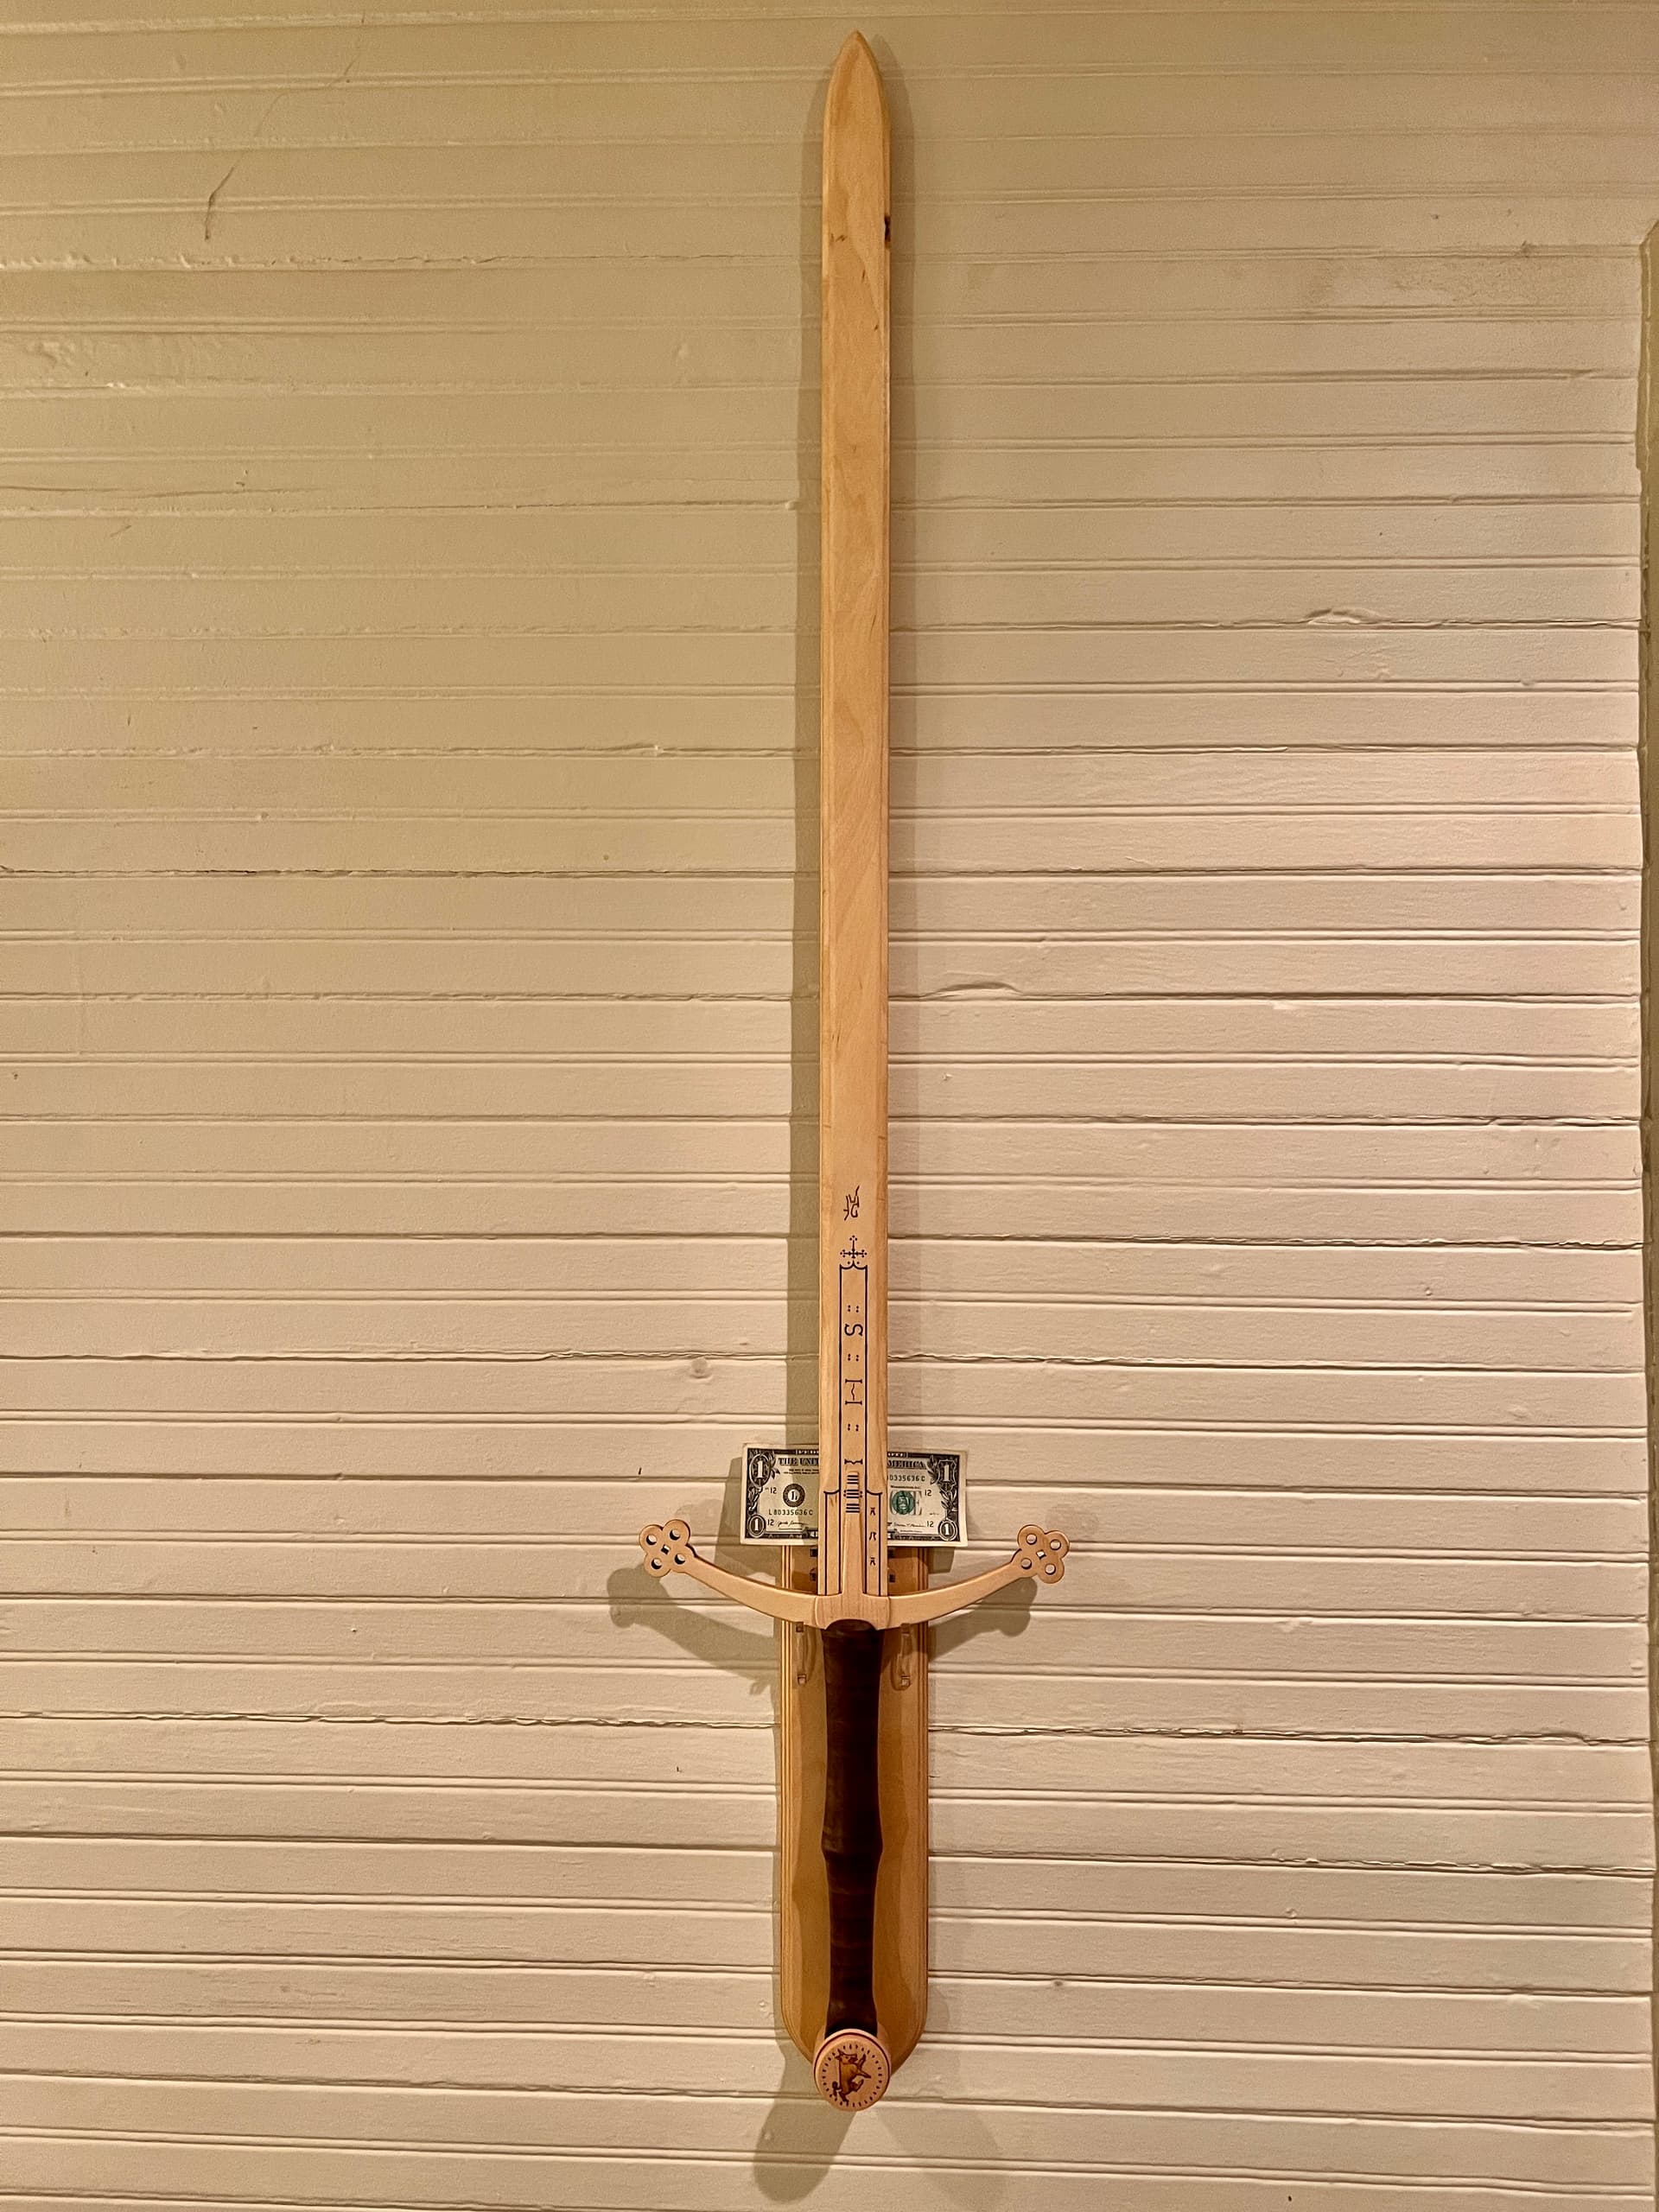
Baltic Birch plywood, Figured Black Walnut, Yellowheart, Redheart, Maple, 1/4" clear acrylic, Brass.

The sword dimensions are based on a 16th c./17th c. sword at the Metropolitan Museum of Art. You can view that sword here:

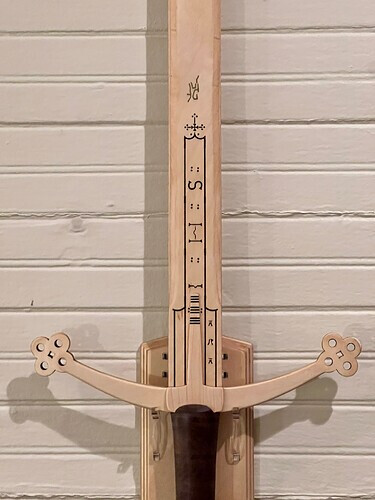
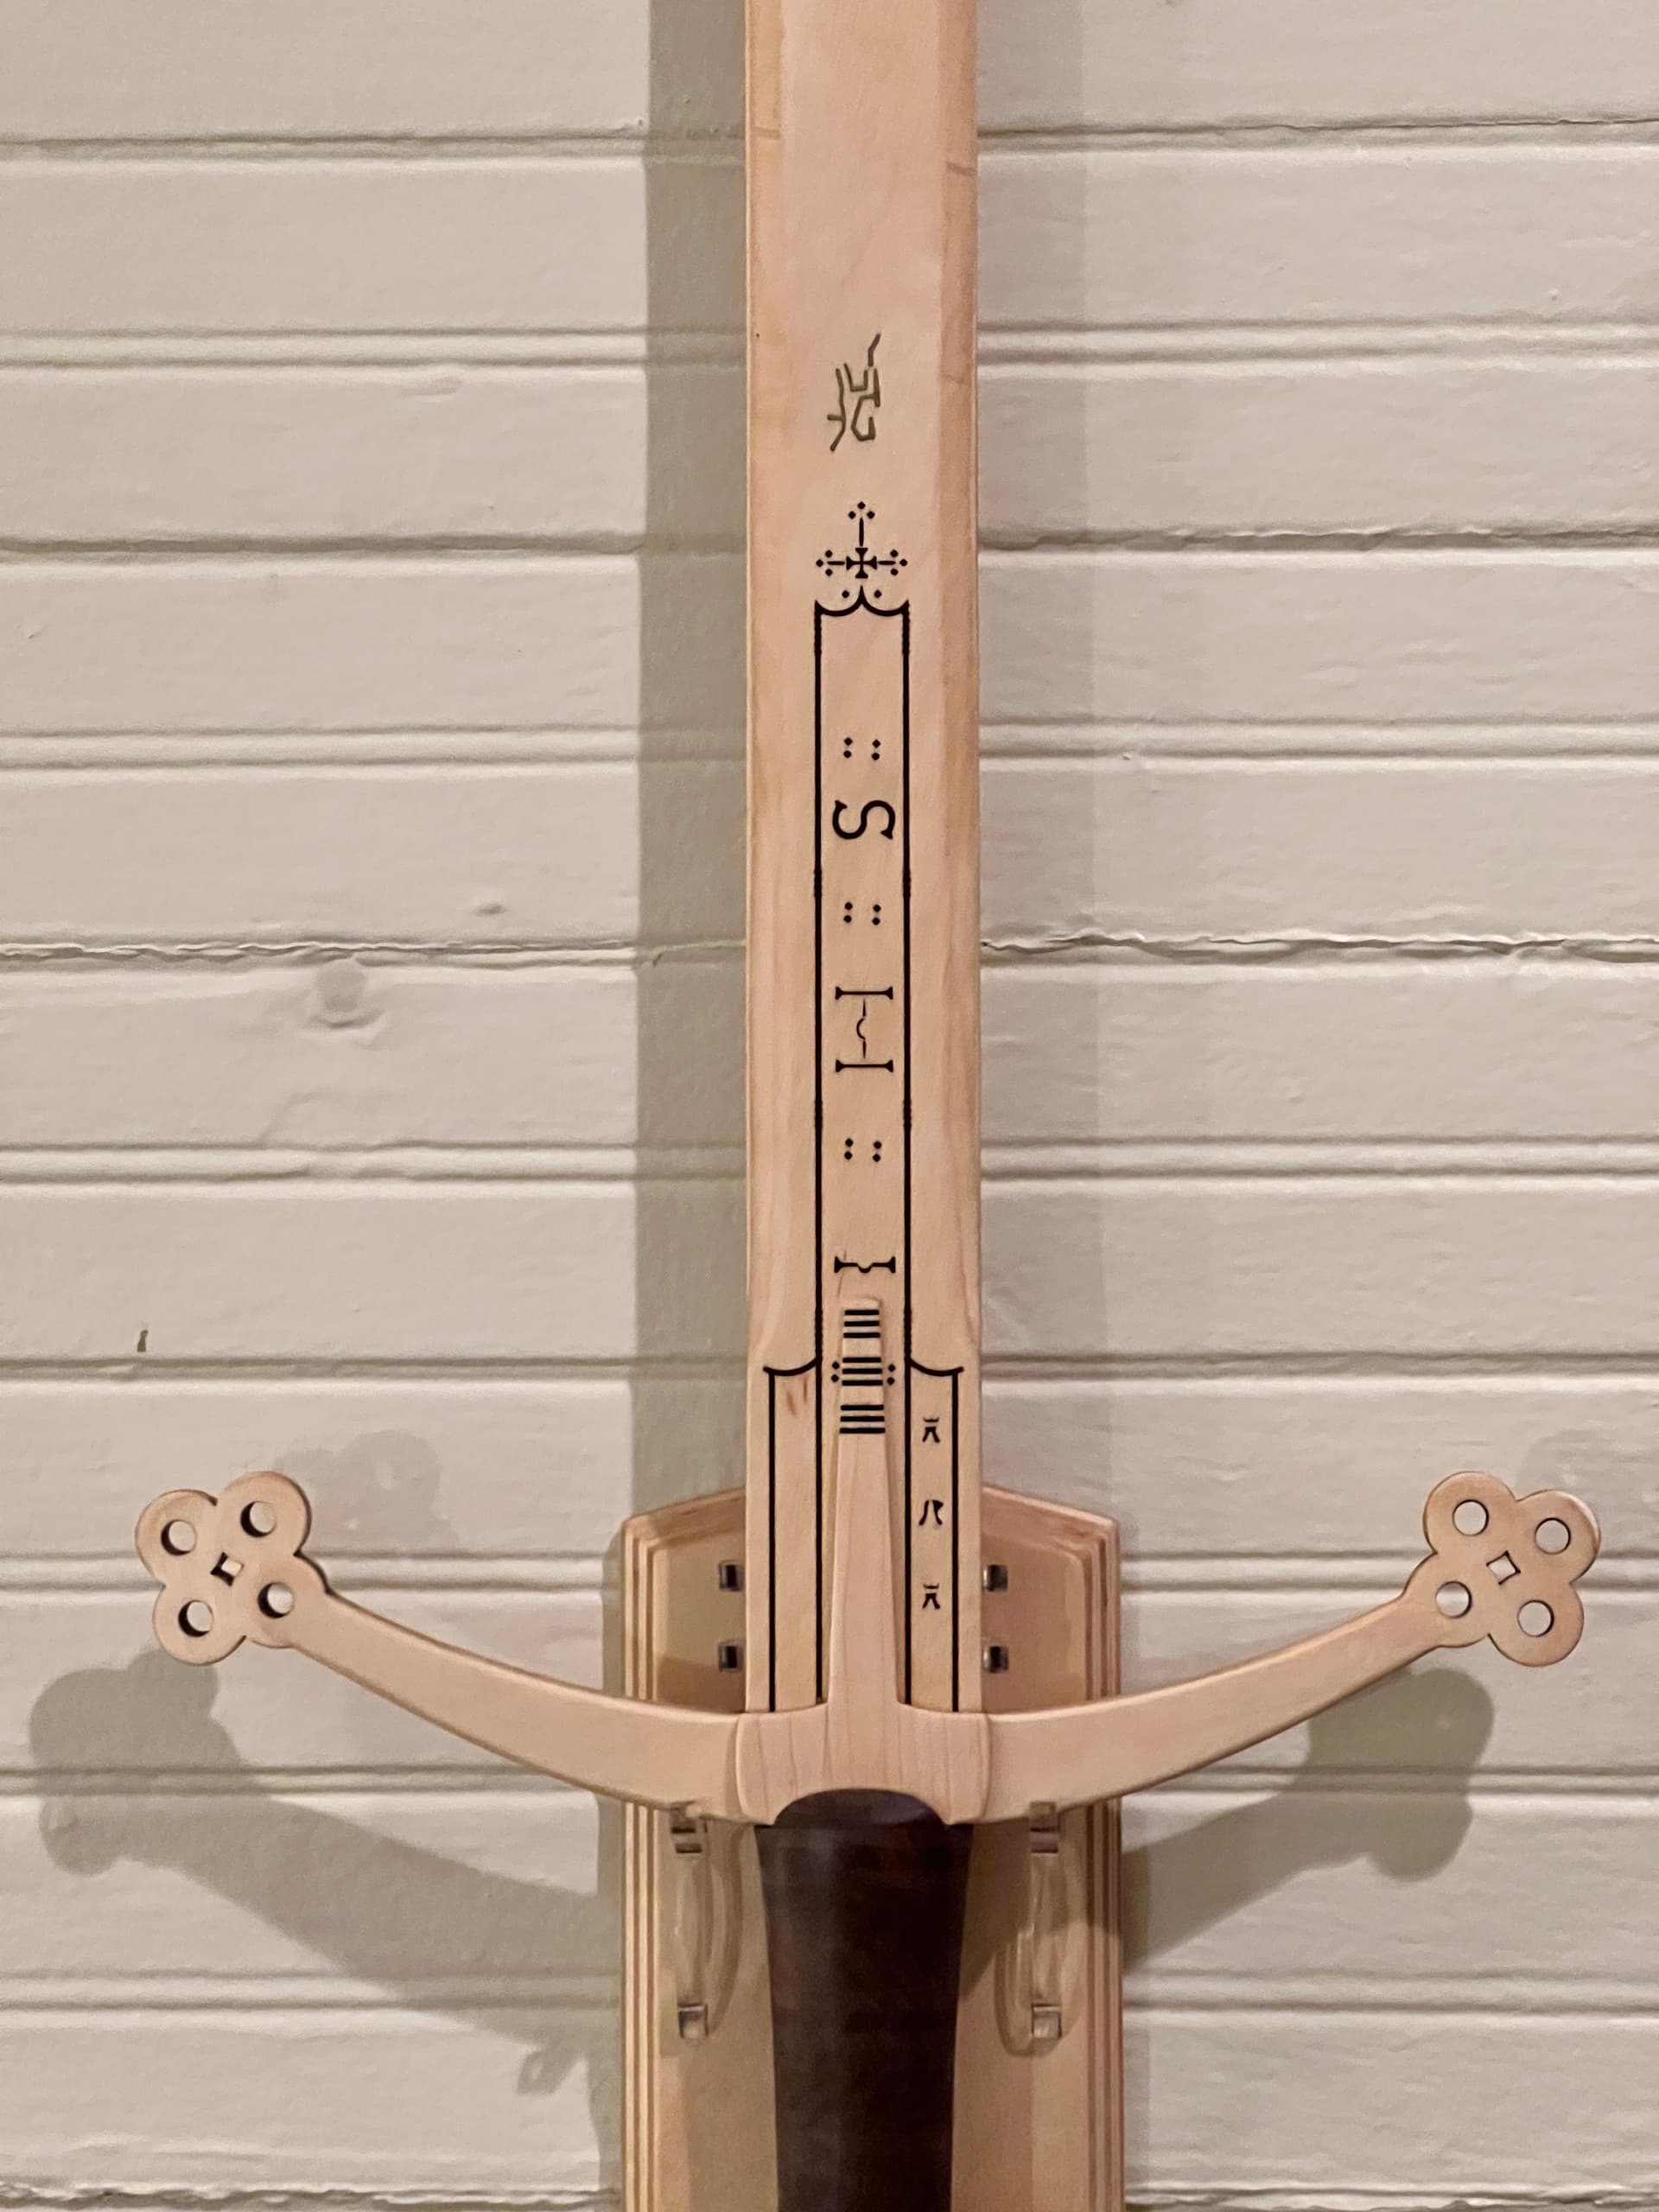
Some more pictures. The blade is engraved with the same design as the original, but as if the designer had modern tools: lines are straightened, symmetry is more exact, that sort of thing. The original has a stylized inlaid brass engraving whose meaning isn’t exactly known – possibly a horse. I inlaid powdered brass in the the blade to match it.


Baltic Birch plywood, Figured Black Walnut, 1/4" clear acrylic, Brass.

The handle is layered 1/8" walnut, sanded to a smooth finish and sealed with satin polyurethane. It’s very comfortable in the hand, and since it’s the way that people will interact with the sword it pays to take your time and get it exactly right.


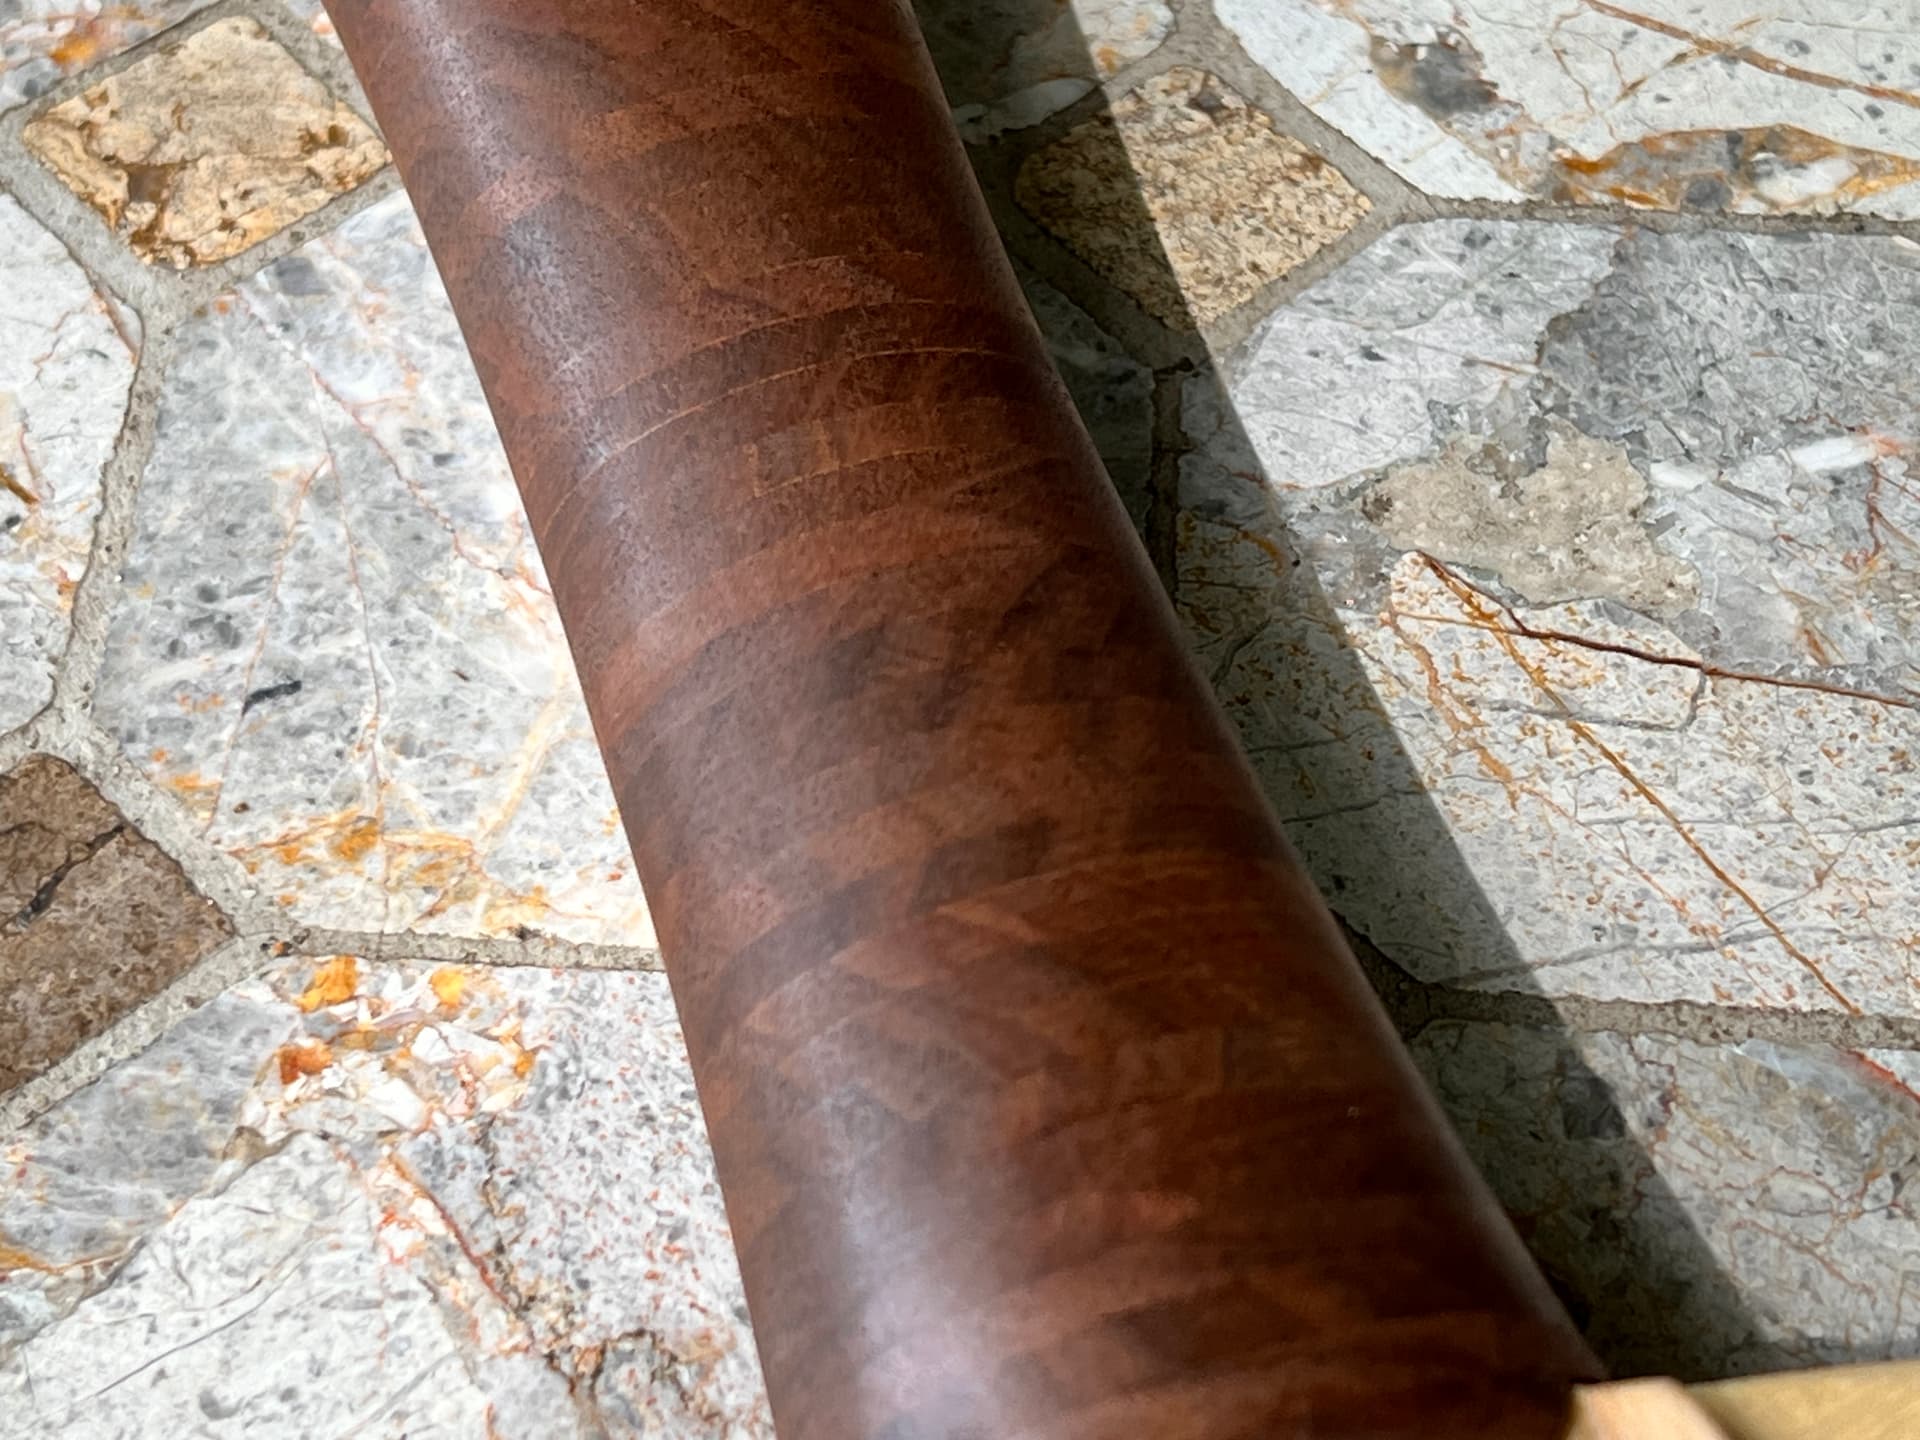
Figured Black Walnut.

The Pommel designed is centered around the boar rampant, and is a signature – the boar is featured on the Evans family coat of arms. The boar itself is an inlaid engraved piece of yellowheart, the pommel main body is hard Maple, and the accent ring is redheart.


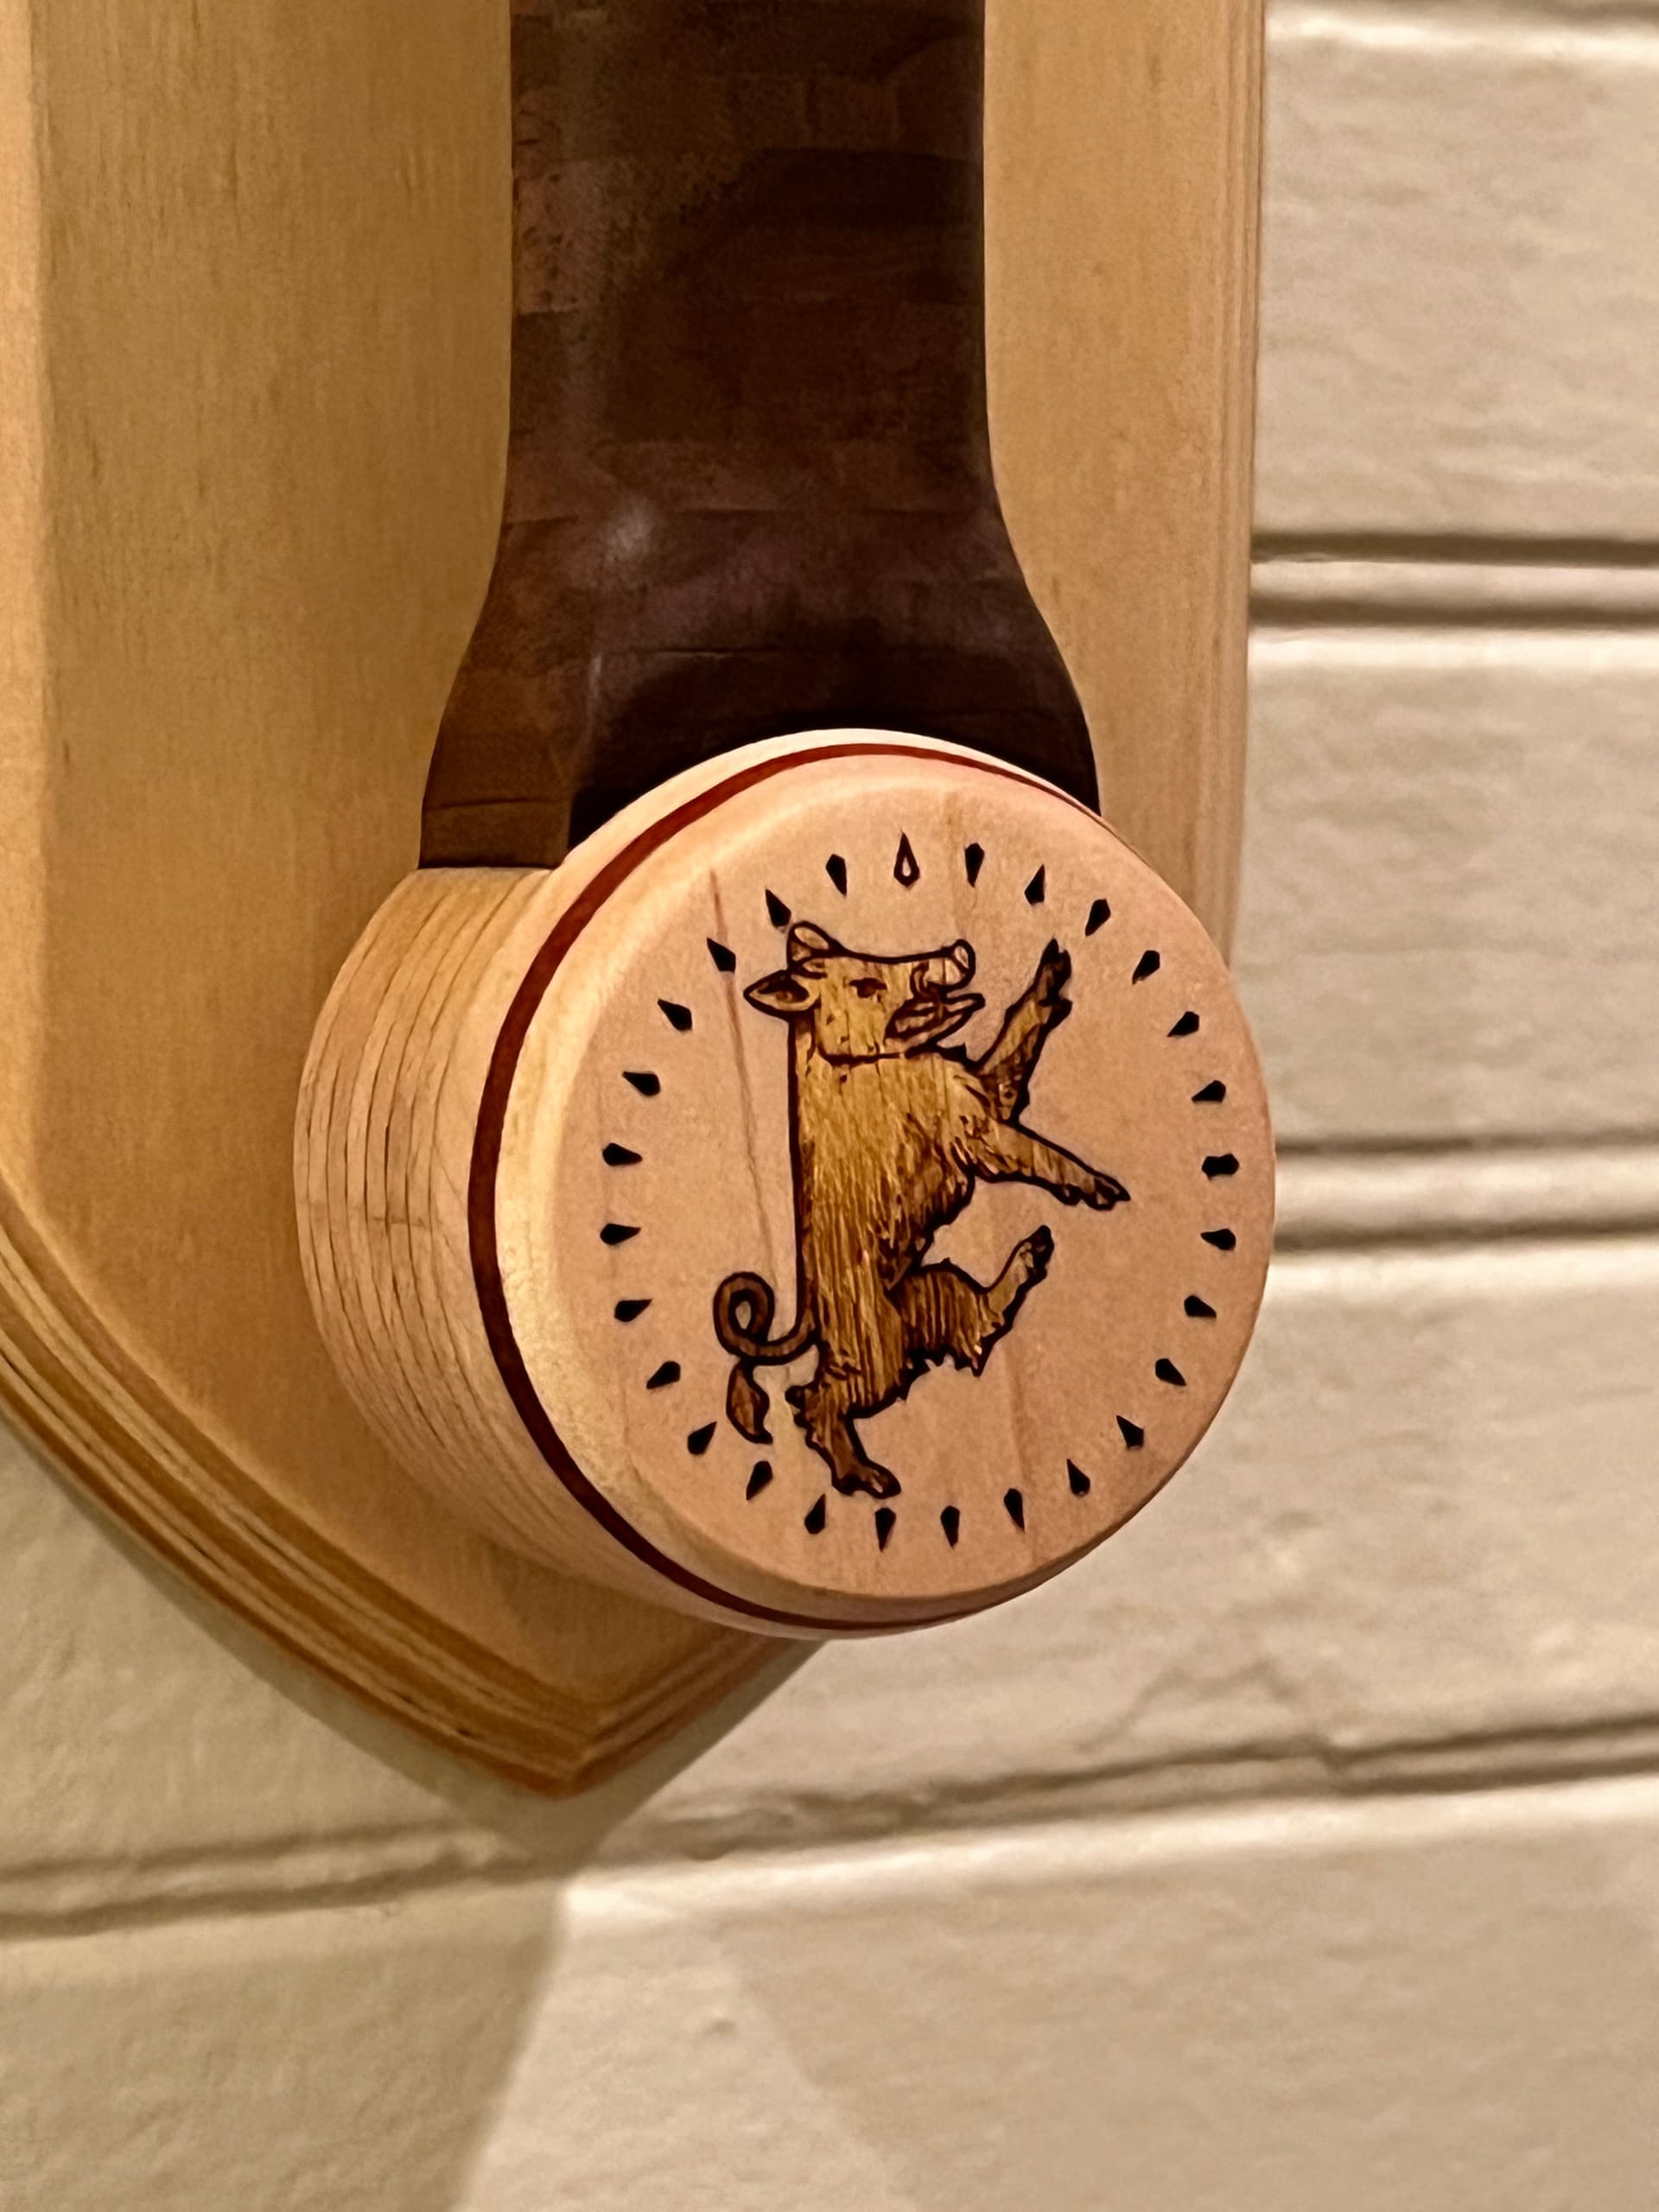
Baltic Birch plywood, Figured Black Walnut, Yellowheart, Redheart, Maple.

The wall mount is a similar design to my other claymore project. This one has the same boar motif engraved on the base and the small image of the sword serves as a sort of intuitive instruction as to how it should be hung. The mount is made of 1/8" layers but the edges were sanded down to make them a smooth surface, not stair-stepped. The wallmount rear face is engraved with a description of the design motifs in the project and some information about the historical sword at the Met, complete with a QR code to take you to the museum’s website (linked above). It also contains a message specifically for whomever wins the sword in the raffle, a bit of detail that is only for its bearer.


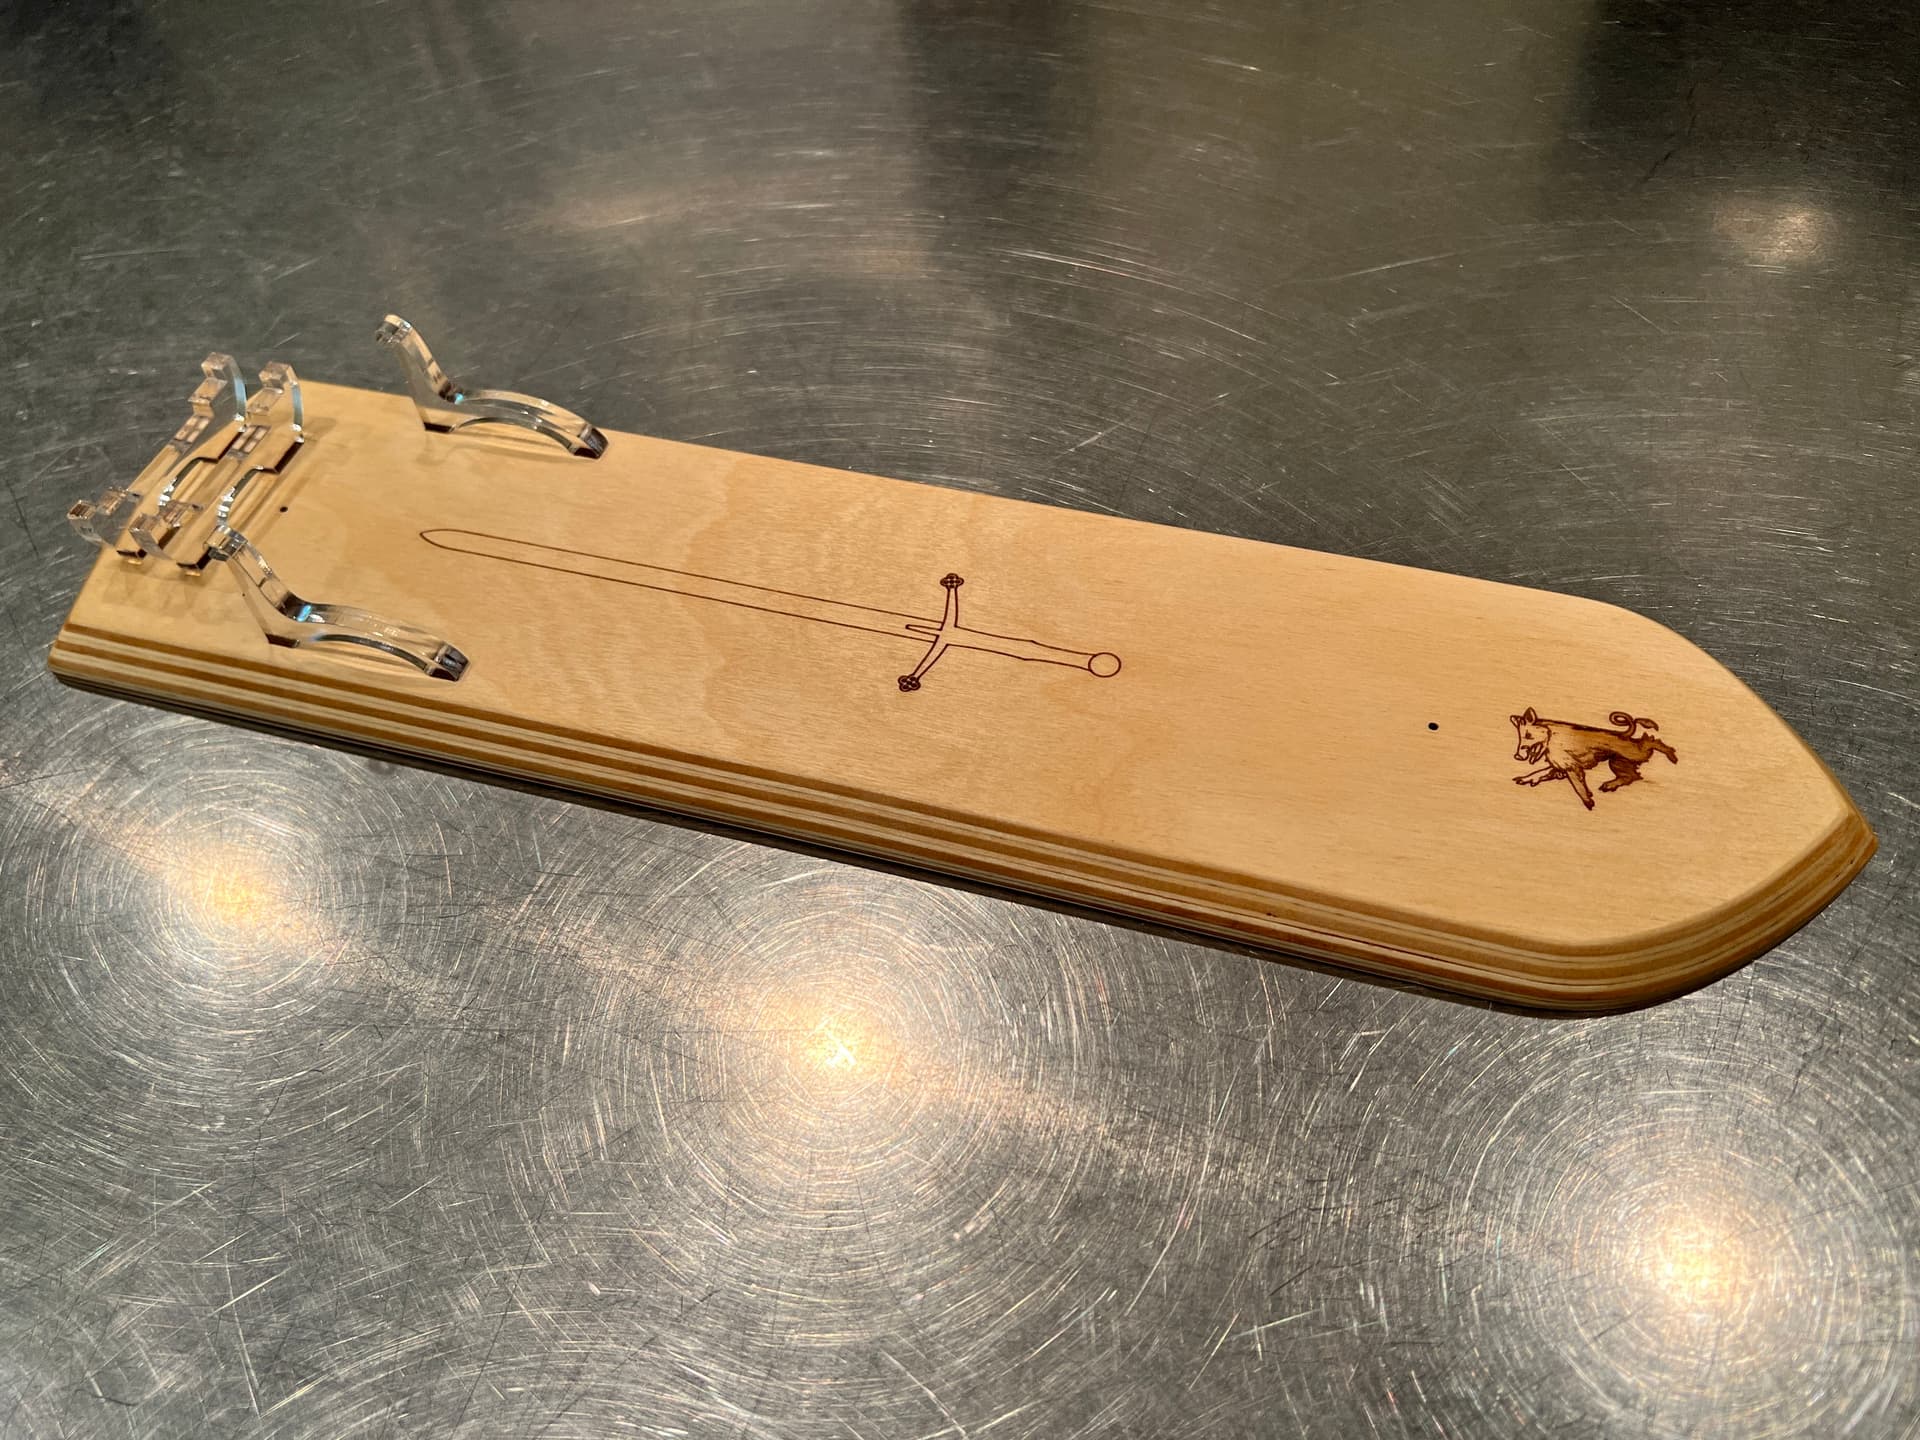
Baltic Birch plywood, 1/4" clear acrylic.

It’s always fun to make more swords, I appreciate Glowforge for being interested enough to want one for their raffle!

My other sword projects are here:
https://community.glowforge.com/tag/swords

47 Likes

i think my favorite part is the wonderful hand sanding work you did on the handle. it’s not the most technically challenging, but i’m guessing it was the most physically challenging part. i might have cheated with a leather wrap on the handle if you weren’t being so historically accurate. :wink:

18 Likes

Thanks!

It’s a bit technically challenging too, as a matter of fact. Here’s how I do it:

  • I draw the curve profile that I want for the final design of the handle
  • overlay it with a series of rectangle “slices” that symbolize wood layers that match the thickness of my walnut
  • use the handle profile to crop all the rectangles
  • use a custom php script that I wrote to generate ovals at the correct size for each truncated slice and number each one with a single stroke font
  • then I assemble the layers on the tang of the blade using the numbers to keep things in the correct order and orientation (Yes the blade is full tang, 3 layers of 1/8" baltic birch plywood runs all the way to the pommel)

I use the same sanding technique outlined here to get the shape exactly right with no char on the edges… click through on the “edge nerdery” dropdown at the bottom of the post:

So yeah, I don’t freehand these things, I make them to spec. I’m not nearly talented enough to get it right just by eye, and manually making about 100 ovals (there are 96 layers in this handle) is just not gonna fly. Now that you know. this technique is probably either more or less impressive to you depending on how you look at it. :wink:

22 Likes

Congrats on the commission, beautiful execution!

15 Likes

Great job and write up.

15 Likes

How is that done, if you don’t mind a question? I’m not sure I see the effect of it; is it changing the color of the blade?

12 Likes

It’s the “horse” at the top of the blade engrave:

image

This is a terrible picture tbh, it doesn’t show its metallic nature.

The gist is that you engrave, fill with brass powder, then use a binder to lock it in place (I used CA glue, wish I’d had thin CA, would have been easier).

When you sand it flush, it looks like solid metal. It’s really cool. Someone wrote it up… let’s see:

18 Likes

That does sound really cool; I’m definitely trying that!

13 Likes

You can also do it with stone powders and make really cool inlays that way too. Hmm who was it that did a bunch of these? Cynd11 maybe?

Yeah @cynd11:

17 Likes

More. Definitely more.

16 Likes

This is superbly nice and fine. Wonderful craftsmanship here.

14 Likes

This is truly a lovely sword.

13 Likes

Wonderful job, I too find the handle beautiful.

9 Likes

Gary Gygax would be awed. Nice work.

10 Likes

The winner of that sword is going to absolutely be thrilled! Great job, and wonderful maker details!

11 Likes

Marvelous work! The attention to detail is obvious, and I’m sure this thing is a joy to hold.

I’ve been saving brass powder whenever I saw a rod, waiting for the day I attempt a metallic inlay.

15 Likes

the two times i tried copper powder, i didn’t have the greatest success. i couldn’t seem to get all the bubbles out. i was using the super thin (like thinner than water) CA.

14 Likes

Everyone at Glowforge is envious of the person that won the sword. It truly is a masterpiece and thank you for making this for us!

16 Likes

That’s an awesome build! I love that you put a personal detail on the back, just for the person who wields and sword.

10 Likes

Magnificent!

I always enjoy reading about the techniques you use to make things.

Somehow, I had missed the previous uses of brass (and stone) powder.

11 Likes