I recently got my new Glowforge fixed (thank you for sending a replacement cable!) and now I’m learning that this thing is very complex and I’m in need of help!
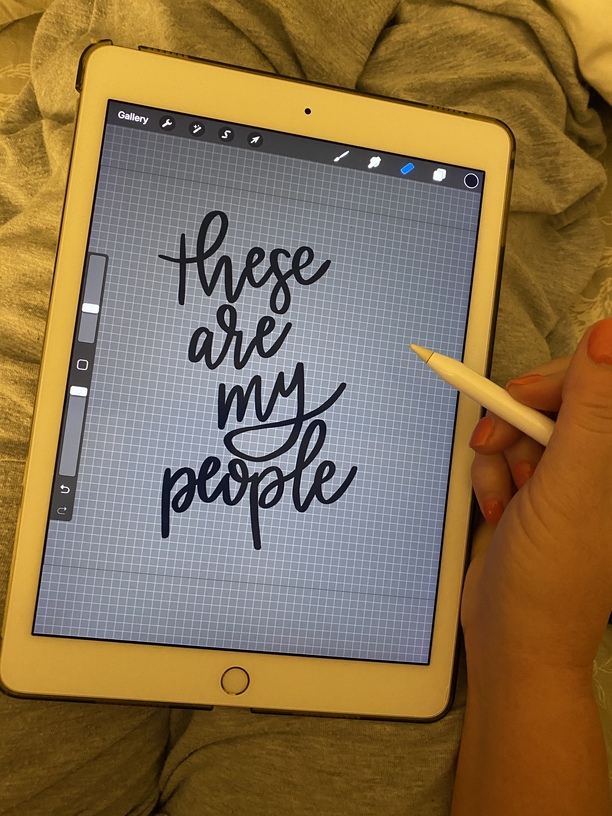
I’ve always used Procreate. I draw out my lettering, then I remove the background and send as a PNG. Then, I send it through the Cricut to cut out a stencil of the lettering so that I can trace it on wood and cut it out with a scroll saw. I cut the lettering by hand, then sand it, paint it…
…now imagine why I would need a machine to save me on time
What is the process now? I’ve seen several suggestions with Illustrator and Inkscape, so I downloaded Vectornator on my iPad to try to figure out what to do. I’m lost.
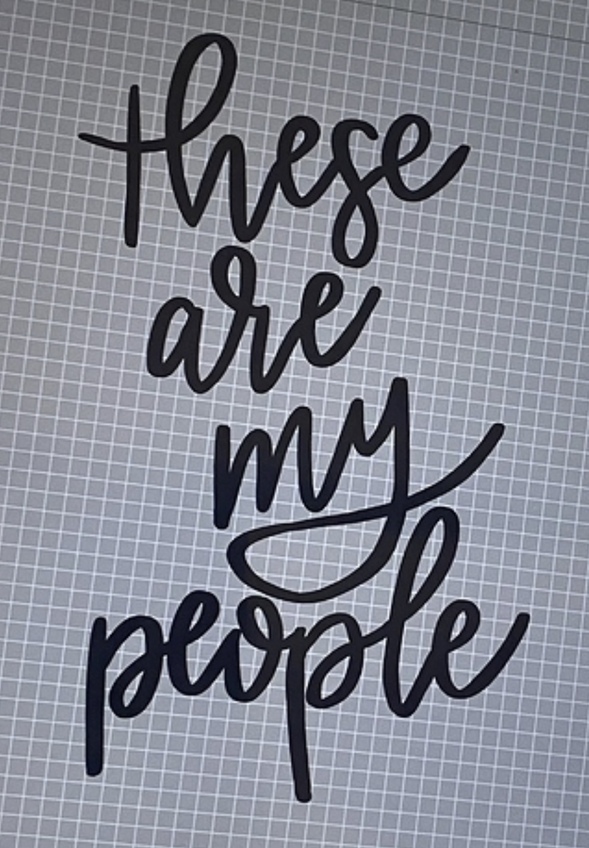
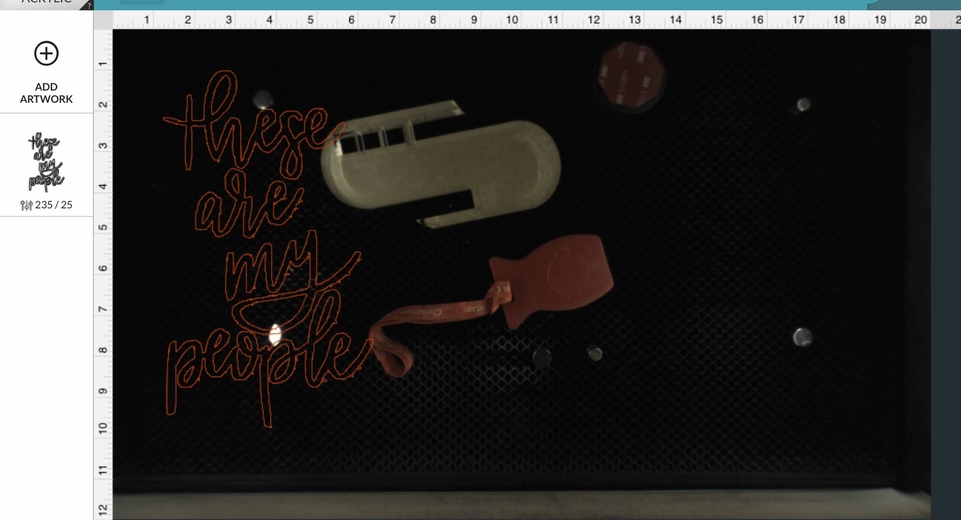
I’ve attached the image of where I’m stuck. Can anyone help? This transfers to the Glowforge just fine, but it won’t let me select cut because “sorry, but also can only be engraved.”
I don’t know Vectornator, but the basic issue is that you need to have your artwork in vector format to cut. If you save in raster (aka bitmap) format, you can only engrave. Both image types can be saved in SVG files, which fools a lot of people.
The process I use in Inkscape is to select the text, trace bitmap (under the path menu heading). You’ll get a pop up window allowing you to preview while you tweak some settings, then hit ok. Then drag the newly created trace to the side, select the original and delete it. Drag your new trace back into place, and save as an svg.
Congrats on your new Glowforge! You’re 100% right, this thing is quite complex and there is definitely a learning curve, but you’ll get the hang of it soon!
I also handletter in procreate, and ran into this same issue at first! I know a lot of Glowforge owners use Inkscape, but I really didn’t want to have to teach myself a new program, so I just use Adobe Illustrator!
From procreate, I export as a .jpg and airdrop it to my mac. Then I open the file on a new artboard in Illustrator. Then I just select the lettering and change the ‘stroke’ to RGB red (this is how you tell the GF to cut something instead of engraving it), and the ‘fill’ to Empty. It will look like a thin red outline around all of your lettering. This is also a great time to resize your lettering, because in the GFUI there are no rulers so you’re really just guessing the size. Then just save as .svg and upload to your glowforge, and it will let you change the file to Cut!
Hopefully this makes sense! Let me know if you have any other questions!
Also, I think I follow you on IG! I promise I’m not a creepy stalker, you just have a unique name
If you look at the top and left side of the GFUI you will find rulers, They have 0,0 in the upper left and if you zoom in the numbers will still be there but only for the area you can see. It is not real precise as you have to guess below 1/4 inch and it will highlight whatever is selected only, but it is there.
[quote=“rbtdanforth, post:5, topic:53762”]
If you look at the top and left side of the GFUI you will find rulers, … It is not real precise as you have to guess below 1/4 inch[/quote]
At full zoom (1000%) you can position and scale items down to ~1/200" or ~1/8 mm. Each 1/8" graduation has 25-26 steps, and each mm has 8.
I was thinking in terms of scaling and reading the size it was scaled to. When my Glowforge first arrived they were not there but arrived within that first week.
You can align the upper left corner to 0,0 and then read off/adjust the lower right corner location using the rulers, at full zoom for precision.
I’ve adjusted inlay part sizing for perfect fit using this method. Yes, I can do it in the design, but it’s more convenient in the UI. (edit - while testing. The design needs to be modified for future use.)
It would be nice if the select objects(s) overall dimensions were displayed somewhere, as they are in design apps. … but the UI is not a design app, so…
(Opinion) This is always less desirable than scaling in the UI first. The UI should just be for positioning, it’s the only thing it’s good at. Scaling and grouping and stuff in the UI just shouldn’t be relied on, especially when precision is a concern.
Apparently my memory was more about my first day unfamiliarity than a problem that was fixed. I did not see the rulers on the top and side and the next time I looked they were there and obvious, and I presumed they were a change and just had shown up. Such changes have happened and it is very hard to know what was previous. As a first week user it was still very confusing,
However I was researching and saw that dan was talking about them being there in Dec 2017.
It can be done in Vectornator but you may not be as happy with the results as you would in Illustrator or Inkscape. While Vectornator does have Auto-trace to get you the cut outlines you need, it’s pretty primitive and doesn’t have many options.
Here’s a demo (keep in mind I’m a very sporadic user of the program and don’t know what I’m doing):
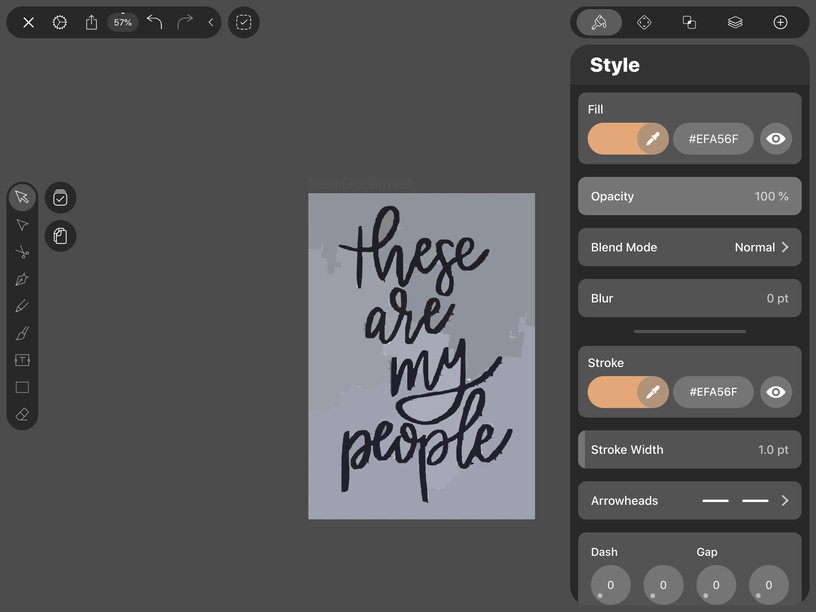
And pulled the photo into Vectornator. After unlocking the photo layer and selecting the entire area, the Autotrace shows up as an option in the Style menu. I played with the two options a bit, this was the best I could do:
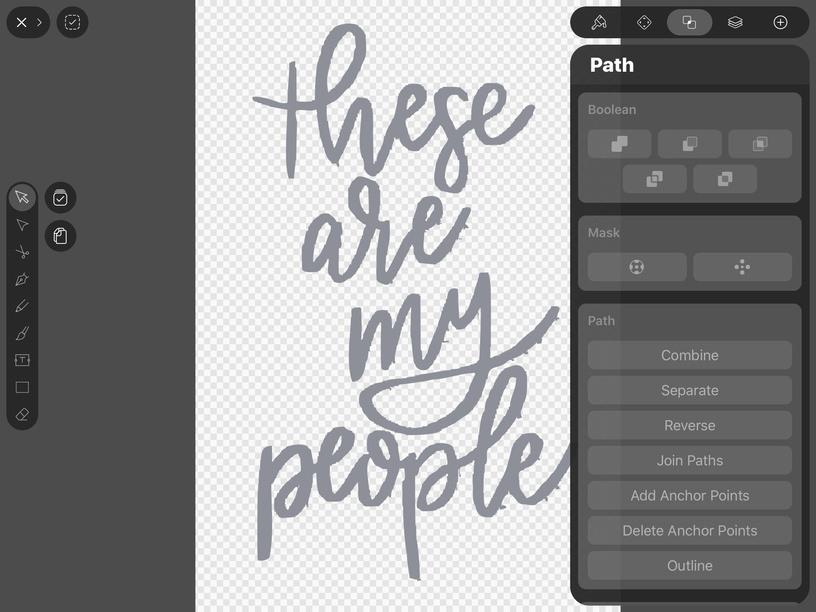
Then I selected and deleted each of the gray areas that were not inside the counters of the words (like p, e, o, l etc). Once I had most of the gray deleted, I selected the words plus enclosed gray areas and chose different Booleans from the Path menu to get what I wanted (I think it was the last one). You want to delete the gray that is enclosed from the black letter background). Here’s what it looked like at that point:
I would want to bring it to Inkscape anyway to clean up to get rid of all the random bumps and dots. Even with playing with Inkscape’s trace there is usually a fair amount of junk to clean off. Lower the sensitivity and all the corners you want will go away, raise it and all the edges of the bumps show up
So I did a version of what @cynd11 did, and used the screenshot she took to open the image in Inkscape. Vectornator should output that work to a file, and probably an SVG file. Sorry, I haven’t used it so I’m not sure, but I checked and the software does boolean operations, so I’m betting that’s a path you’ve drawn and not an image. Because our screenshot IS an image, I did as @robermar36 suggested. To convert it from an image, you Trace Bitmap, but there’s several different ways to do it. I used Brightness, and it came out super clean. After that, it’s once again an SVG “path.” Once you have it as a path, the black part is a “fill.” The GF sees “fill” as an engrave instruction. Since you want to cut it, you go to Fill/Stroke and turn on the “stroke” for the path you drew. That creates a tight outline all the way around that the GF wants to cut. I then turned off the “fill” so the GF won’t be asking you to engrave it. I’ve attached the result in case you still need it. The thing to remember about “stroke” is that you can make it as thick as you want in Inkscape, and you’ll see a big broad thick line. But the GF doesn’t care how thick the stroke is, it will cut or score the thin little hair width line in the middle of the stroke.TheseAreMyPeople.zip (12.4 KB)
As long as you are using fat lines like your brush strokes, you could try the iPad Adobe Illustrator Draw app instead.
I went on a hunt through Android apps to find one that would output a useable SVG for the Glowforge so that I could easily draw out puzzle lines to cut, and wrote up my experience.
You may find that a different app will work better for your use case! I am fairly sure that Procreate doesn’t export a true SVG, just an image in a file called SVG.
Because I was bored, I just loaded Vectornator on my iPad mini.
It exports brush strokes as paths correctly in SVG, but that would mean you lose emphasis from hand-drawn strokes per the OP. There appears to be an “outline” function for paths, but I’m not sure it works reliably - that would be the best way to convert art like that for use on the GF, unless you use an external app like Inkscape to convert stroke to path. Interestingly, text comes across as ready-to-engrave paths.
Since you’re just starting out, I recommend you read this link. This is a discussion of how color palettes work with the Glowforge. Each distinct color you draw with as you create makes the image look cool to you and other humans, but the Glowforge uses colors to determine the order of operations. After you read the thread, scroll through the comments, and you’ll find that other users have made custom palettes for different software (I’m an Inkscape guy), and now my default Inkscape palette is 16 discrete colors the GF recognizes as different, so I can order things as I want them in the cut file. For example, I have a slate coaster with one spot of color in it. What I do is color that engrave differently from the rest, and put a piece of tape over the coaster. I get the option to engrave JUST that one spot, since it’s seen by the GF as a discrete step. After I engrave it, I paint it with the tape in place since it’s a perfect mask it comes out straight and true. Then I can engrave the other parts. Or you can have the GF cut an outline in some cardboard, and then place an item in the cut out spot, now that you know exactly where it is, and do everything BUT the outline. There’s lots of reasons to change or control the order of operations in your cutfiles. Have fun, and by all means, show us what you’ve made. We love to see it!