So, last Christmas I made these leather decanter badges as a gift for my dad and brothers and decided to continue the theme gift this year by making decorative storage boxes in which they can keep the collection of badges I have made for them.
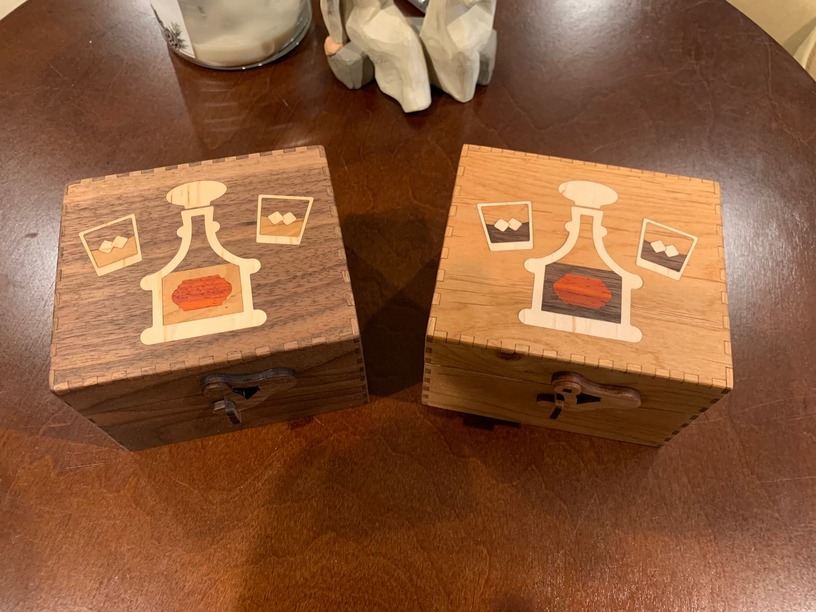
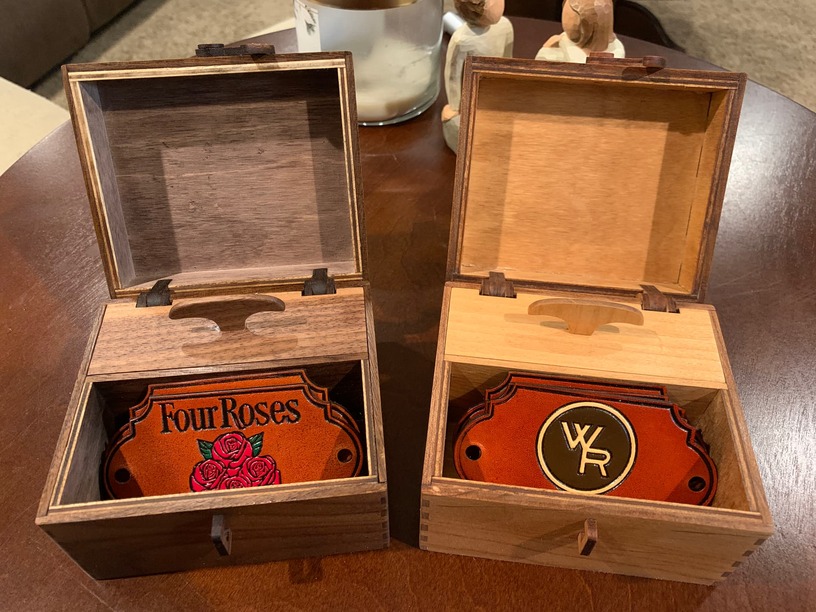
In addition to storage for the badges, I thought it might be fun to add a little space for a tiny screwdriver and a few extra Chicago screws, thus creating a “one stop shop” for swapping out badges.
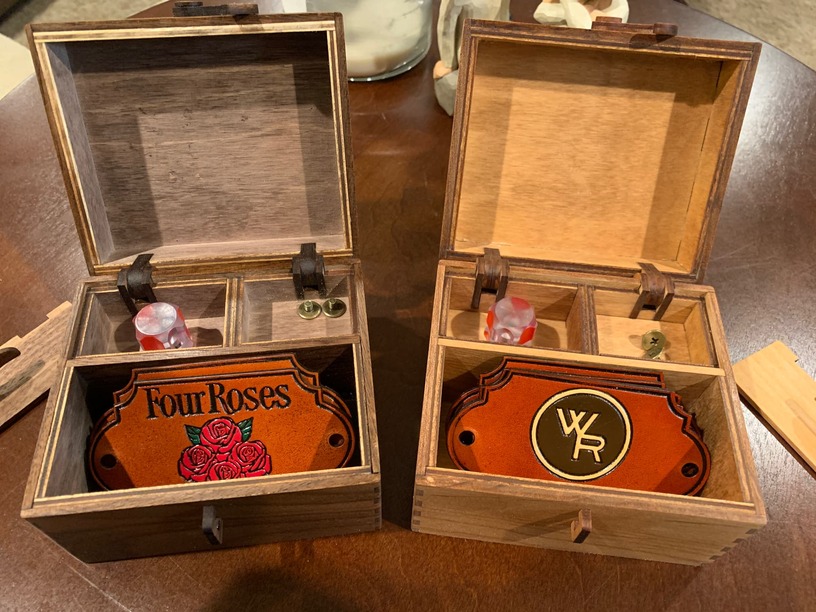
I drew up the designs on Fusion360 which was invaluable for ensuring proper sizing and fitment especially for the internal dividers and compartments. I have tried in the past to design a box like this using only Illustrator, but have never completed one. It’s just far too tedious and far too easy to make a mistake that isn’t discovered until all the parts are cut out.
Nearly every design component in this project is ground fairly well trodden for me, but I did attempt a couple new things, just to keep it interesting. The latch design is a new one for me (though I know others have used it) and I was pretty pleased with how well it works and how it looks. I even used some imbedded magnets so it not only snaps closed with a satisfying “click”, it also snaps into the open position in the same way.
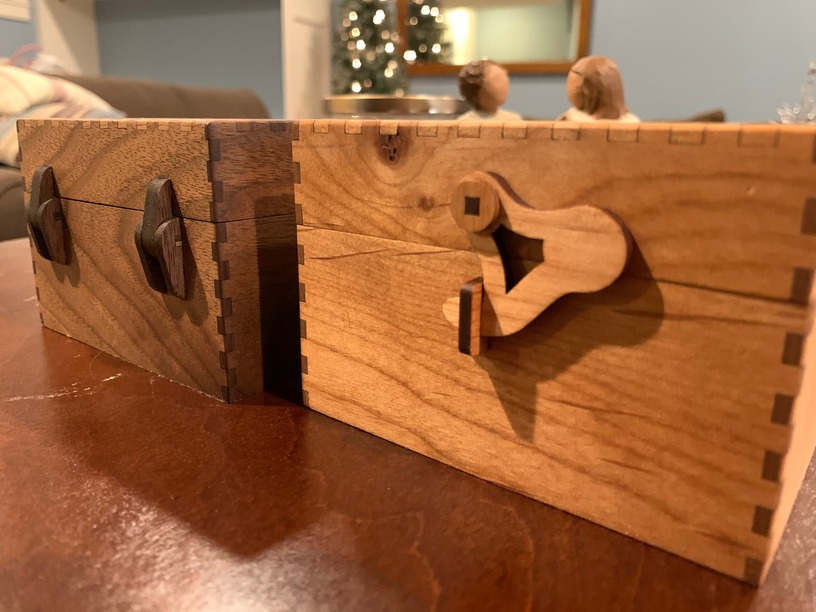
I came up with these hinges for a previous project, but I have found there is too much mechanical stress placed on them during installation and then during use to make them out of hardwood; say, walnut or cherry. 1/8" pieces of these woods are far too fragile and tend to split along the grain, so I have always had to make these hinges out of baltic birch ply which is plenty strong, but not terribly attractive. Especially when the rest of the box is a nice alder or mahogany.
This time around I tried my hand at making my own plywood for the hinge and latch components. I couldn’t find wood thinner than 1/16", but thicker than veneer, so I was only able to make a 2 ply plywood. the process was pretty straightforward - I cut out two smallish rectangles of 1/16" hardwood with the grain running in opposite directions and glued them together. The key to success here is being able to apply an even and consistent clamping pressure. This is why I was only able to make a fairly small piece of my homeply (2.5" x 3"). I really don’t have the equipment to do anything bigger (vacuum press, etc.). However, it turned out well and it was large enough to cut out the pieces I needed. As for performance…it definitely is not as strong as the standard 3 ply baltic birch, but it is significantly stronger than a single piece of 1/8" hardwood. As it turns out, it is, in fact, strong enough to make hinges and other high stress parts out of. Yeah! Now I can make boxes with hinges that match the wood the rest of box is made from.