I’ve had this problem twice now, with several different prints. Last time I didn’t take a photo of this, but this time I was ready…hahahaha!!
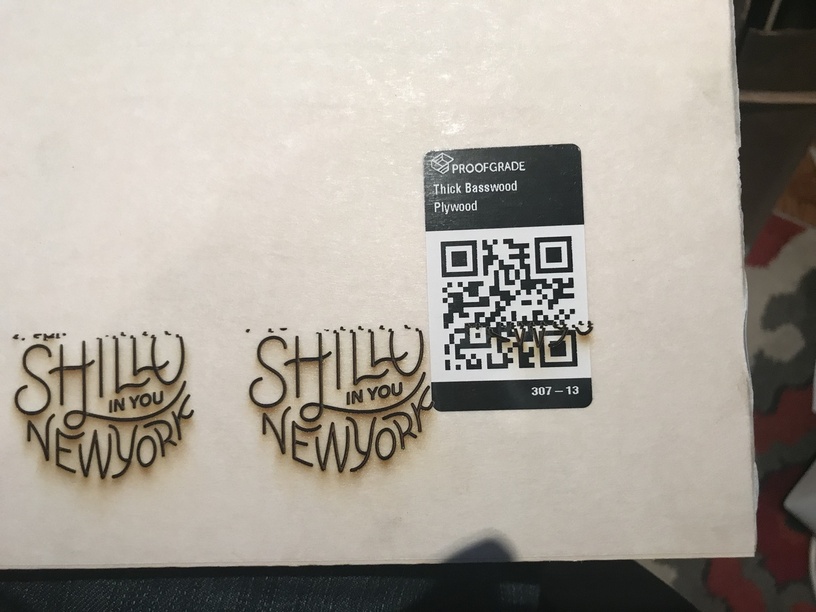
The design has shifted mid-print, and you can see from the red circle that it not only shifted from the overall circle area, but also shifted horizontally. Any idea why this is happening? The first screenshot is what the design should’ve been (screenshot from Adobe Illustrator.)
All areas for cutting and engraving are indicated with different colors, all colors are RGB (if that matters.)
Any ideas on why that is happening, and suggestions on how to fix it?
I don’t recall off the top of my head any problems in those areas. The primary area where collisions seemed to have occurred are the front-right of the engrave area.
But, it (the head) definitely seems to have either collided with something and lost steps, or ran into some type of interference. That you’d get it in the center of the bed is especially odd.
Have you checked the ribbon that goes through the gantry and connects to the head to make sure it isn’t twisted up somehow or caught on something?
The head could collide with the actual case/interior components. The air assist scoop could collide with material if it’s too thick or warped really badly. The gantry could collide with material if it isn’t properly seated on the crumb tray (some people have mistakenly put material on the crumb tray lips). The air assist could also potentially move the material.
Your picture seems like it hit a hard limit on the engrave though. See how the very bottom of the 8 is normal, and then goes weird and bumps it over to the left?
You also want to check to make sure there isn’t some bit of debris or junk on the tracks or the gantry…turn the machine off and slowly move the head left and right along the gantry - see if you feel any resistance. Then slowly move the gantry forward and back…again, checking for resistance. Look for whatever might interfere with the movement along the path the head follows.
Thanks for letting us know about this. I’m sorry your print didn’t turn out perfectly.
Could you try a test for me? Please do the following:
Restart your Glowforge.
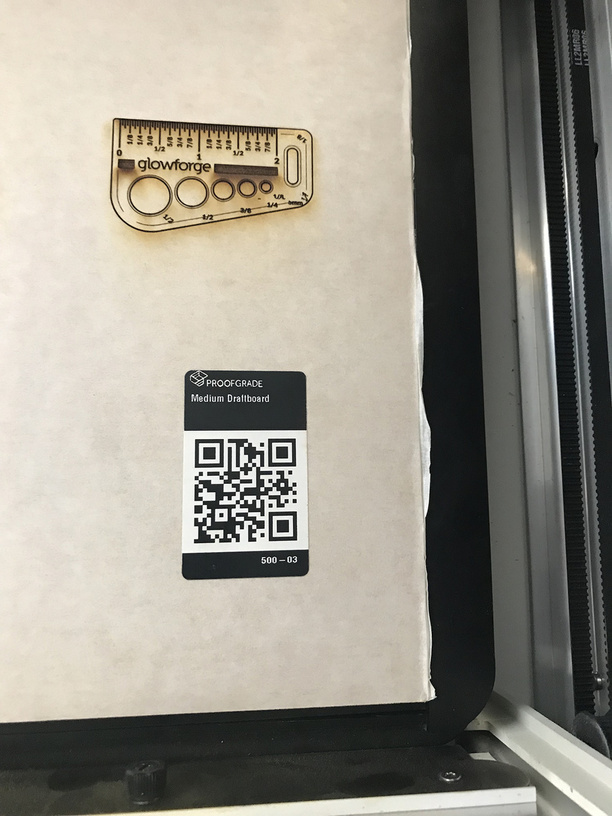
We included an extra piece of Proofgrade Draftboard with your materials shipment for troubleshooting. Place the Proofgrade Draftboard in the center of the bed and print the Gift of Good Measure on the far right edge of the bed using the default settings.
Take a photo of the print and let us know how it goes!
Thanks for the credit…I appreciate it. I’m going to give this a try tomorrow. I tried printing something today and it happened again…shifted for no reason at all. The closest cut was about 1.5 inches from the edge! What gives?
I’m sorry to hear you’re still running into trouble. At your soonest convenience, could you please let us know the results of the test on Proofgrade Draftboard? Thanks in advance!
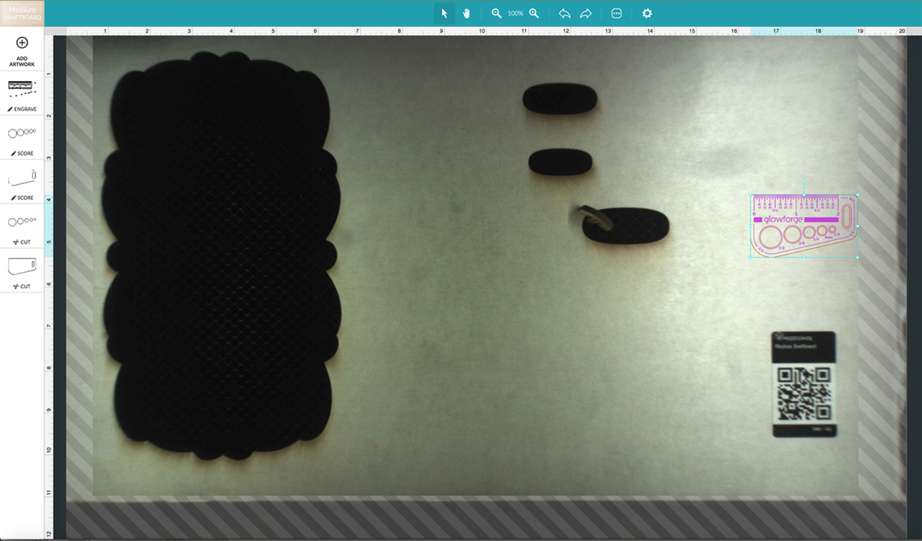
This was the placement of the test print. It’s the closest it would let me place it to the edge. Not sure why it wouldn’t let me place it further to the right!
This was after I placed the artwork, and then the bed looked ‘full size’. But if I tried to nudge it over, I would get the same grey lined area as in the first image.
This was the photograph of the final design before I took it out. But another issue that I had: at default settings, the GF didn’t cut all the way through!
Bottom line: I am having a few issues that I’m very unhappy with. Inconsistent cuts, shifting cuts, the bed-size not adjust to the full 12x20 size, having to do more than 1 pass to actually get something to cut out completely, etc. Very unhappy right now. What can you guys do to help?
Because the full 12x20 bed size is not currently available. It’s limited to about 10.975x19.5 or so. It’s due to the space needed to accelerate & decelerate the head and due to the speed differences in engraves vs cuts you’ll find the engrave size to be slightly less than the cut size.
You can do some corner scoring sneaking the score up to the edges before the no-go zone shows up. Mark the bed with painters tape or something and you’ll be able to see how far you can get away with
They’re supposed to be working on getting to the max advertised size (20.4x11.5 IIRC).
Like, @jamesdhatch said, your Glowforge can currently print up to 11 x 19.5 in. Engravings take extra room to speed up and slow down, so the area may be a bit smaller. We’re working on software improvements that will increase the printable area.
Unfortunately, it looks like these print results are caused by an issue with your unit that we can’t solve remotely. I want you to have a reliable unit, so I’m recommending we replace this one. I’ll be in touch via email to sort out the details. I’m so sorry about the bad news.