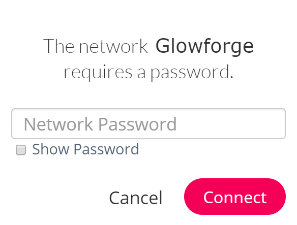
I’m so sorry you’re having trouble getting setup.
You’ll need to connect your Glowforge to a non-Enterprise network once first, so it can download the firmware update. That firmware update will include the Enterprise Wi-Fi support.
For example, you can create a hotspot on your cell phone and use that network to connect your Glowforge to Wi-Fi.
You can find instructions online to help you create a Wi-Fi hotspot from your cell phone. Make sure that you set it up to be a 2.4 GHz hotspot, since that is the frequency your Glowforge uses.
Once the Wi-Fi hotspot is broadcasting, you can connect to it by following these steps:
- Turn on your Glowforge.
- Wait 30 seconds. Then hold down the button for ten seconds until it glows teal.
- Navigate to setup.glowforge.com and follow the instructions on-screen. When prompted to connect your Glowforge to Wi-Fi, choose the hotspot you created.
- When asked to provide the password for your network, copy and paste your Wi-Fi password.
-
Type your network’s Wi-Fi password in a text editor, like Microsoft Word or Google Docs, then highlight and copy it
-
Watch for common mistakes: substituting zeros for the letter O, copying an extra space at the end, and letters that should be capitalized
-
Return to setup and paste the copied Wi-Fi password
-
Check the “Show password” box to make sure that the password is correct

- Make sure your password hasn’t been changed
- On your computer, phone, or tablet, disconnect from your Wi-Fi network. Reconnect by pasting the same password from the step above. If it does not work, the password is incorrect.
- Ask your network manager if someone changed the password
- If you still cannot gain access, reset your password
- Once you’ve confirmed your password, click “Restart Setup” again
If you’re still seeing any errors at that point, please take a screen shot include it in your reply.