I used transparent dura-lar (Mylar is a brand name of a type of plastic). I have no idea what results from using reflective. I suppose clear would work better.
Engrave, don’t score. Use a raster file.
Settings: fast and not super hot. Dither at 76 dpi resolution. I did full speed at 24 power. It worked really well.
The .002 Mylar is thick enough to take taping and untaping.
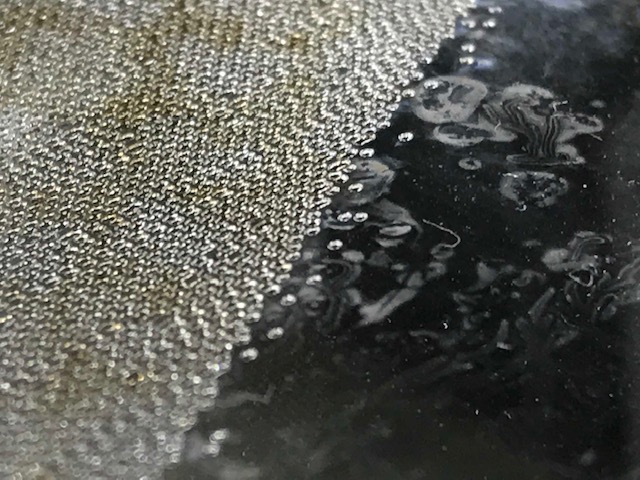
if you look closely at the image she posted in the linked thread, you can see the tiny holes. and that’s essentially what a screen print is. traditional screen printing takes a screen with thousands of tiny holes and fills in the ones you don’t want ink to go through. this process, with the mylar, does the opposite. it cuts the tiny holes you want ink to go through.
I wanted a closer photo; but that would have required getting out the real camera and the associated steps.
Phone cameras make for quick documentation with some limitations.
I am bringing up a very old conversation with updated settings for .002" Duralar brand mylar. Same purpose.
At the time of this thread, the settings were still in flux and the bitmap options were different.
I made a new screen for a t-shirt “silkscreen” today.
Though I designed it as an SVG, the image needed to be converted to a raster, which I did in Adobe Illustrator. It’s not something I do very much, so I first ran it through Photoshop and saved as JPG; but much better results going simple within my design software. New knowledge after a few years getting comfortable with the software.
Settings: speed 1000, power 19, Bitmap Convert to Dots with a range from 17 to 75. The range is not visible unless you hover over the sliders.
Lines per inch 75, 1 pass, focus height .002"
Your goal is for the dots to NOT connect. You just want thousands of teeny tiny dots all over your mylar. Duralar. Plastic film.
Then the ink will squeegee through and into the fabric.
Happily, I had the old settings to go off, so it didn’t take much to dial in. This is just an update of settings that I probably should have done a year ago.