No silk, no screen

Continuing the discussion from Create silk screens on a laser cutter?:

I have been planning to employ my Glowforge to make some silkscreen patterns. This tutorial was a fantastic springboard.

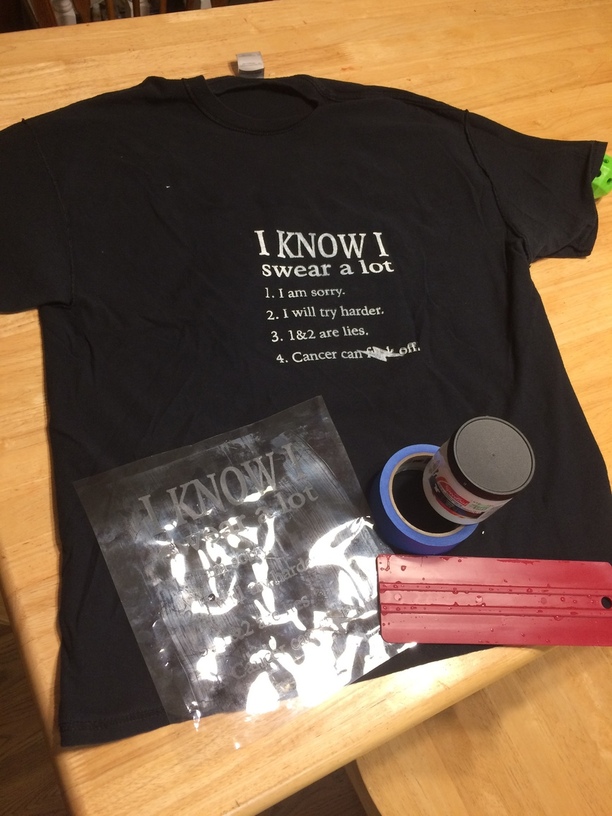
I didn’t use the silkscreen frame. The entire supply list for a one-color design is paint, Mylar, tape, a squeegee, and something to paint. In this case, a t-shirt.

Start with this Mylar:
https://www.amazon.com/Grafix-Clear-Dura-Lar-20-Inch-12-Feet/dp/B0092MJ7J2
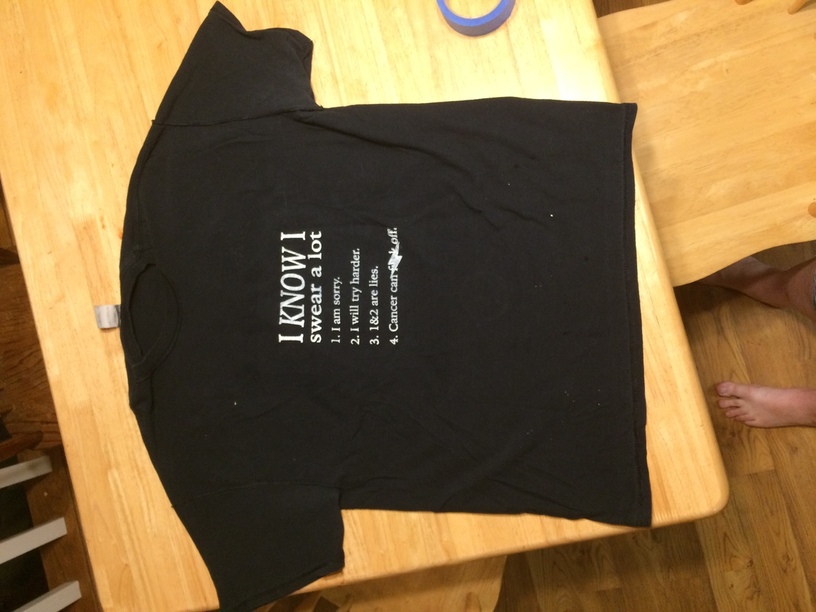
Design a t-shirt.
For my own part, I figure that when swearing, you should use correct grammar and sentence structure; but this is for a friend whose 8-year old just relapsed with leukemia. She likes the meme, she’ll wear it, and what’s more, it will make her laugh when she needs to.

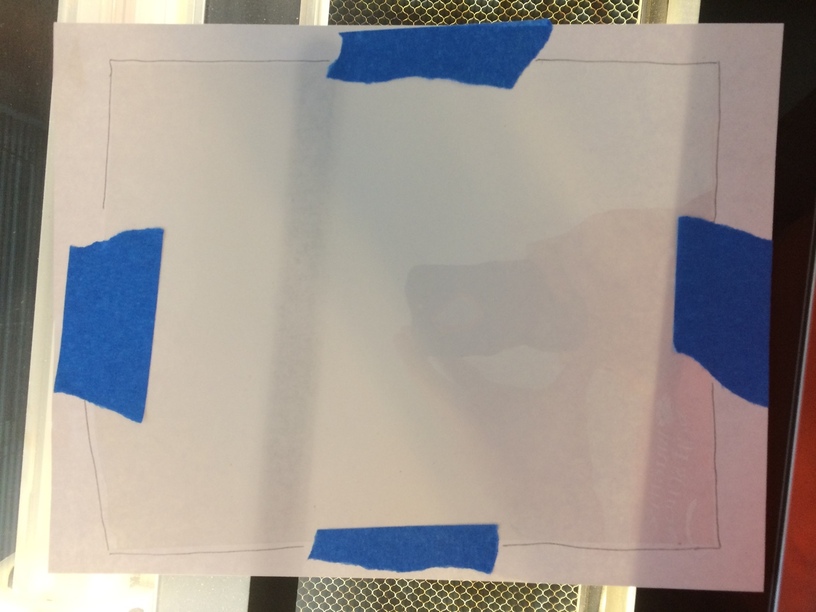
Mount the clear Mylar to a sheet of paper so the Glowforge can focus. Use magnets to keep the mylar in place. I penciled in the borders of my Mylar to help center.

Engrave, don’t score. For faster processing and faster print time, use a raster file.
Settings: fast and not super hot. Recent settings updates discussed here.

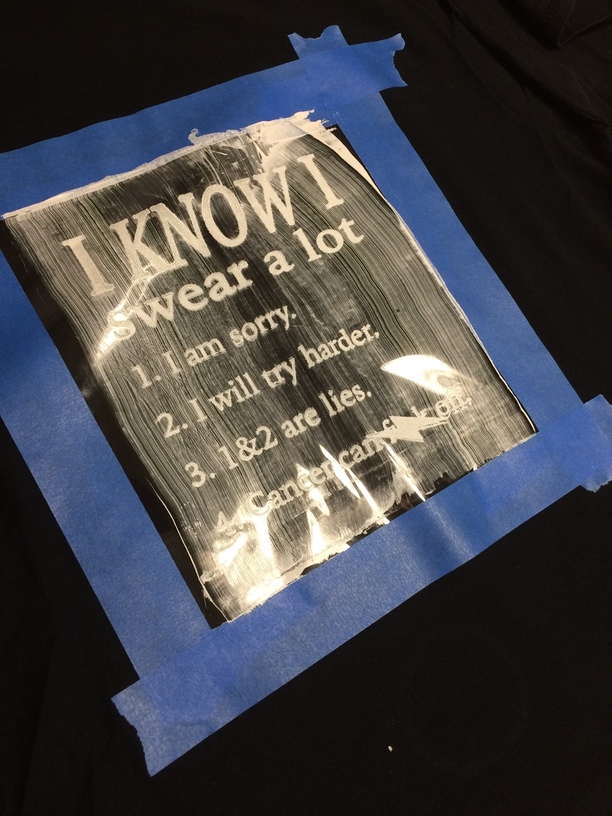
The tutorial suggests building a frame. I will do that for my 5-color design; but I was just doing a proof of concept. I didn’t have a blank t-shirt so I just inked the inside of something in the closet. Didn’t center. My technique was messy and I got ghosting because I was sloppy. Didn’t matter for the test shirt.


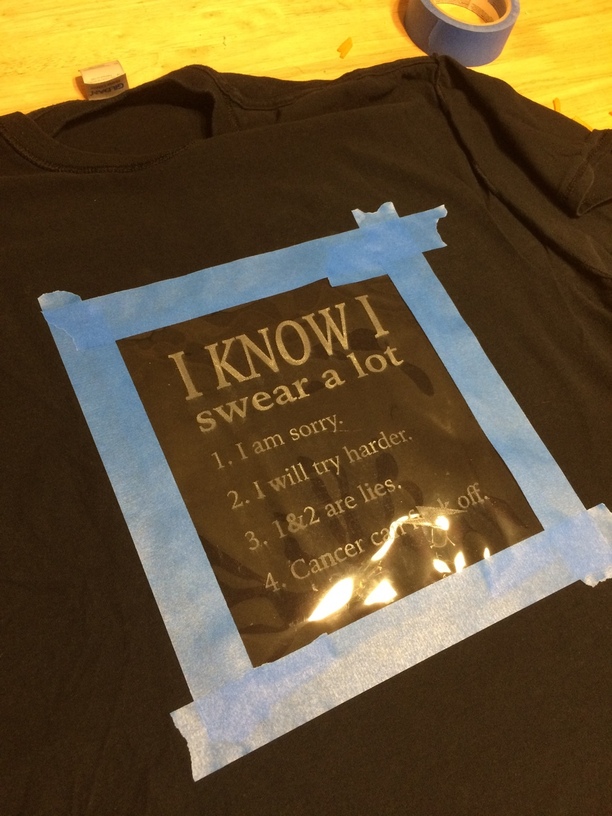
Blue painters tape around the edges.
Leave the macaroni and cheese on the table where you are working.
Squish a bit of speedball or your favorite brand of fabric ink/paint along one side

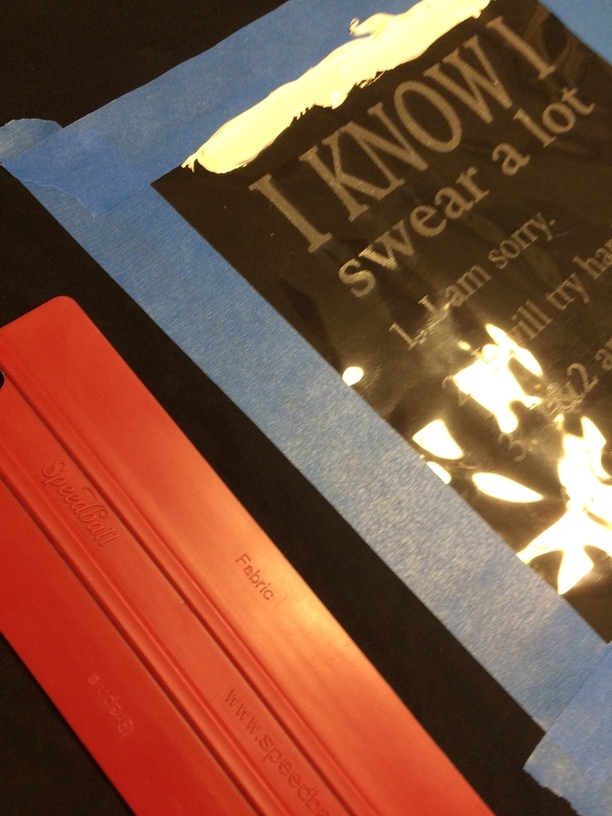
Squeegee. That’s a verb.

The .002 Mylar is thick enough to take taping and untaping. Washed up easier than the silk screen that I have used a few times.

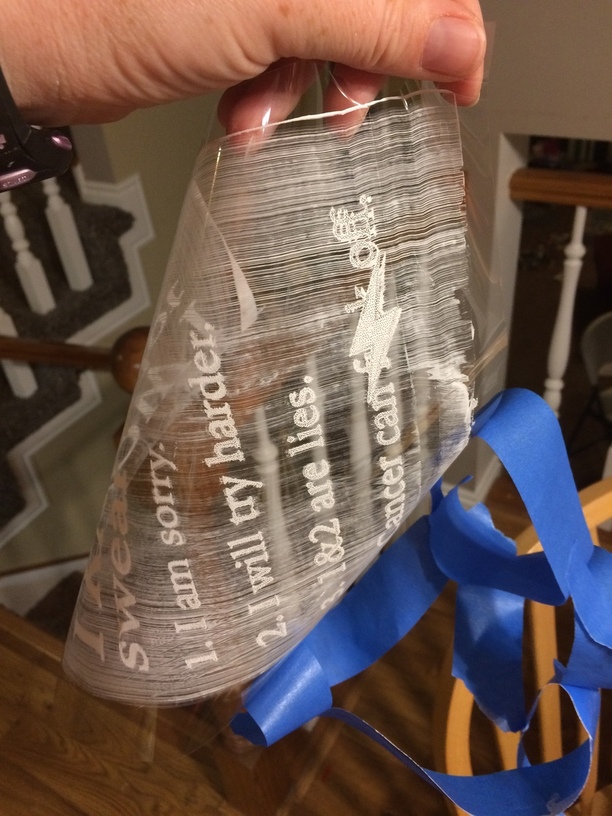
The process is slick and easy.

I am really happy with it and will procure a new t-shirt for the real thing.

I have several more designs in my head. I gotta learn the tools, or I gotta sketch better.

So, there it is, the proof of concept:

127 Likes

Fantastic, a great ‘how-to’ for those of us interested in silk screening.

And all the very best to your friend’s daughter, i hope she recovers soon. :heart:

5 Likes

Thanks. It’ll be along hard slog.

2 Likes

Thanks for posting this! Silkscreening has been on my list for a while, but I haven’t made a serious attempt so I haven’t gotten good results.

Best wishes to your t-shirt recipient.

5 Likes

Thank you for posting this - Id love to try that when I get my pro

2 Likes

Awesome job. The lack of setup and jigs makes me want to try this more!

1 Like

What a great project! Who knew you could engrave Dura-lar? Thanks for doing the experiment. And so sorry for your friend.

2 Likes

sending good thoughts to your friend’s daughter as well.

psyched to see how well this worked. for a single color, no reason for a frame. the main reason you might want a frame, i think, would be if you wanted to register two separate colors.

the other thing we should all keep in mind is that silk screening isn’t just for tshirts. it will work on any flat material that would hold the ink. including things that we want to cut/score/engrave afterward.

10 Likes

Great write up. I definitely want to try this.

2 Likes

Thanks so much for the great tutorial! It looks like it turned out really well!

Best of wishes to your friend’s family!

And… It took my Mom, my Wife’s Mom, and is currently attacking a close friend of ours. So, yeah… Cancer can fuck off.

4 Likes

Nice job on that! :grinning:

When I got into all of this I can honestly say that I had zero desire to do silkscreening or really any clothing projects. But now I gotta.

Thanks for expanding my world.

3 Likes

This is really cool! I can’t wait to try it.

Unfortunately per @dan you need to either remove the settings info or move the topic to Beyond the Manual.

Really nice job though and never would have thought you could do it so well using a laser.

1 Like

Just encode it so it doesn’t have to move to Beyond the Manual:

“Dither at the number of trombones in the big parade resolution. I did ullfay eedspay at the number of hours in a day power.”

Keep it quiet and Dan won’t figure it out!

11 Likes

Unfortunate, indeed. I must remember to avoid posting in this category from now on…

2 Likes

Really nice work! I’m totally heartened that this is such an incredibly easy-looking process. I made geeky T-shirts for the hubs last Chanukah and the iron-ons are already pretty beat-up. Silk-screen would have been infinitely cooler.

4 Likes

Thank you, this is super fantastic!
We have a whole silkscreen setup that we basically never used since it was such a pain to cleanup. This look like it completely replaces the whole thing. We have the stretchers and the hinged frame and plenty of mylar…

6 Likes

Thanks.
I removed that segment and posted settings over in beyond the manual.
https://community.glowforge.com/t/dithering-mylar/10216?u=cmreeder&source_topic_id=10188

I am happy to follow the rules. I suspect that the friendly neighborhood lawyers have at least as much influence as @dan on the rules regarding settings for non- :proofgrade: materials.

Regardless of the reasons, I am a grateful guest of this excellent community.

6 Likes

Another project worth the price of a Glowforge for what it can do. Prayers for your friend’s daughter. Thanks for the inspiration.

Now if I can get my hands on a production unit with real low power, I’d love to do this!

2 Likes