My first post on the forum, yay! I made something useful that I can share. Got the glowforge a few weeks ago and I’ve been enjoying it a lot.
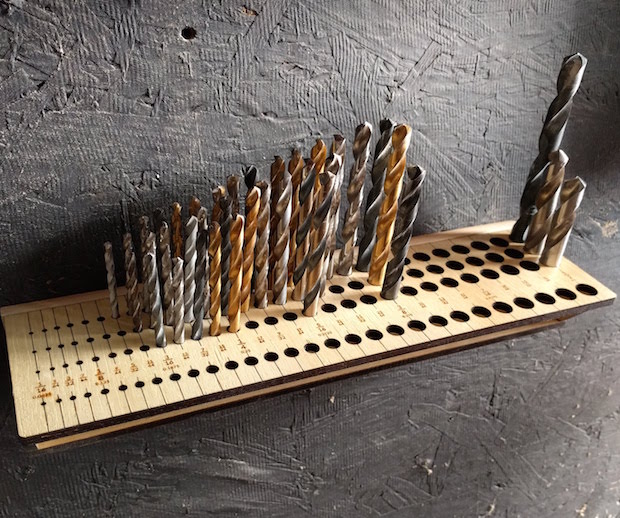
Keeping drill bits in tool chests was driving me crazy and I was inspired by this blog post. Of course, why would I drill all those holes if I can get a machine to do it.
Mind you it’s on some cheap 0.22" plywood I had lying around so the engraving is not as good as it could be on a better material.
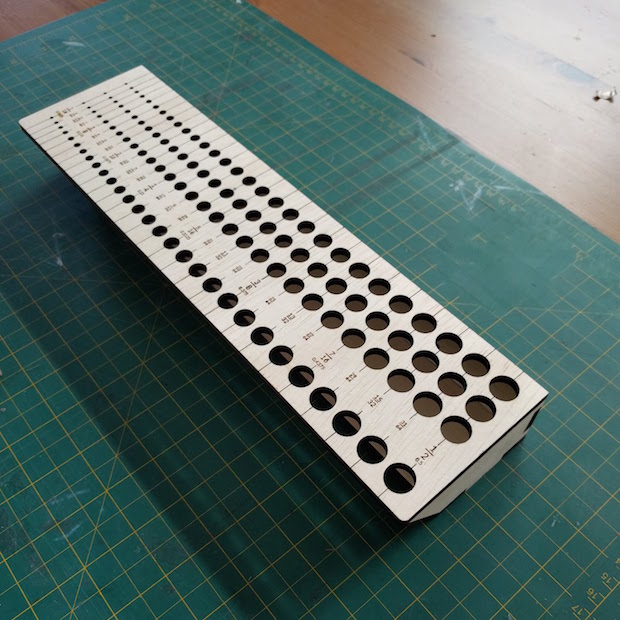
I’ll share the file for this flat section only because I think the design for the box can be improved. I ended up mounting it at an angle and the tabs will vary depending on the material you use.
I
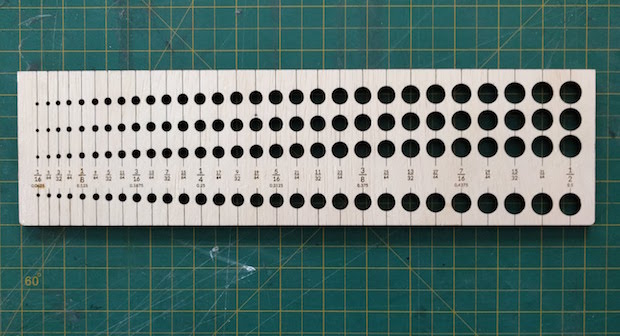
Oh, and if you were wondering the front holes are for reference. This is the Illustrator file in case you want to make modifications, I left the numbers as text so you need to expand them before cutting: drill-bit-organizer.ai (152.3 KB) and here is the SVG if you just want to use it right away. I scored the guidelines instead of engraving them because it gave me a cleaner, darker line and it was faster:
That is such a good idea. My mom gave me a huge set of drill bits a few years ago. They are in a case that has them all laying down. This will save me a bunch of space.
@lairdknox, When I read your post, I first thought that you built the rolling toolbox on the GF. I guess when you have a really good hammer, everything DOES look like a nail. HAHA
Incidentally, do read up on drill bit sizes because it turns out “number and letter gauge drill bit sizes” don’t match fractional-inch drill bit sizes. I was just looking at a set I have in the shop that uses the number system and I couldn’t join it to my organizer, and I’ve seen a lot of sets like that.
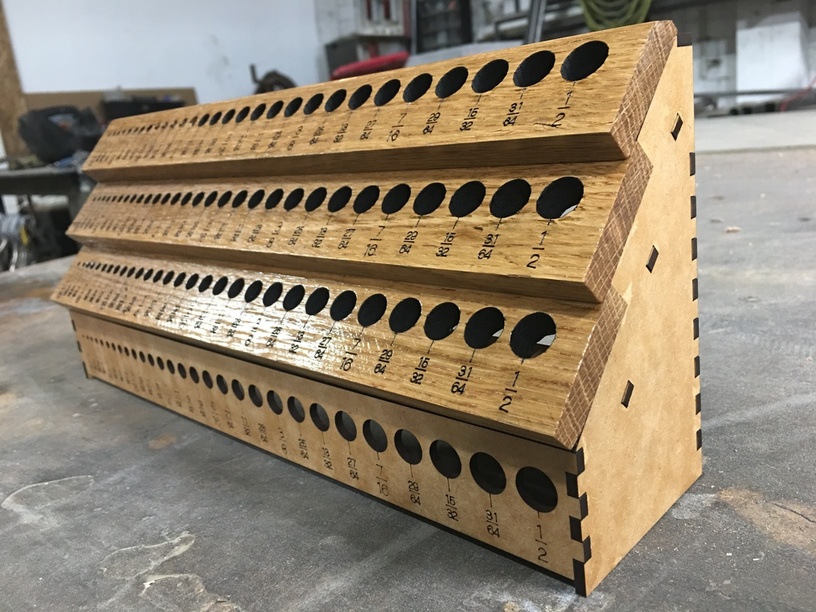
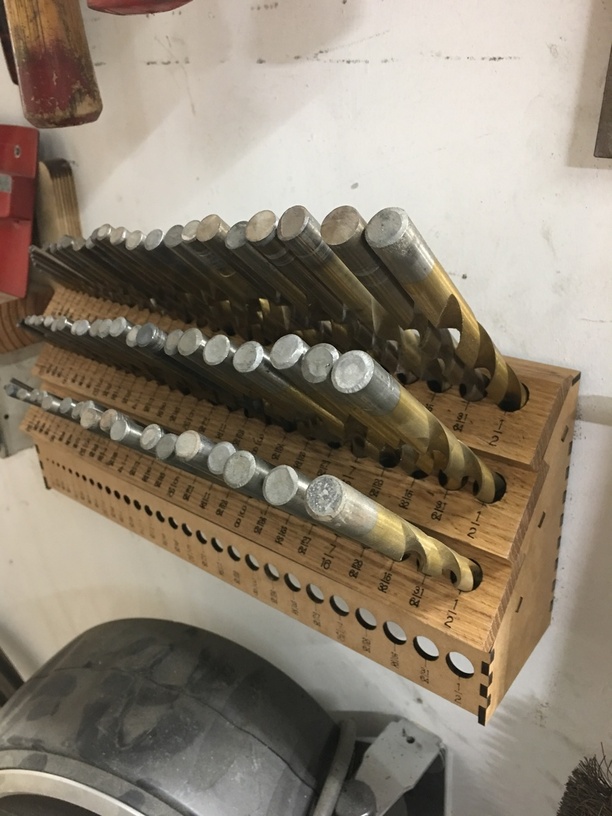
You inspired me! Thanks. (Top panels are some 0.455” thick oak that was reeeeeally pushing the limits for the glowforge) PS: made mine wall-mounted, the rest is draft board.
Thanks. I have piles of drill bits I’ve been meaning to organize, this looked like a great solution. You can just cut through the 1/2” (actually .455”) with a single pass at full power slowest speed, but I got better results with two passes at full power, 110 speed. Still had to pop out the pieces (most just needed a thumb push) and there was a little bit of cleanup. Not too bad. I feel like if the oak had been maybe 0.4” it would have easily cut all the way through. I just used some scrap I had lying around as-is instead of planing it down.


 I have piles of drill bits I’ve been meaning to organize, this looked like a great solution. You can just cut through the 1/2” (actually .455”) with a single pass at full power slowest speed, but I got better results with two passes at full power, 110 speed. Still had to pop out the pieces (most just needed a thumb push) and there was a little bit of cleanup. Not too bad. I feel like if the oak had been maybe 0.4” it would have easily cut all the way through. I just used some scrap I had lying around as-is instead of planing it down.