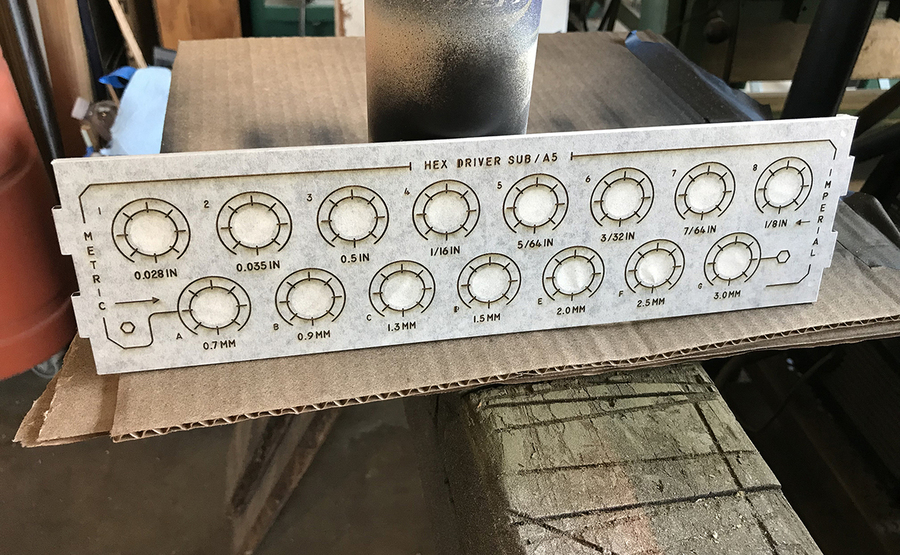
There were some questions about my painted inlay after my last control panel project, so I wanted to do a new one and photo document the steps. I didn’t really need another fan controller but I did need an organizer for a set of Wera Hex Drivers I had, so I mashed them together and came up with this.

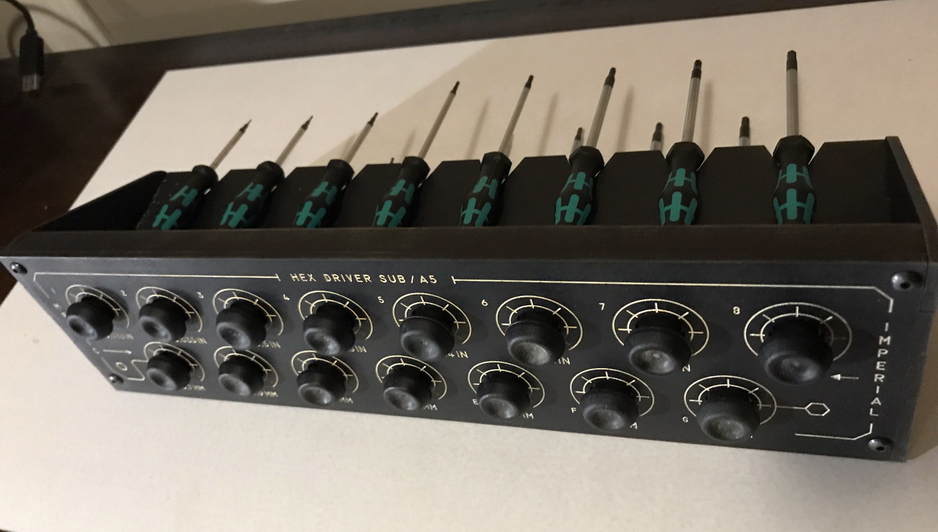
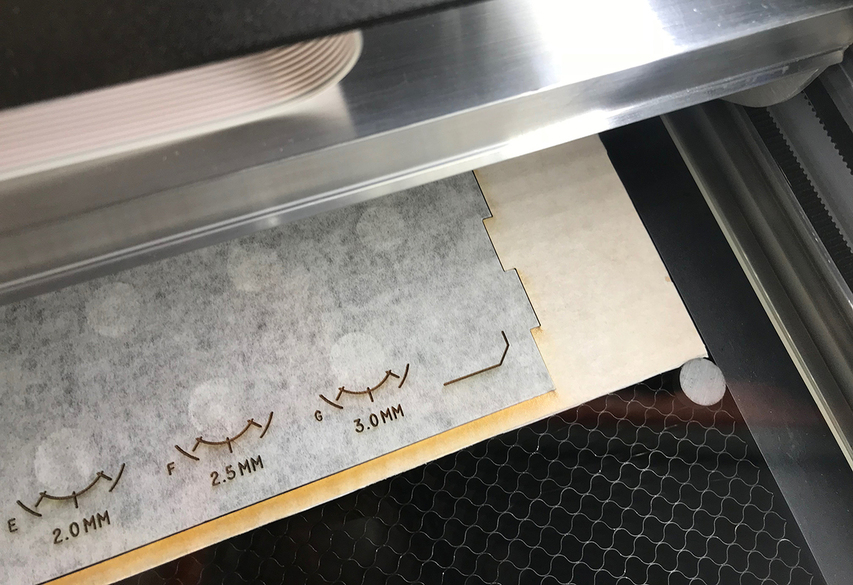
I used a simple technique, and probably one that lots of people are already using. It takes advantage of the masking tape layer to fill in the engraved parts. You can see here how clean of a paint edge you get, even though the engraving was run at 270 line resolution.

So here is a run through of my process for those of you that are interested.
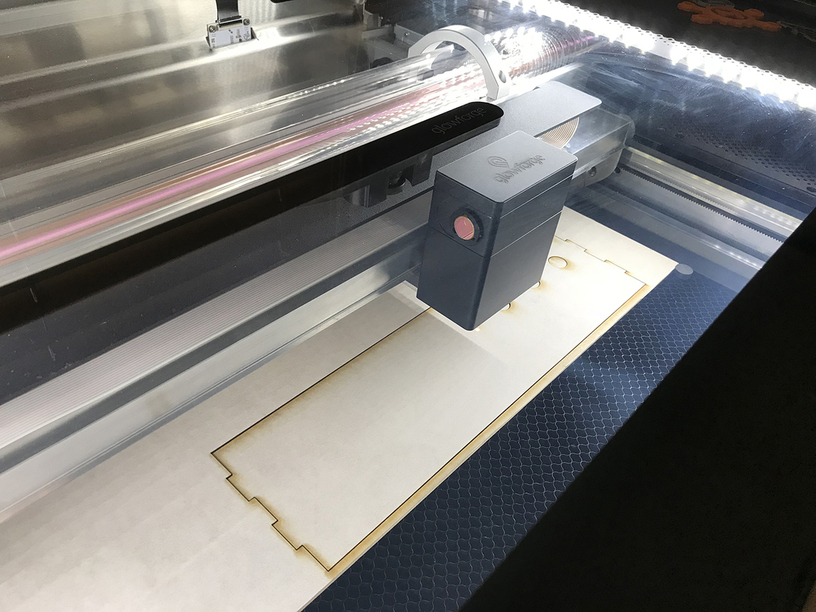
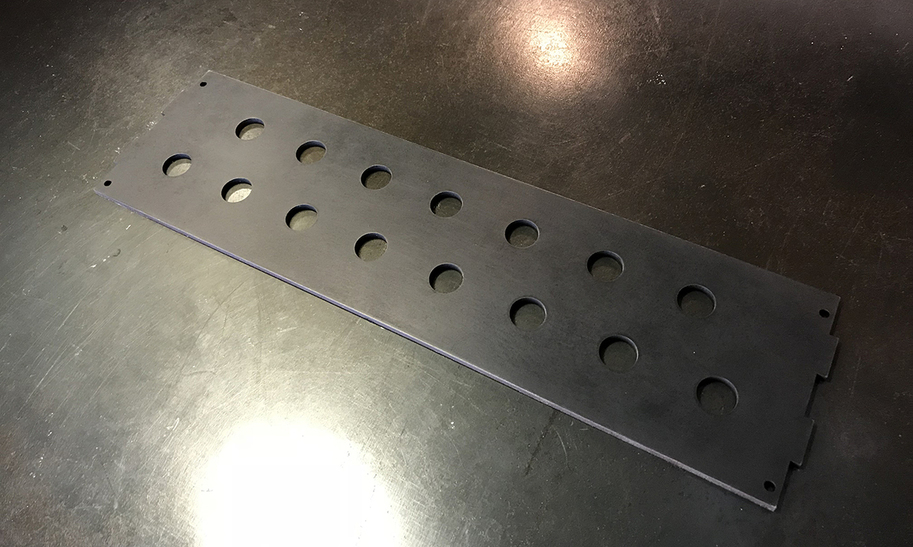
First cut your panel out of whatever material you are using without doing the engraving (I’m using PG Med Draft Board). Leave the glowforge app and cut job open.
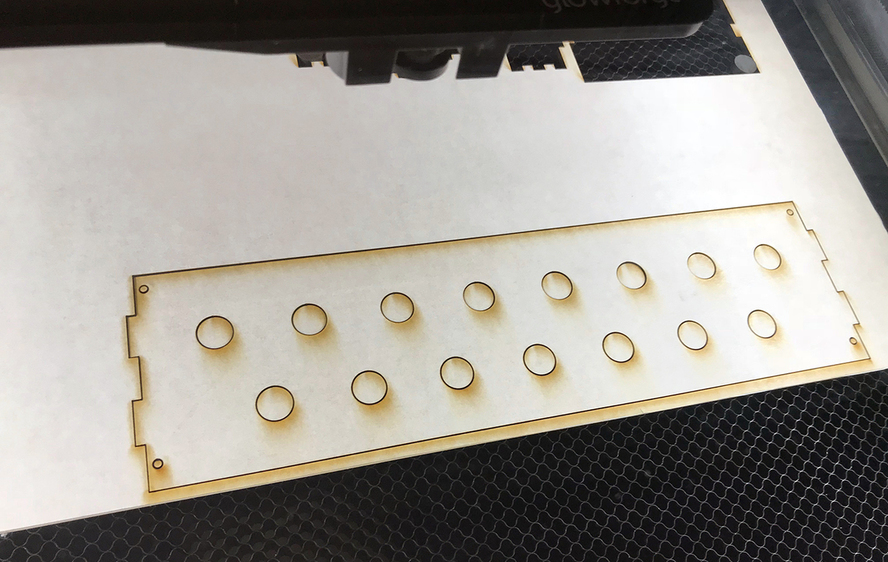
Then pull out the panel, being careful not to move the rest of the board. I use magnets to help keep it from shifting, but mostly I’m just careful.
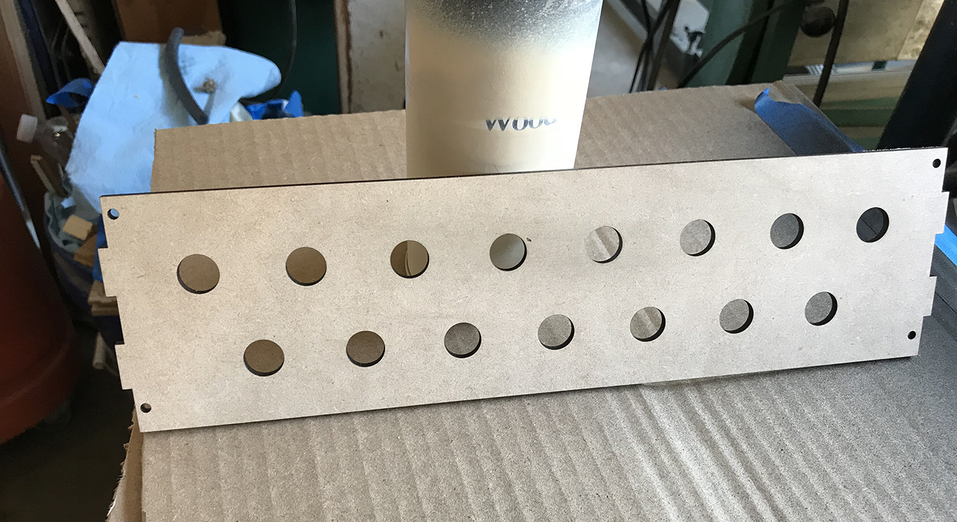
Once the panel is free, strip off the front masking and give the board a light sanding with 400 grit.
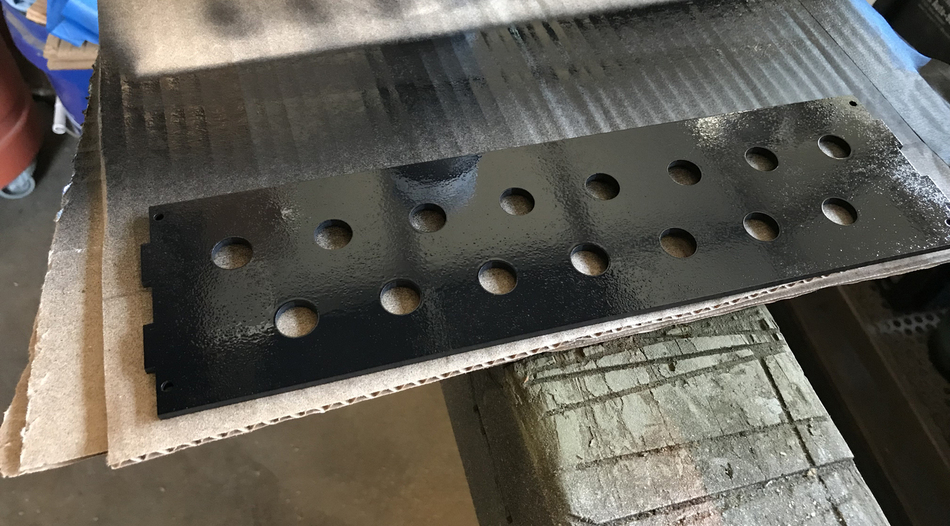
Apply two coats of paint, letting it completely dry between coats. I’m painting my panels with matte black Painters Touch for an anodized aluminum look, but it could be any color.
Lightly and evenly sand the paint down with 600 grit. I do this because I like the look but it also helps make sure the paint won’t bond to the masking tape. If you are doing a color or a gloss finish you can skip this step, just make sure it is completely dry before you re-mask the panel.
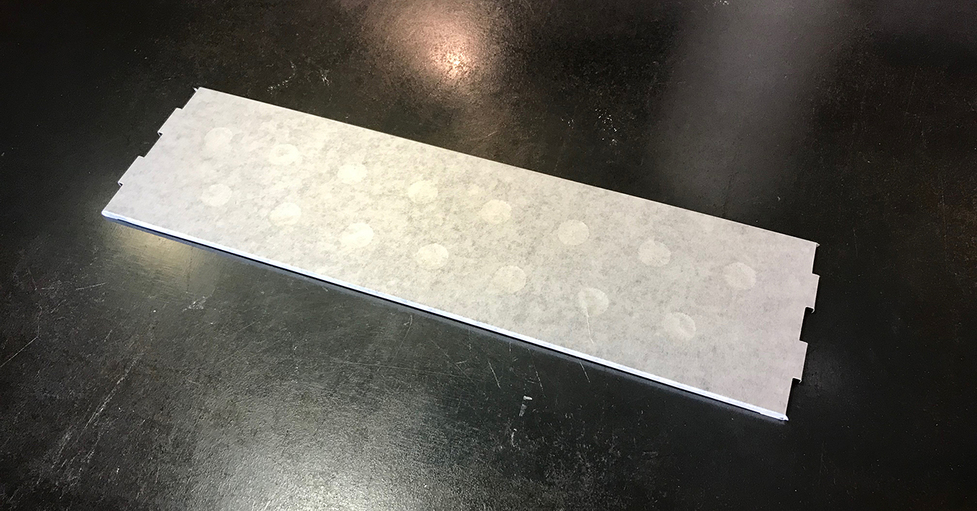
Wipe down the panel to get rid of the dust, then reapply a layer of masking tape.
I’m using a medium tac that I already had for transferring lettering but a high tac would probably be a better choice to keep the paint from bleeding under the tape.

Trim the tape. With a high tac you could probably just trim it to the edge, but with the medium tac I trim it wide and wrap the edge around to the back to keep it from lifting up.
If you wrap it around remember that it has to fit back into the sheet it came from so, miter the corners and make sure there is only one layer of tape thickness on any edge.
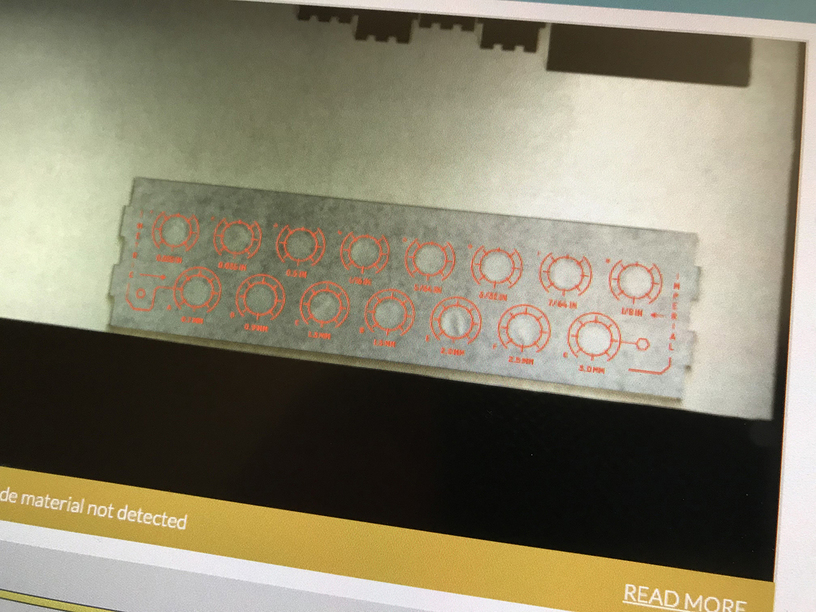
Put your painted and masked panel back into the sheet, again being carful not to move the sheet on the cutting bed. Set your cut to ignore and run just the engraving, It should register perfectly… as long as your sheet didn’t move and you didn’t move any parts in the program.
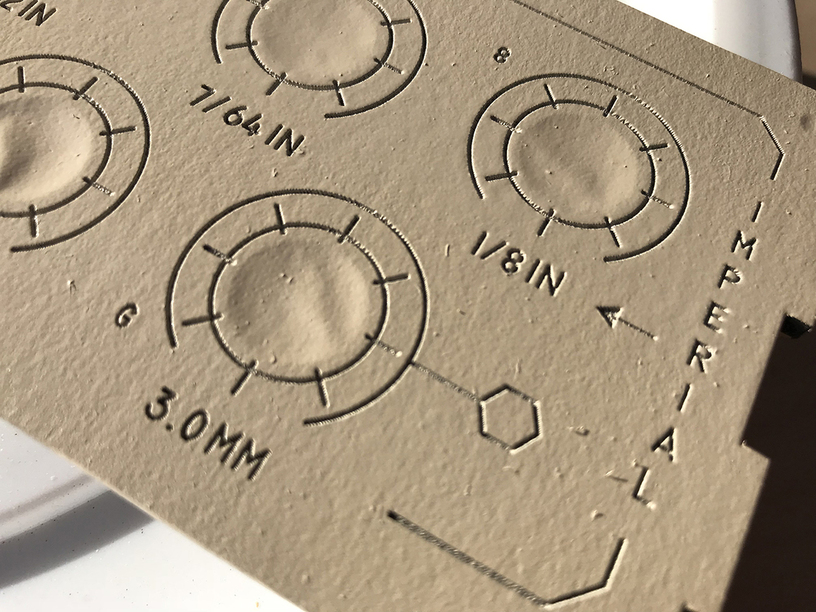
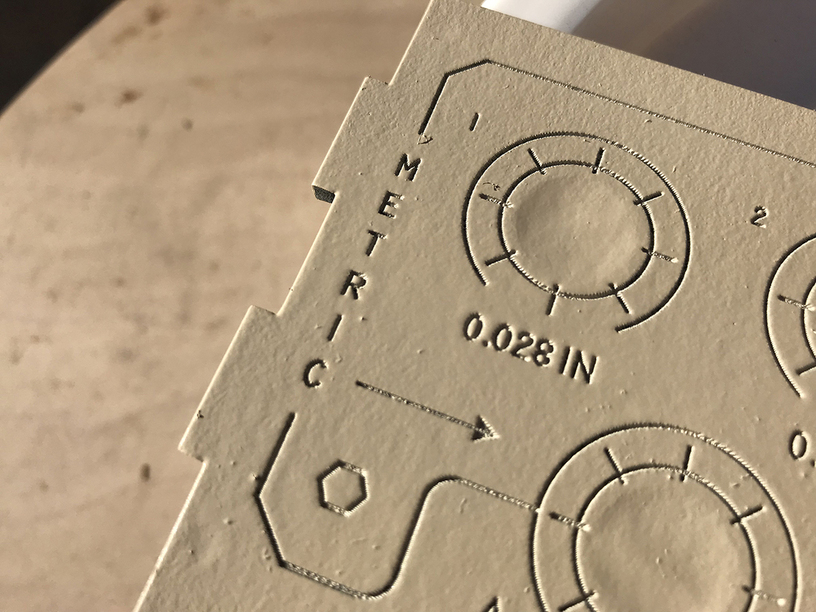
The best engraving for this technique is a shallow one. If you go too deep the spay paint will have a hard time getting into the groove. I have found the HD engrave works perfectly for Draft Board, but it is slow so I have been using the SD setting with the power turned down.
Once the engrave is done remove the panel, check to make sure the masking tape hasn’t lifted up anywhere. If it has lifted, press it back down firmly.
Spray paint the panel with several light coats of your color of choice, I’m using an off white so my panel has a more vintage look. If your engrave is too deep, your lines too thin, or you went too heavy on your paint coats, you may have a problem getting the engrave to fill. If this is the case you can blast some spray paint into a cup to give you some liquid paint and use a small brush to get into any areas that aren’t filling. Work fast and brush away any build up around the engraving, you don’t want the layer of paint on the masking tape and the layer of paint in the groove to form a strong bond as this will make it difficult to pull away the masking cleanly.
Let the paint dry completely but not fully cure, maybe 30 or 45 minutes, then remove the masking tape. You can use the gorilla tape method but I usually just flick the little pieces out with a new exact blade.

At this point it should look great! Congratulations. I find that there is usually still a fine edge of vaporized tape around the edges of my fill color so I press down a layer of blue painters tape and pull it back up a few times to get the edges crisper.
Thats it.
I hope this answered any questions about how I’m getting my panel lines clean and I look forward to seeing how other peoples techniques compare. Would be interested to see a back lit acrylic version if anyone has tried one.
