Folks on here were talking about using CA glue to get a shiny surface on wood, that led me to wondering about pens. A quick YouTube video later I figured I could fake it between my Dremel and my Makita
I got a Cuban pen kit from Rockler.com for the innards
Sadly I didn’t realize I also needed a couple other tools, so a trip to Lowes for a long bolt and nut and once again, me faking it
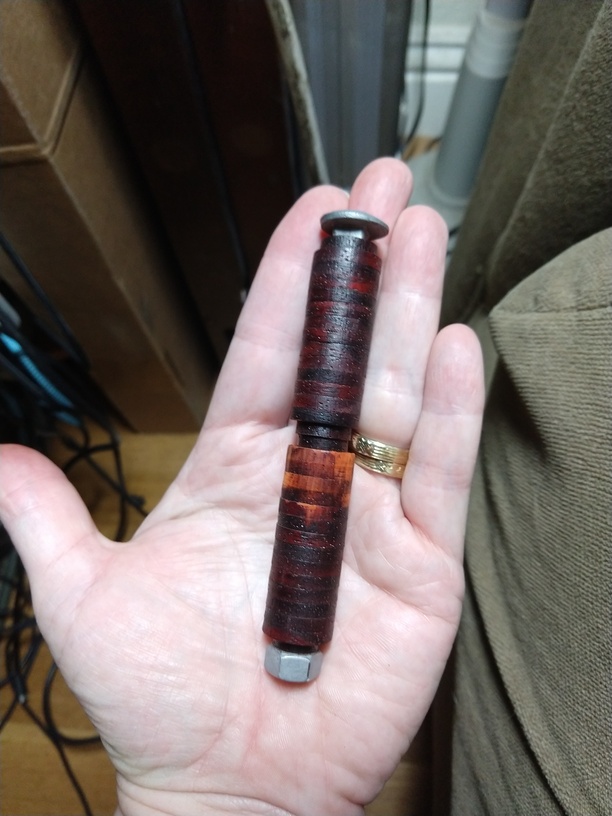
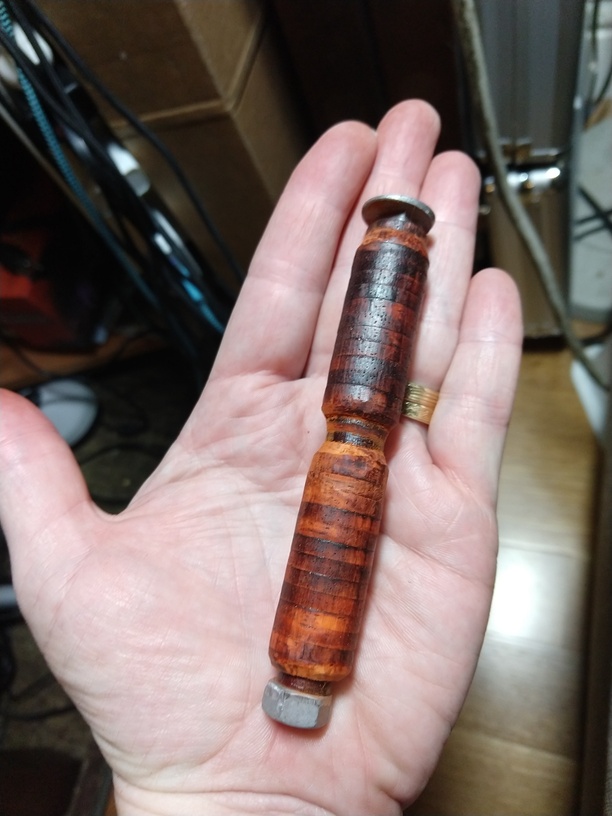
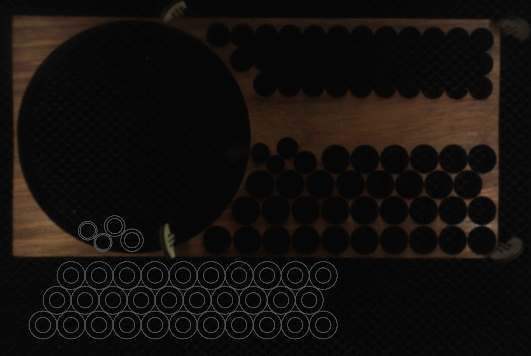
I cut 33 15mm diameter circles, and then 4 to the diameters of the ends of the pen kit, put them on the bolt and did some quick sanding with the Dremel
It looked hopeful so I took them off and glued the circles together (which of course rotated any pattern I might have developed in the initial sanding) so I started again
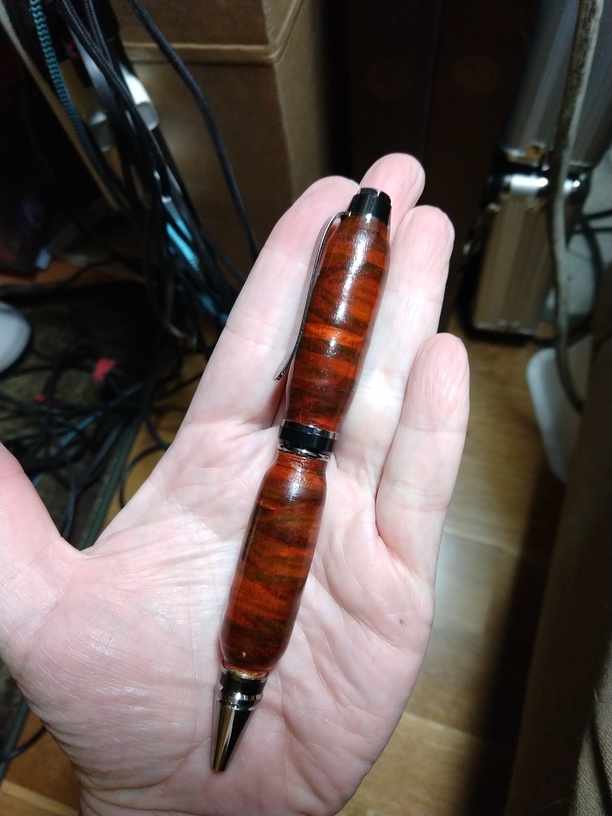
Then when the Dremel bit got it to a good shape I put the end of the bolt into the Makita, and moved to some 2000 grit paper (wow that stuff gets “full” quickly). When it felt smooth to my fingers I did the first pass with CA glue, then back and forth with the sandpaper and the glue until it looked shiny.
Of course in the last few moments I totally cracked the smallest of the rings (by the tip) but it’s my first pen and it’ll be a gift to family so I’m letting it go
Heh - my wood was still in the machine My fancy fancy pattern in case anyone wants to emulate!
My first try I did the center holes at exactly 9.77mm (outer diameter of the brass tubes that go in the center) presuming kerf would take care of being able to fit them…not so much. The 2nd run enlarged the inner diameter to 9.90mm and that fit beautifully.
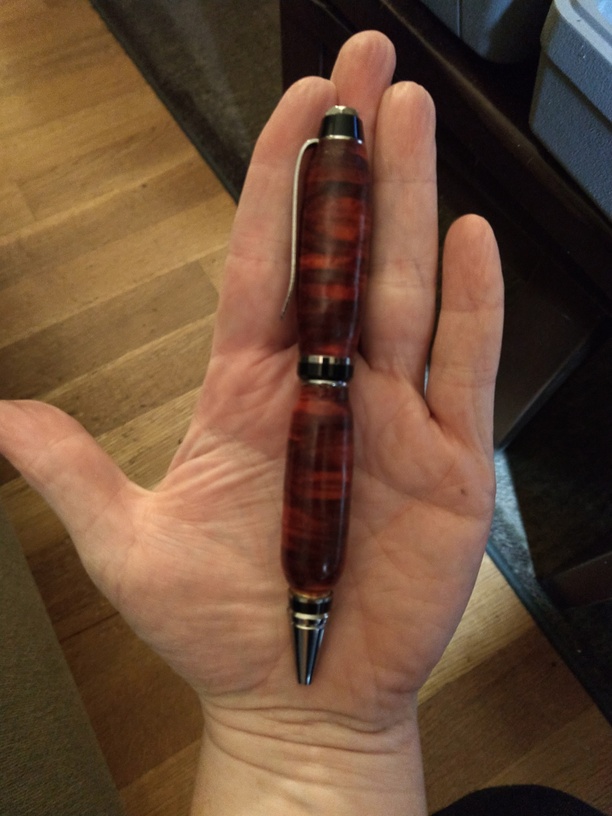
That is super cool and super color. That turned out amazing for not being turned at al. Which brings out a point. A pen unturned is a pen that does not have to be round.
You can rest assured that this has definitely crossed my mind! Even down to the pre-nesting them in a full sheet, and then cutting the circles that you did just recently…later pens!
I was thinking about either putting the sandpaper flat like on a piece of scrap and holding the pen/bolt stable or something like a belt sander and manipulating the pen on a bolt that is long enough to hold on the ends.