I ordered some edge lit pucks from Amazon and decided to try using some of my “happy little accidents” that I had laying around. I had to go back and cut a holder for the shield to have it sit in and higher in the puck itself. Once I fused it together I added some extra vinyl I had to cover the extension and, in my mind, help “hold” the light.
Now that I’ve seen what it looks like lit and read a few more articles on the subject I’ll have a better idea of how to fix this exact design if I need to make it.
Version 2.0
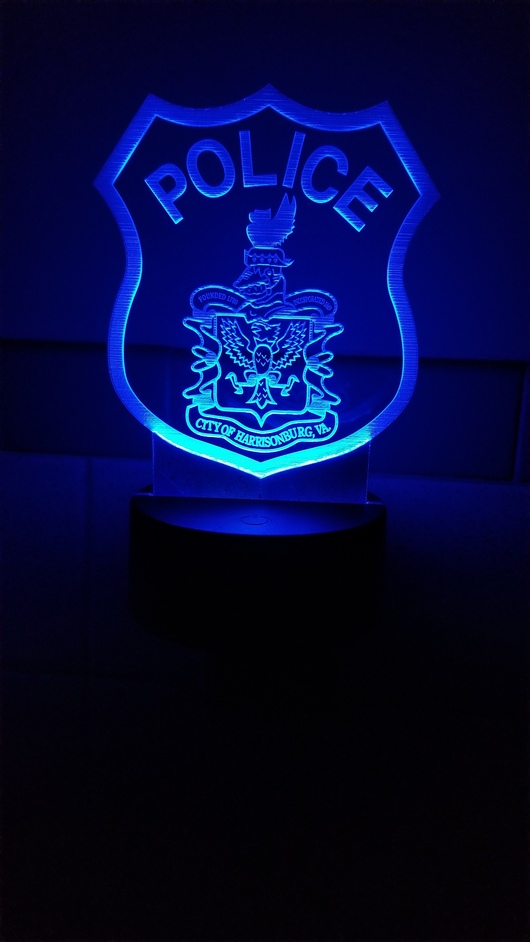
Wife loved the first one and showed it off to a few people who now want some. So I created a true edge lit file and used suggestions from the form for tapering the engraving.
I may have to do some tests, unless someone already has, to see if the engraving direction creates any difference in light transmission. This example has vertically engraved lines due to my placement on
It looks great…you’ll likely get quite a few orders from that! (And the depth of the engrave impacts light transmission…check with @PrintToLaser for the specifics.)
Yeah I got the ideas of doing the gradient engrave from @PrintToLaser and @johnse in this post from a while back. I’ll have to ask if they’ve noticed anything different from the engrave passes going vertically ( I ) instead of horizontally ( – ). I feel like a vertical engrave would help “drag” the ligth along the path where as a horizontal would make it diffuse out quicker and not let it get bright at the top.
I haven’t experimented with orientation.
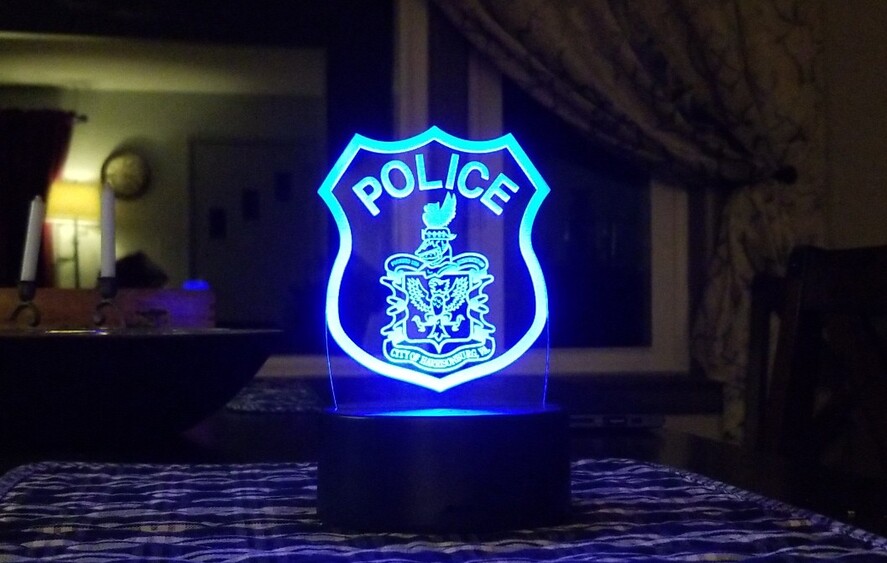
You got a real nice lighting all the way to the top by minimizing any shadowing from the engraving below.
Nice work!