Electroengraving masking

Be careful with those cheapo number sets. I bought several in different sizes and in every single box there were several punches that had the number way off center. It is super frustrating to try and line them up only to have the result look like you were drunk.

In contrast I have a couple high quality vintage sets that I got off ebay and they are all perfectly consistent.

4 Likes

I’m doing 1.5mm stampings, I’m not sure how I’ll register the numbers to each other, since the shank on the die is much larger than the head. It’s OK for them to be off a bit, since I am replicating a serial number machine, and they are rarely perfect in respect to the horizontal plane.

You have a laser!
Make a jig with notches for the stamp and a lower guide the runs along a ruler.
I made something like this in aluminum.

1 Like

But you’ll need a different guide for each punch if they’re not centered :sunny:

I ground down the sides so they match, but you could also just glue on shims.

1 Like

I decided to try Plasti Dip as a powder coat mask. I started with this…


And ended up with this…

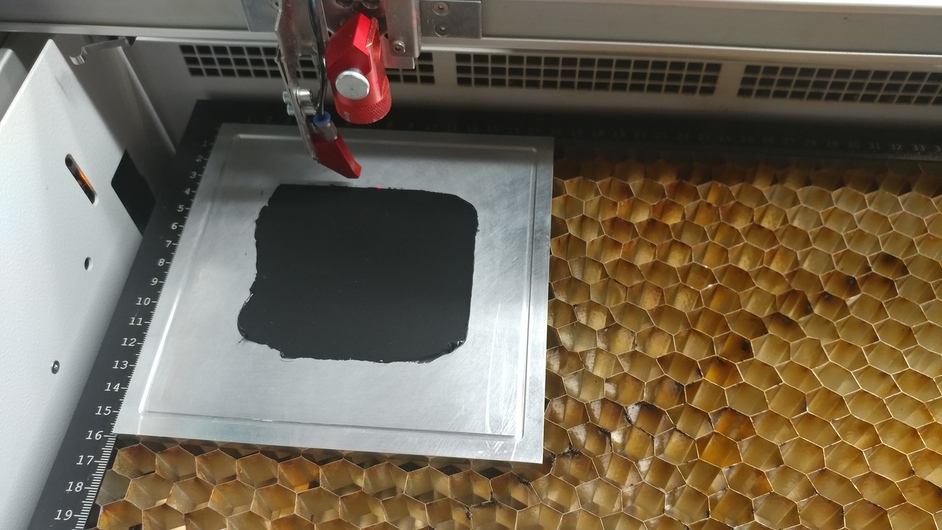
I had a scrap-ish piece of aluminum that I had already milled flat. I used it to make some custom silicone gaskets a few years ago and it’s been sitting around taking up space ever since. (Very quick aside: the gaskets looked sorta OK, but I never ended up testing a single one, I got bored of the project I guess.) The plate isn’t ideal, but it was good enough to test with.

I started by spraying a couple layers of Plasti Dip onto the plate. A painter I am not, so the layers were probably pretty thick. The can recommended 3-4 layers, but I stopped after 2 because I figured that was enough, it only had to last a day or so.

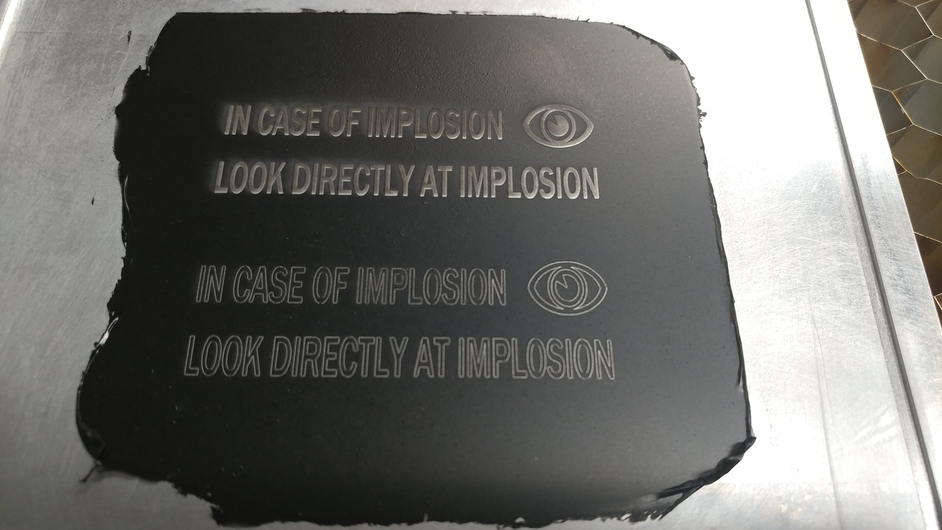
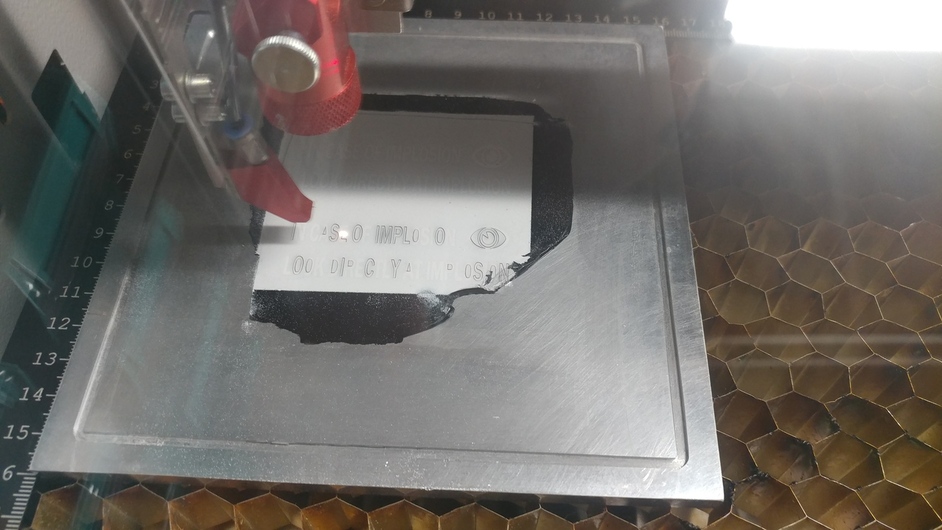
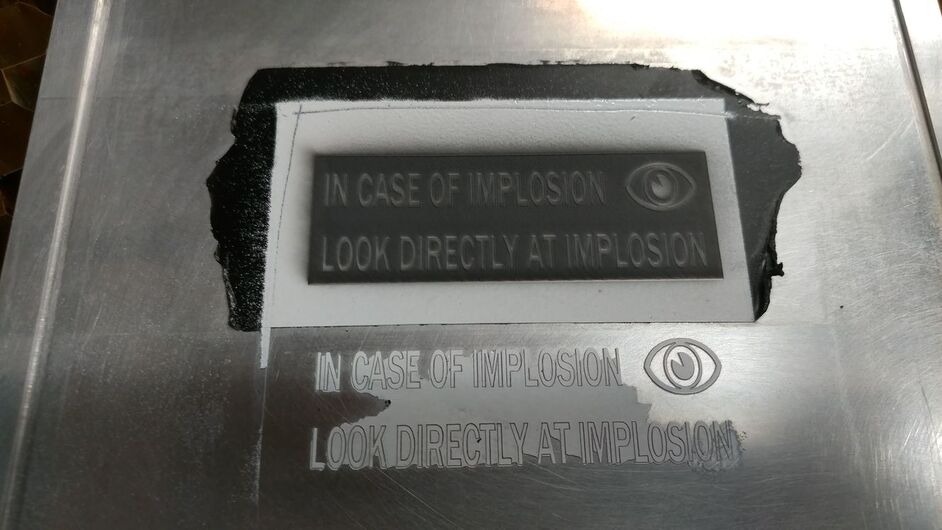
I put the plate into my laser cutter and cut the message in two different ways. I vector image raster fill through-engrave blasted one (top) and vector cut the other (bottom).

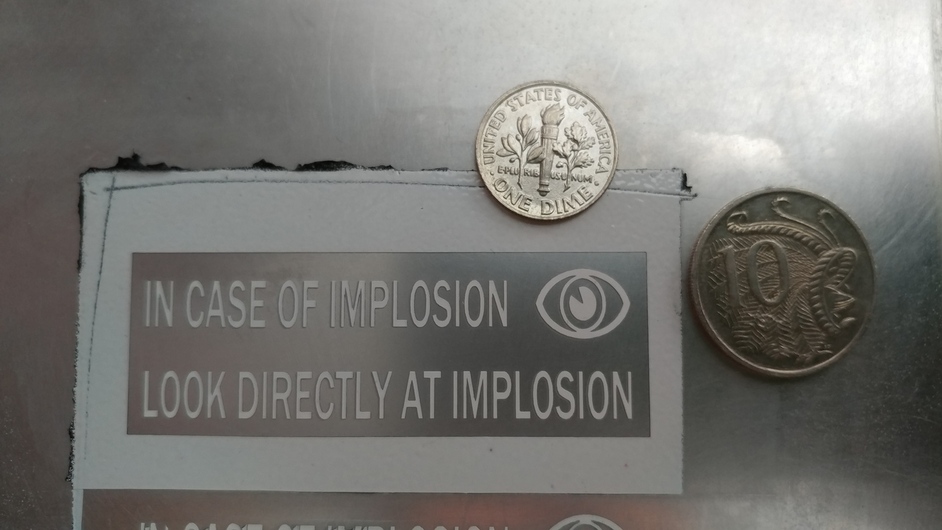
Then I weeded out the vector cut letters.

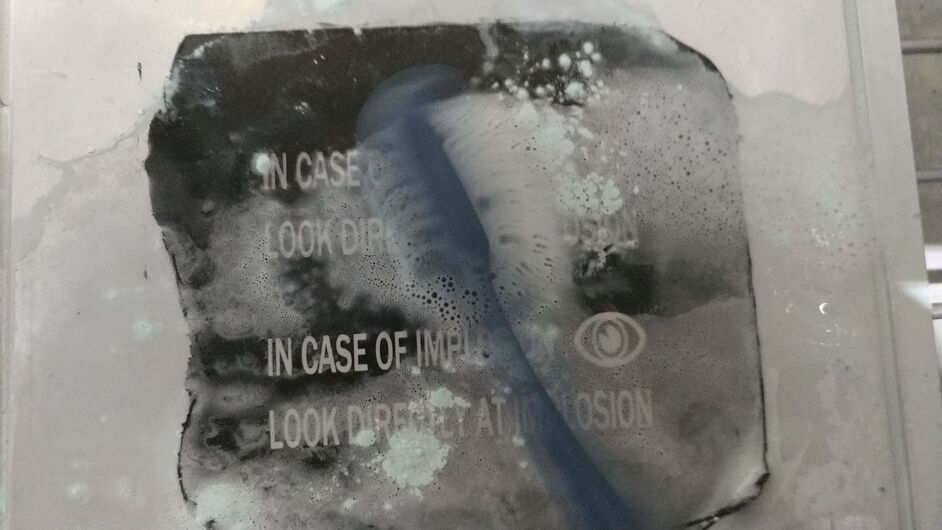
The engrave left a bunch or residue, so it needed to be cleaned up. I would have cleaned it anyway, but the residue from the engrave made it imperative. Here’s an action shot of scrubbing the letters with a tooth brush and some Comet (kitchen cleaning powder).

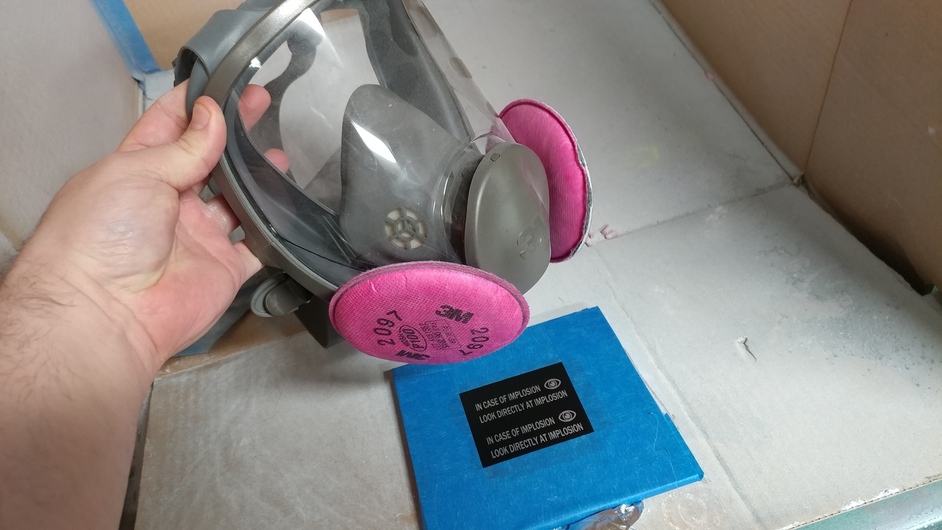
Next, I masked it some more and powder coated it. I wear this gas mask-lookin’ thing when I powder coat. I don’t know if it’s necessary, but it’s not really all that uncomfortable and it protects both my lungs and eyes. I’ve used other masks, but I wish I went directly to this instead of trying the couple other options beforehand.

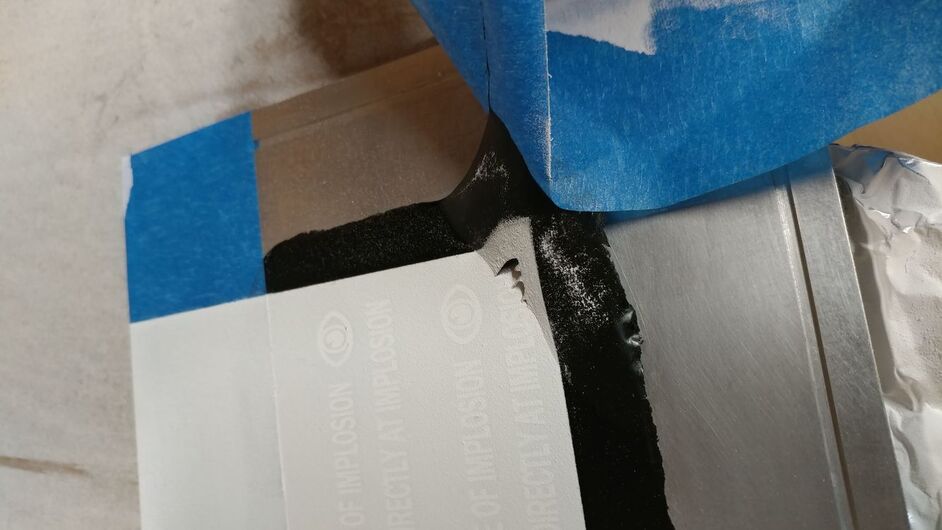
The painter’s tape (probably) needs to be removed before it goes into the oven. Unfortunately, it was sticking pretty good to the Plasti Dip and I ended up messing up the bottom right corner a bit.

Oh well, good thing this isn’t an important. I put a couple slices in the Plasti Dip to stop that from happening again.

After baking, I put the plate back in the laser cutter to cut the letters out again. I only did the bottom one at this time.

The adhesion of the Plasti Dip went into overdrive when it was baked. It would no longer peel off easily. The stuff covered with powder coat was even worse. I tried a variety of cleaners/solvants on it, but none seemed to be able to soften up the Plasti Dip + powder coat layers. I tried isopropyl alcohol, WD-40, mineral spirits (which might have worked, but it probably would have taken off the powder coat that I wanted to keep as well), nail polish remover (acetone), Pre painting prep (from Eastwood), Simple Green, and Smith & Wesson Lubricant and Protectant. A couple of those might not have been good for the powder coat, so even if they worked I might not have wanted to use them anyway.

After all that, I was basically left with this.

No good.

Next I took a step I didn’t want to, but since I was running out of things to try, I decided to try to engrave the mask away. I tried it on the eye of the bottom one first, and then did the whole top section. The engraving basically took away the powder coat, leaving a layer of the Plasti Dip.

Thankfully, when I was testing all those chemicals (and through doing some internet searching) I found that WD-40 basically melts the Plasti Dip on contact. It’s also supposedly OK to use on powder coat. So I sprayed some on.

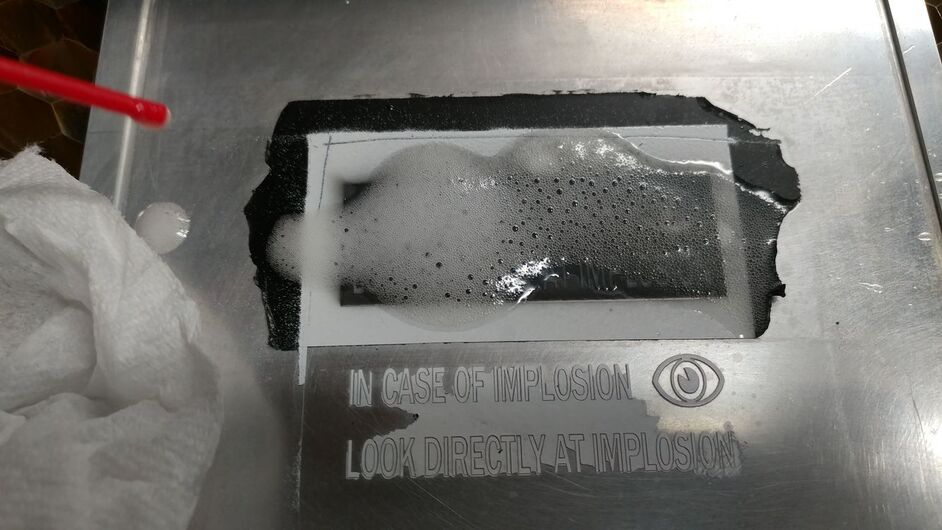
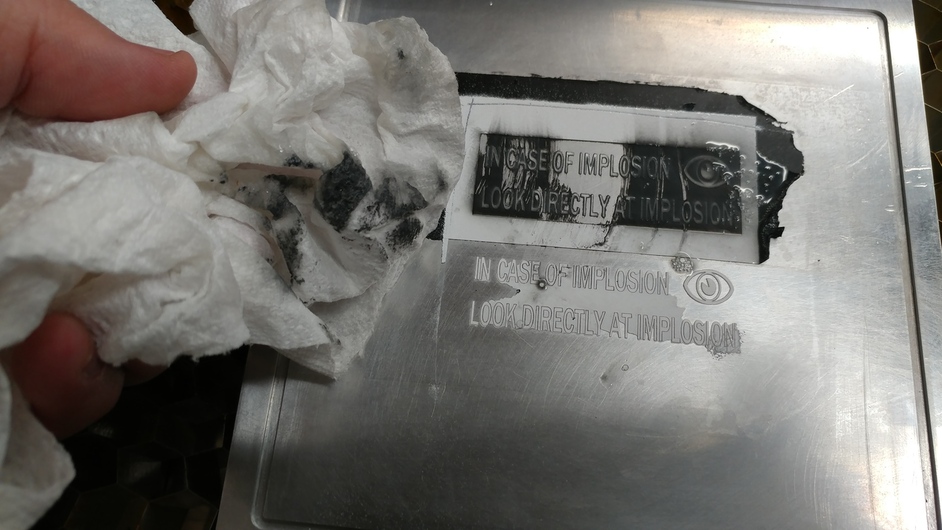
And wiped it off - this is just a single wipe very shortly after spraying the WD-40 (maybe 15 seconds later).

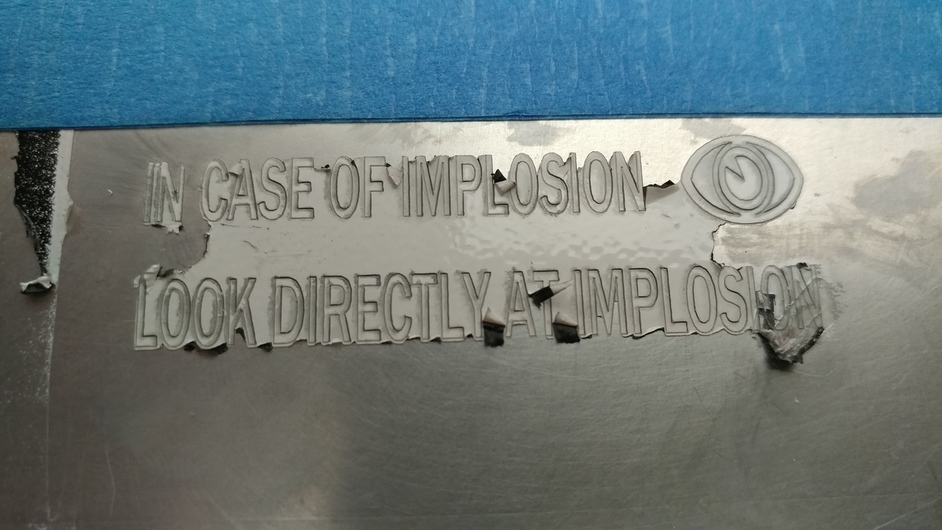
I gave it one more WD-40 bath and then a final scrub-down with the toothbrush and Comet. This is the end result.

Not too shabby, if you ask me. :slight_smile:

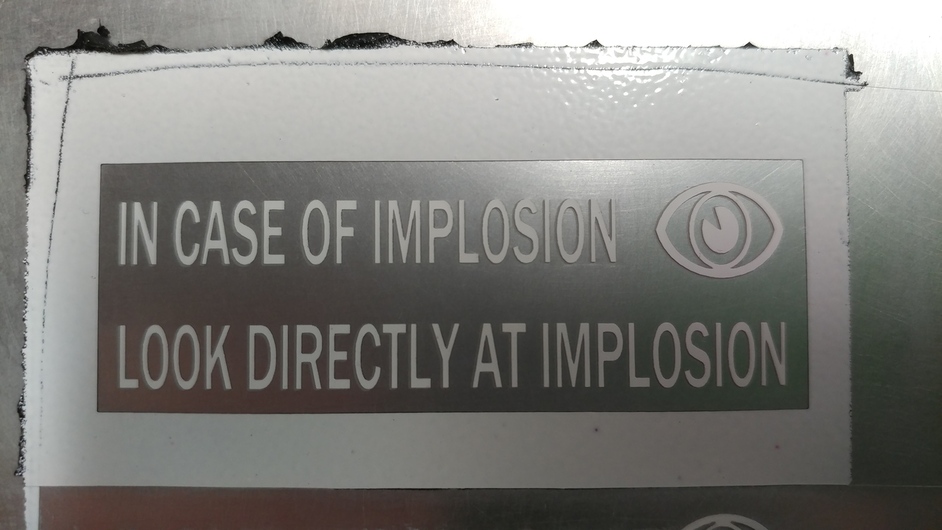
And here’s a couple super-macro shots of the eye.


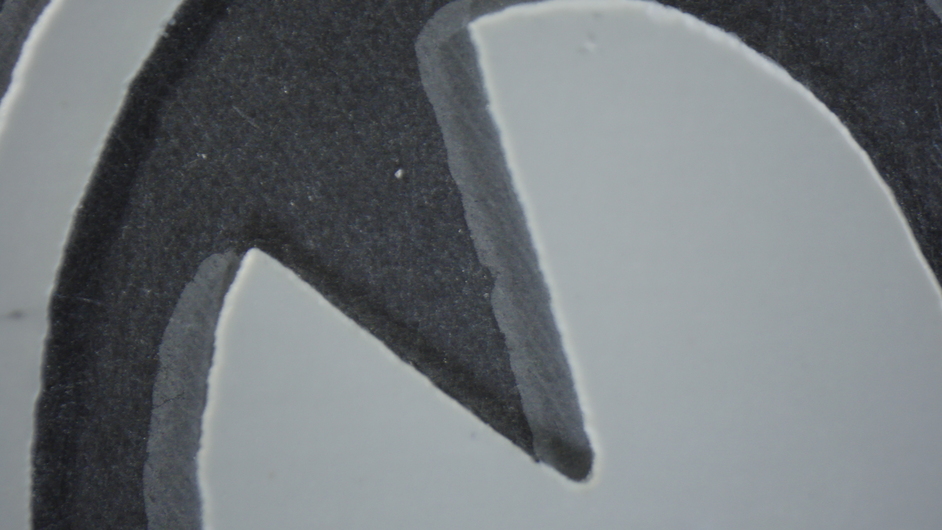
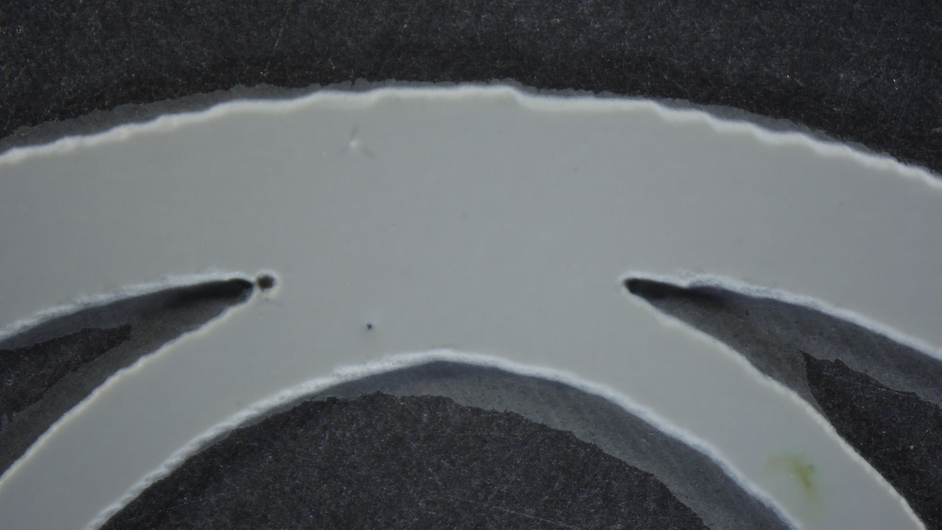
And, since I like to complain and since my soul is black and I’m a troll and who knows what else people might think (or maybe because I’d like problems to be solved instead of ignored): there seems to be some kind of residue left over on the aluminum. It’s most apparent in the macro shots. It seems to mostly be below and to the left of the powder coat, but the direction it’s in in relation to the powder coat isn’t consistent. I don’t know what it’s from, but it’s worth looking into. Those marks might just be from the way I dried the plate after the final cleaning - I used an air hose and blew it off. Those light areas might just be places where there was a little bit of Comet left over, and it dried there instead of being blown away. (nope, I cleaned it again and the marks are still there and look exactly the same) I dunno.

Thanks to @mad_macs (for starting this thread), @jkopel (for the Plasticote recommendation, even though it didn’t actually register with me the first time around), @kids_a_pistol (for starting a Plasti Dip thread that I’ll link to below, and @cynd11 (for checking the Plasti Dip FAQ and finding that it doesn’t have PVC).

29 Likes

Nice work! All that experimentation will be very useful to everybody. Looks like there is a new reasonably priced liquid mask that is laserable–yay! I’m guessing probably only for use on metals though? I suppose it would be really difficult to remove from just about anything else.

2 Likes

I think you will have spawned a “trial and error” testing of masking/coating of materials.

Hope to hear from you and others about more materials.

4 Likes

I had assumed spray Plastidip had vinyl in it, so I had dismissed it as an option from the very beginning.

Glad to see it does not, and I’ll try it today!

The original Plasti-Dip for coating tool handles IS Vinyl as I recall.

1 Like

Thanks!

This lil’ project pretty much encompasses my Plasti Dip experience, but I gather that it’ll remove from quite a number of different materials. The can says “Easy to remove from most surfaces when you’re ready”, so maybe it’ll work with a lot of stuff.

Here’s the exact can I bought - 'Twas about $10 at AutoZone (auto parts retailer)…


UPC: 075815112033

2 Likes

Any idea when it changed, or if there is a definite difference in the packaging ?
Don’t want to end up using old stock :frowning:

Originally Plastidip was sold in a long van with an opening in the top for dipping tool handles. It’s a lot thicker, and apparently a completely different product from the spray cans.

I did my rims and chrome trim in Plastidip 2 years ago, and it has held up way better than I expected.

8 Likes

If that’s not a typo, it brings up, to my British eyes, the vision of a vehicle parked in a back street, with dodgy looking characters, carrying loads of tools up a ramp by the side of the van, a quick dip through the roof, a wad of green backs dropped into the window of the cab ( just rolled down enough), and they scuttle of back to their poorly lit workshops, to produce another load of crap tools for the next week’s market.

Now tell me it means something else.

John

Edit Like the car !!!

5 Likes

Yes, early morning iPhone autocorrecting can to van.
I do have two vans. But they have nothing to do with lasers or vinyl.

3 Likes

But with the delivery of your GF and a portable generator you can fix that!

3 Likes

Oh yes. This is exactly what we all think!

^ or maybe that :wink:

Thanks for the walk through. Very interesting process and problem solving.

4 Likes


I’ve been building a workbench and I needed(kinda) a band saw for the legs so I grabbed the entry level Ryobi from Home Depot and absolutely hated the neon green so I took the doors off and did a couple passes of this stuff and I love how it looks! Oh and the workbench is okay I guess.

11 Likes

That is a gorgeous workbench and it looks very solid. I like your paint job too!

2 Likes

Thank you!

1 Like

I ordered a roll of blue polyester tape from Prismatic Powders (along with a variety of colors of powder) and it came in today. Unlike the Eastwood stuff, this stuff is only rated up to 400ºF. Meh, whatever… So, I put some on an aluminum thing I made.

And raster-engraved the shapes I wanted to powder coat.

That was at the same power/feed as I’ve been doing the Plasti Dip…

… I decided it wasn’t quite enough power, so I cranked it up a bit and started over.

That did the job better. In fact, the places that got hit twice look even better yet. The charred glue or whatever was left over (probably something highly toxic) wasn’t too hard to clean off, but maybe two passes would be useful for larger jobs.

I shot the powder, baked it, let it cool, and stuck it back in the laser for some more engraving, this time I ablated everything except the stuff I was keeping.

About 3/4 of the way through doing this I realized that I probably should have spent more time on the computer to strategically vector cut and engrave only the areas that were going to be difficult. Then I could have just peeled the tape up in one piece and thrown it away instead of having it go through my laser filter. This one would have been quite easy and I probably could have just cut around all the shapes and peeled. Next time I’m only going to engrave the areas that would be a pain to weed, cut around the remaining shapes, and peel; I think that’ll be better in almost every way.

Here’s what it looked like straight out of the laser. That leftover residue was incredibly hydrophobic. It was hard to get the Comet wet because every time I would place the wet toothbrush on the surface the water would just bead up and roll off.

Under the frosted layer there was the glue/poison/ash residue left over. It was harder to clean off than Plasti Dip, but not too bad.

OK, all cleaned up.

Some closeups…

The machining marks look so cool!


I’m not thrilled with the color - pretty splotchy. Maybe I should have let it bake longer. Also, the little edge anomalies are here as well. Maybe they’re just from the ramp-up and down of my laser.

Obligatory “with coin for scale” shot.

17 Likes