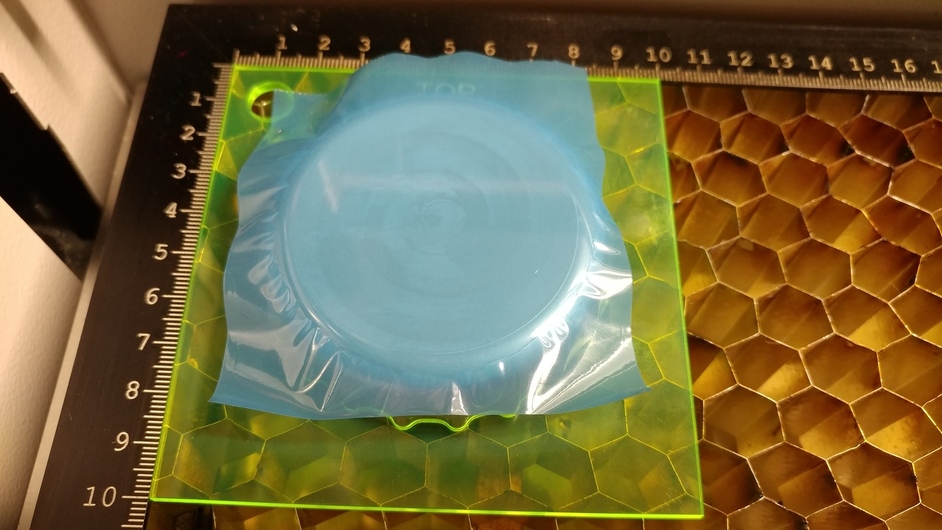
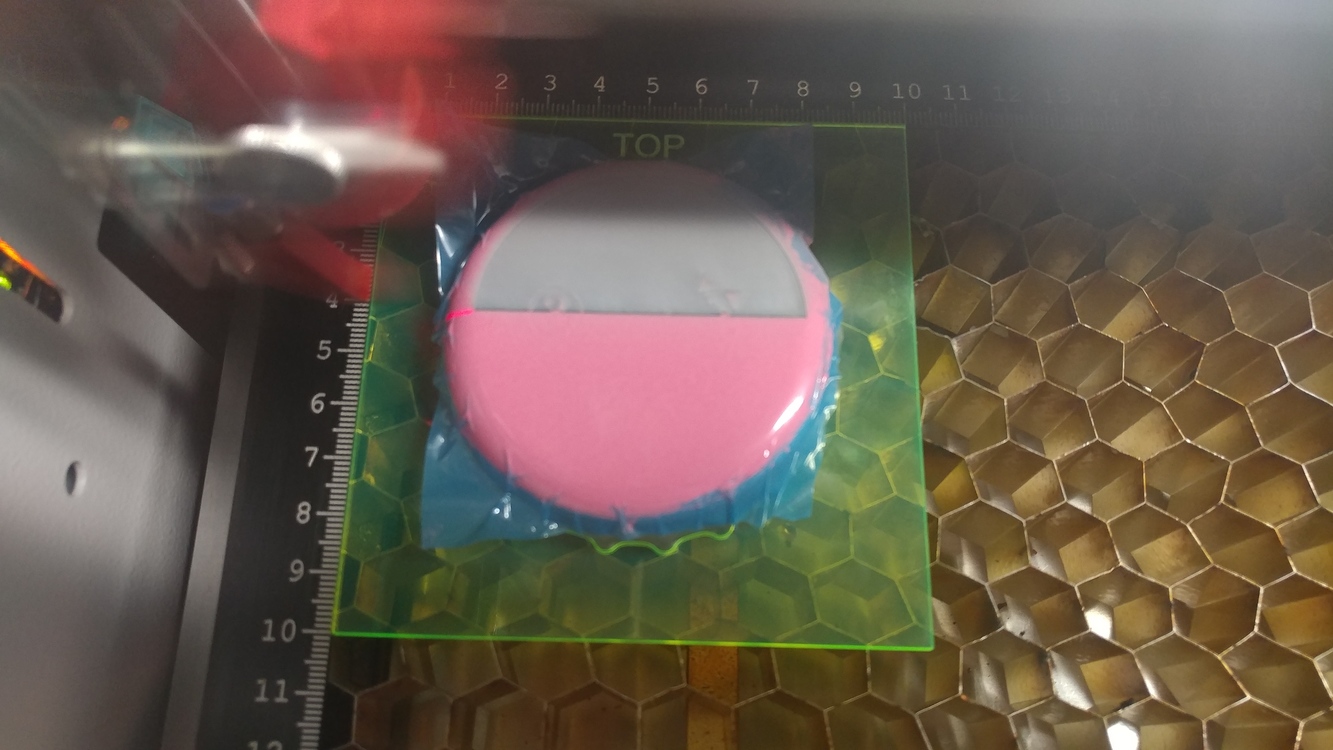
I ordered a roll of blue polyester tape from Prismatic Powders (along with a variety of colors of powder) and it came in today. Unlike the Eastwood stuff, this stuff is only rated up to 400ºF. Meh, whatever… So, I put some on an aluminum thing I made.
And raster-engraved the shapes I wanted to powder coat.
That was at the same power/feed as I’ve been doing the Plasti Dip…
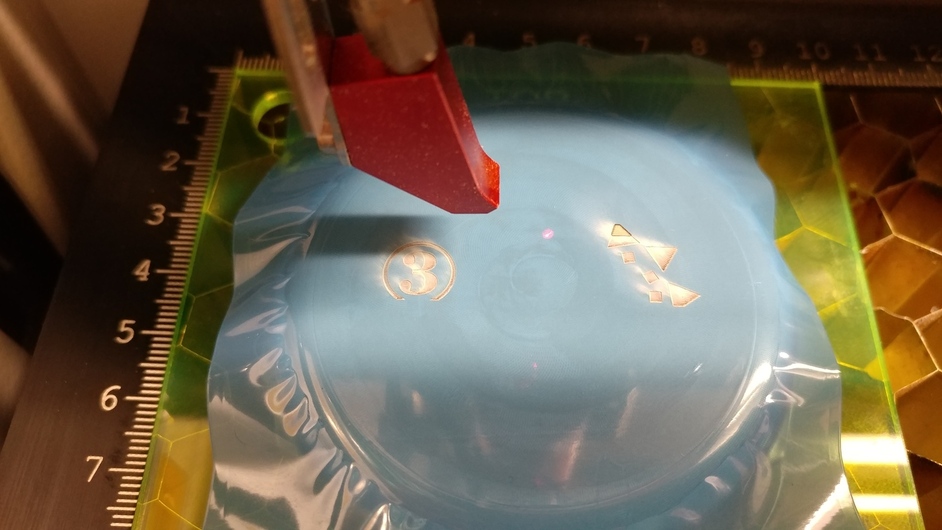
… I decided it wasn’t quite enough power, so I cranked it up a bit and started over.
That did the job better. In fact, the places that got hit twice look even better yet. The charred glue or whatever was left over (probably something highly toxic) wasn’t too hard to clean off, but maybe two passes would be useful for larger jobs.
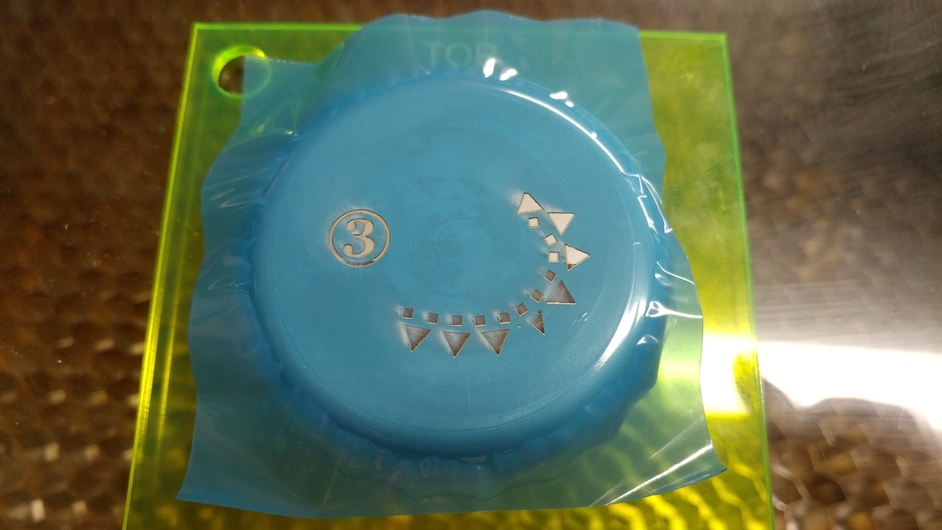
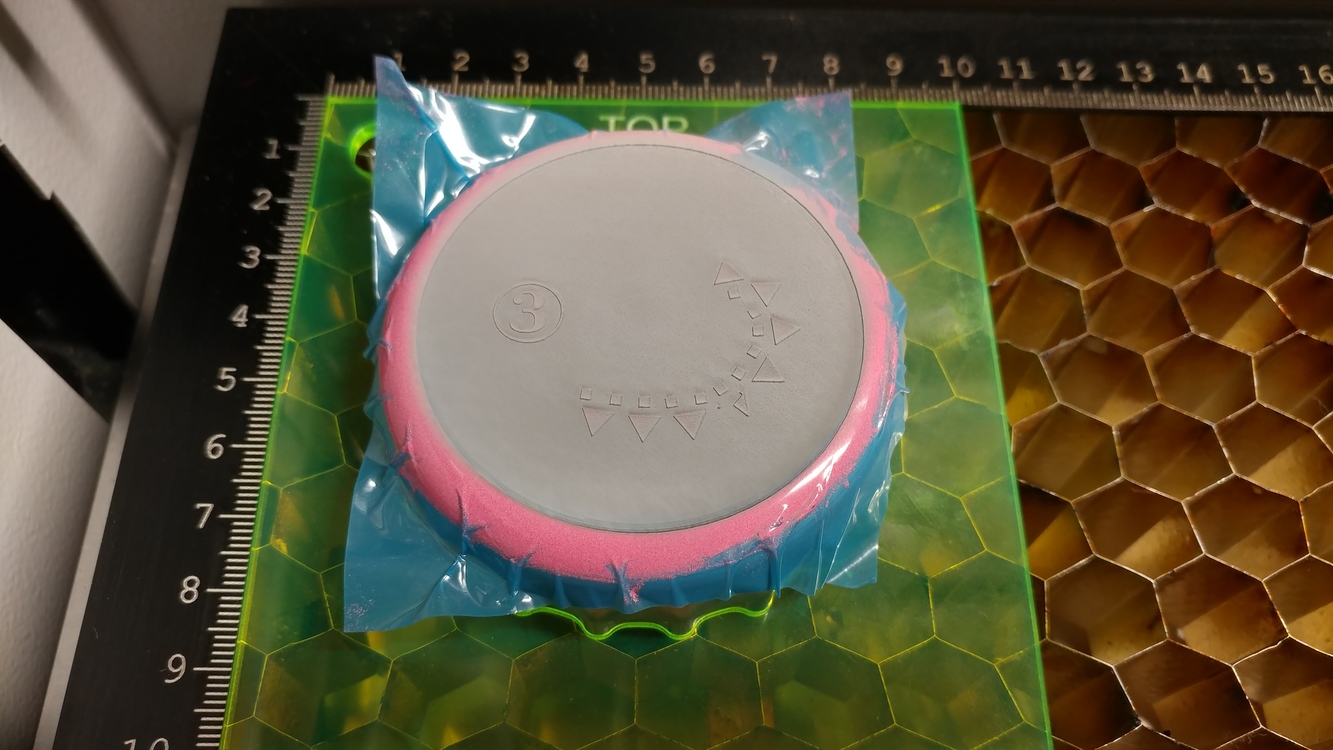
I shot the powder, baked it, let it cool, and stuck it back in the laser for some more engraving, this time I ablated everything except the stuff I was keeping.
About 3/4 of the way through doing this I realized that I probably should have spent more time on the computer to strategically vector cut and engrave only the areas that were going to be difficult. Then I could have just peeled the tape up in one piece and thrown it away instead of having it go through my laser filter. This one would have been quite easy and I probably could have just cut around all the shapes and peeled. Next time I’m only going to engrave the areas that would be a pain to weed, cut around the remaining shapes, and peel; I think that’ll be better in almost every way.
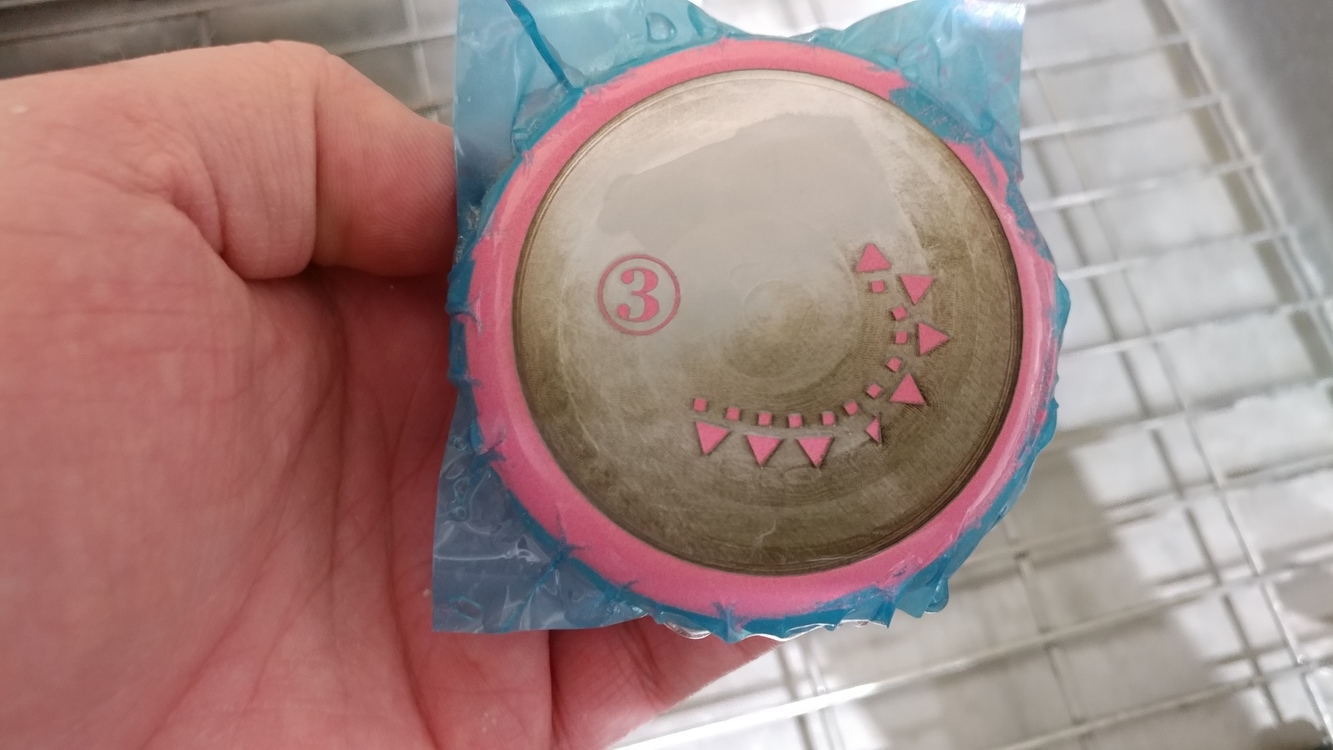
Here’s what it looked like straight out of the laser. That leftover residue was incredibly hydrophobic. It was hard to get the Comet wet because every time I would place the wet toothbrush on the surface the water would just bead up and roll off.
Under the frosted layer there was the glue/poison/ash residue left over. It was harder to clean off than Plasti Dip, but not too bad.
OK, all cleaned up.
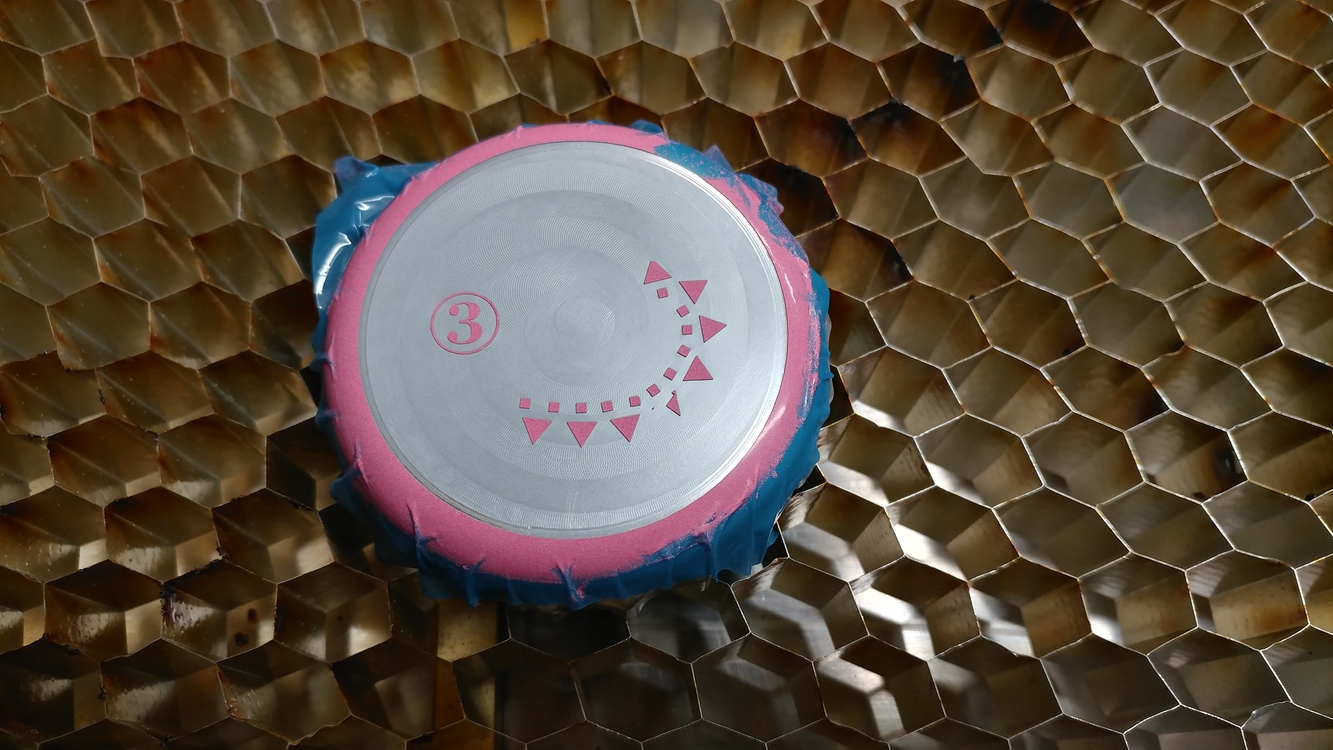
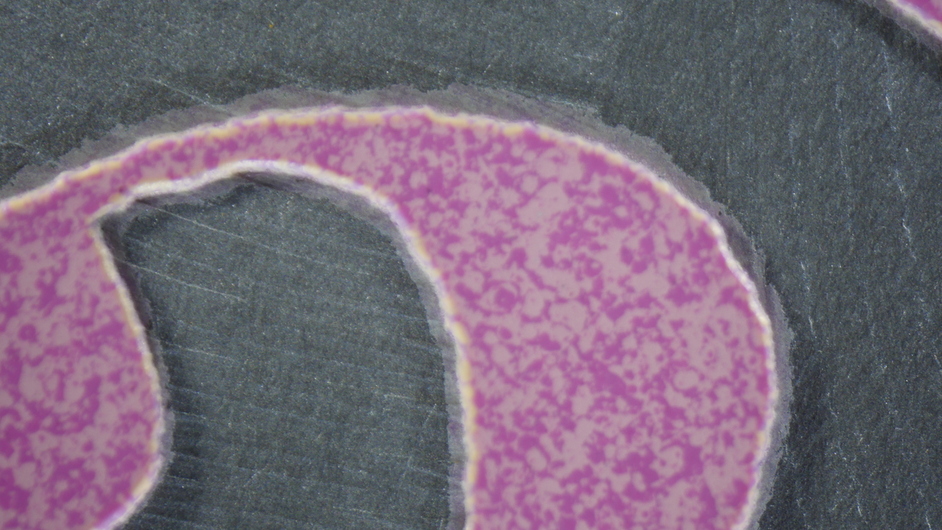
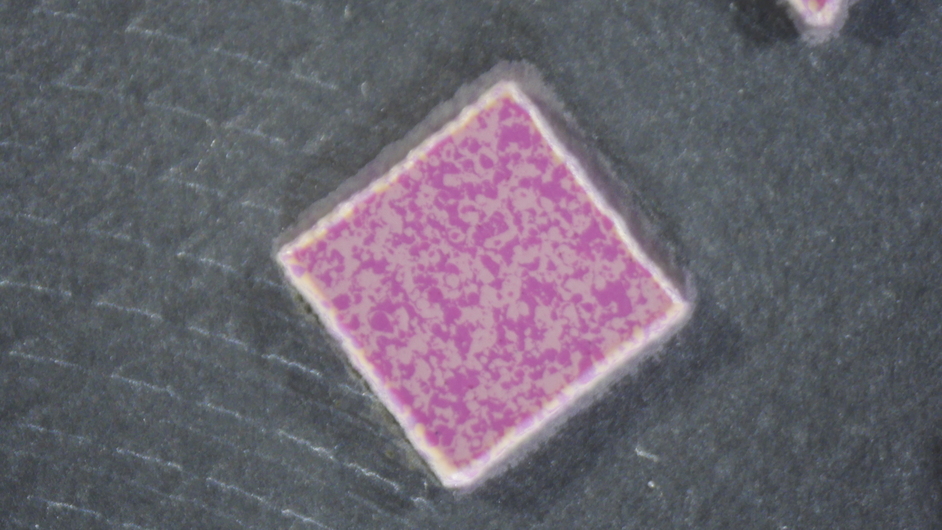
Some closeups…
The machining marks look so cool!

I’m not thrilled with the color - pretty splotchy. Maybe I should have let it bake longer. Also, the little edge anomalies are here as well. Maybe they’re just from the ramp-up and down of my laser.
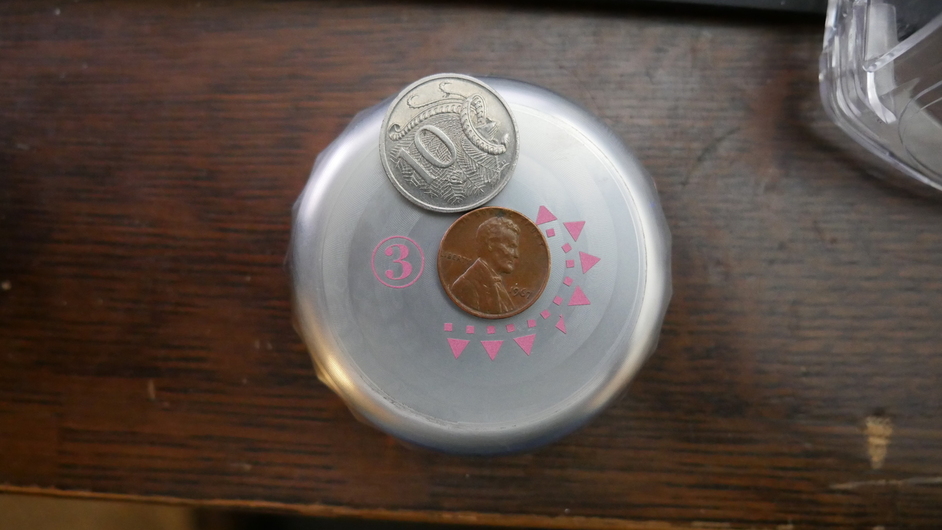
Obligatory “with coin for scale” shot.