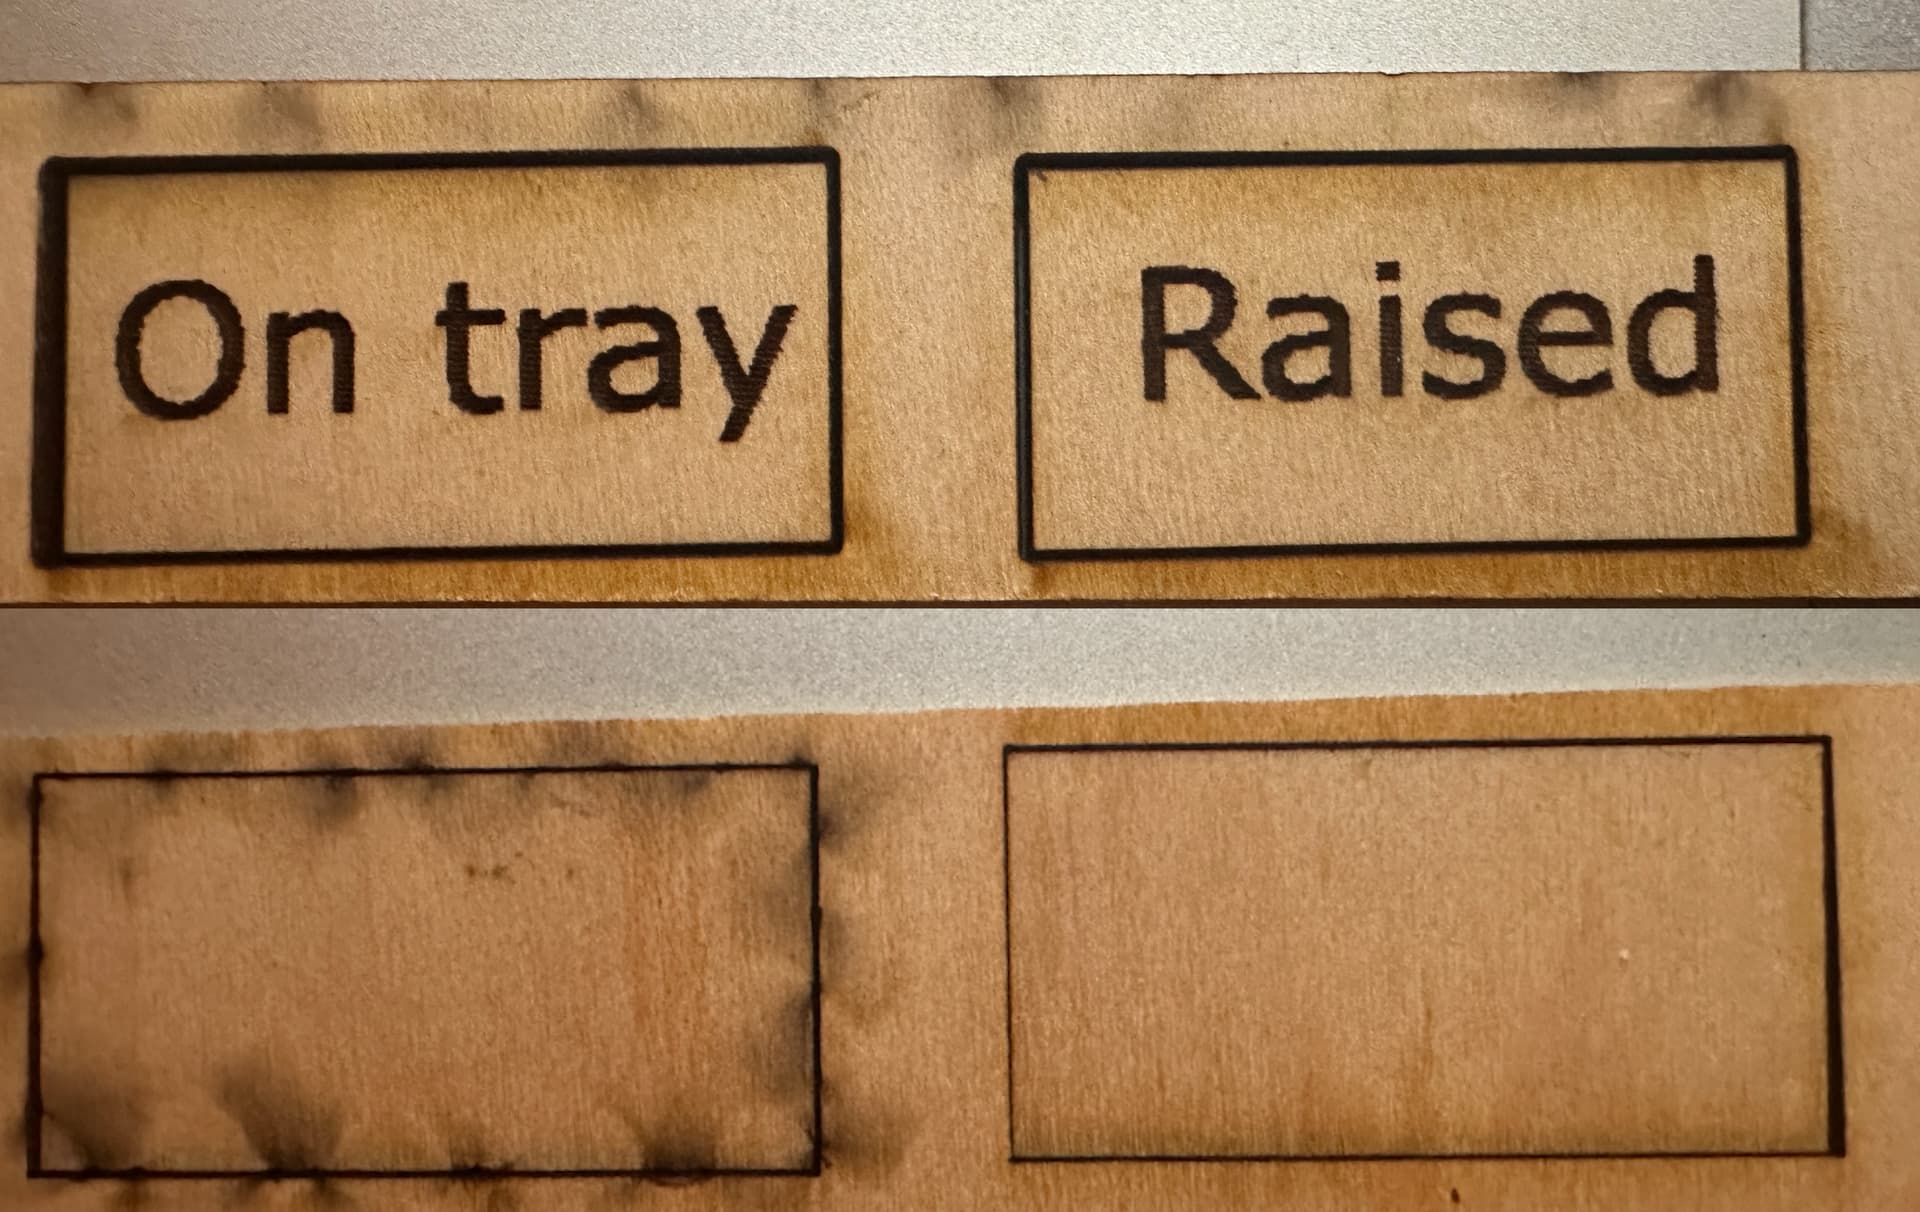
I just had an inspiration that I hope others find useful. I wondered what would happen if I simply raised the material above the bed to cut.
So I printed these test pieces - ignore the flashback in the top of the pic, that was originally the “bottom” of the scrap I used and had cut previously. Look at the two cuts on the bottom - same settings, the left one was with the material sitting on the bed, the right was elevated about 4mm.
Yup – I use this method, along with careful setting adjustments, to allow me to cut non-masked materials. Careful attention to inside vs outside cuts is critical, including sometimes resorting to inside 1, inside 2, then outside for complex shapes.
Never saw the linked post on acrylic, guess I’d never noticed a problem because I’ve only ever used masked acrylic.
Some of the unmasked material I have is not perfectly flat so my thought was to hit it with a small circle for a pin in the middle, and having a “washer” of the material I use to raise it up to keep the middle held down as well. A simple corner jig of stacked cardboard would be enough to keep sheets aligned between initial center cut and final print. Haven’t done that yet, but I am making something that I will use unmasked ply and wanted to find an easy way to avoid flashback as these will be visible from both sides, and used for display (selling items - a gift for a friend who makes jewelry…)
I like the concept but my pins break so often I’m not sure they’d hold up.
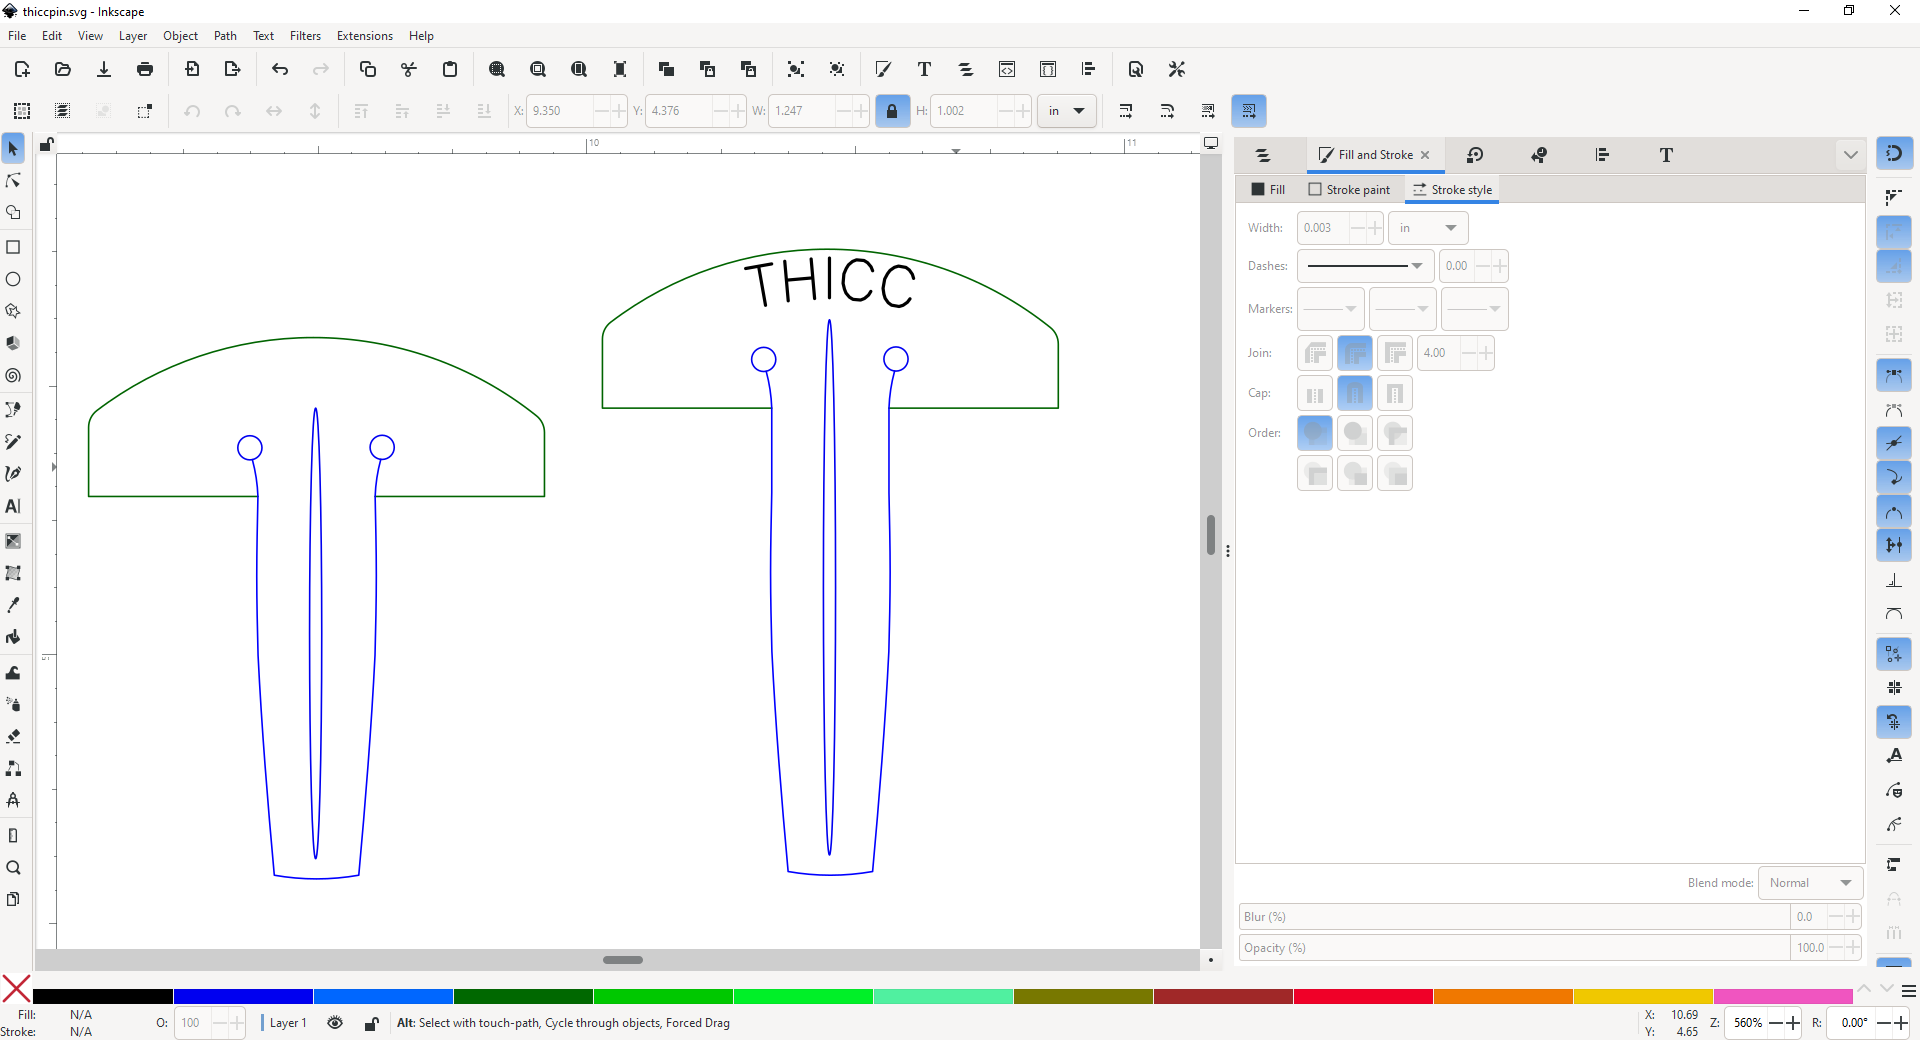
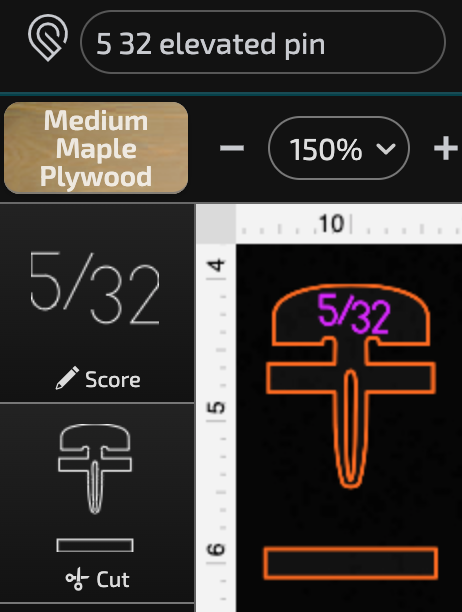
Still, just knocked this up for the 5/32" I’m using, and will give them a try tomorrow. I’ll cut 7 or so from scraps of ply. Obviously the slot cut is for the actual print material - the pin will turn at an angle in the middle.
I’ll be curious to see how it works. I think one of the ways that the traditional pins bind up in the grid is by way of torque from flexing when you push down on them. The spacer would prevent that.
I’ve always thought they basically work like bench dog clamps, and the offset load was part of the way they gripped the tray. The grid holes are so inconsistent that It’s hard to make a pin sized precisely enough to make an interference fit without that torque. I don’t think the flexible slit in the middle is enough to do the job but I may be wrong about that. It’s all theoretical, I’ve never tested it,
The only problem I see with any of the pins is that although they work great for putting in the corners, what happens when you cut stuff in the middle, like if you have multiple coasters being cut or something? Would something as simple as just laying a piece of paper or cardstock underneath the material work to prevent flashback? Can we use foil or would that cause flashback as well? (I’ve only used a tiny piece of foil once, when I had to make sure some tiny pieces didn’t fall into the crumb tray, and it was a very small section of foil.)
Good to know. I’ll have to give it a go. And thanks for the shared file. I’ll have to make me some. I do hate masking, and cleaning is time-consuming and doesn’t always work.
I have a couple of basic questions related to this.
If you elevate the material, the Glowforge measures a different distance to material and could assume the material is thicker and increase power settings. Must you disengage “auto” mode and manually tweak power settings when you raise a thin material off the build grid?
To avoid flashback, you are elevating the material. Are you only doing that from the edges? Will large material sag?
Some ideas here mentioned using thin sheets under the material. Is that only on the edges, or does the material go all the way under the entire sheet?
Depends on the material. cork sheet? yes. Plywood? probably not. Depends on the length of the span, and the properties of the material. Might need to put in a support in the middle if that’s a concern.
if you’re using a thin sheet (I like cardstock) it should be wherever you’re cutting. The laser overpenetrates and the cardstock absorbs the extra energy, protecting your main material.
That is not the case. The machine (and the software) does not assume anything. Power settings are based on whatever the material is detected, or specified. It does not adjust by some secret algorithm.
I think I understand my confusion. On my industrial laser cutter, the cutting bed moves up and down based on the material thickness entered. If I propped up material in that machine and entered the true material thickness, the cutting bed would not drop down far enough and the laser would be out of focus at the material surface.
With the Glowforge, there is an auto-focus process at the beginning of each print that determines the distance to material surface to aid in focusing the laser every time. So, when you prop up material in the glowforge, the laser remains focused. And you are still responsible to select your material, which often indicates thickness itself (think/medium/thick).