I got my GF around Christmas and until now, never had the time and opportunity to work with it. Until this week. So armed with a lot of enthusiasm and no knowledge of Inkscape, I began to work on a project. As you can well imagine, things aren’t going too well
I watched a lot of tutorials and read a lot in the forums but I am still stuck. I tried to make a bitmap copy but the result was not pretty. The worst is that I know it’s a simple thing but I can’t manage to do it.
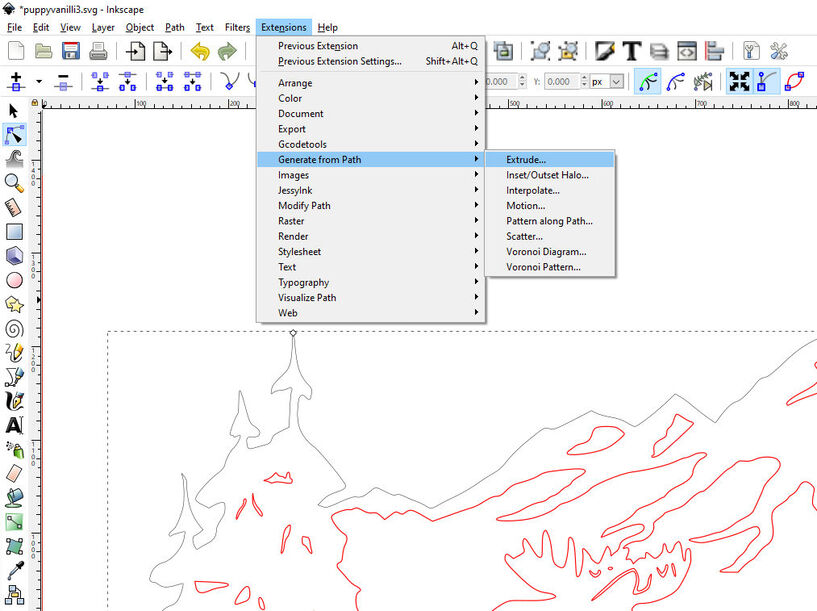
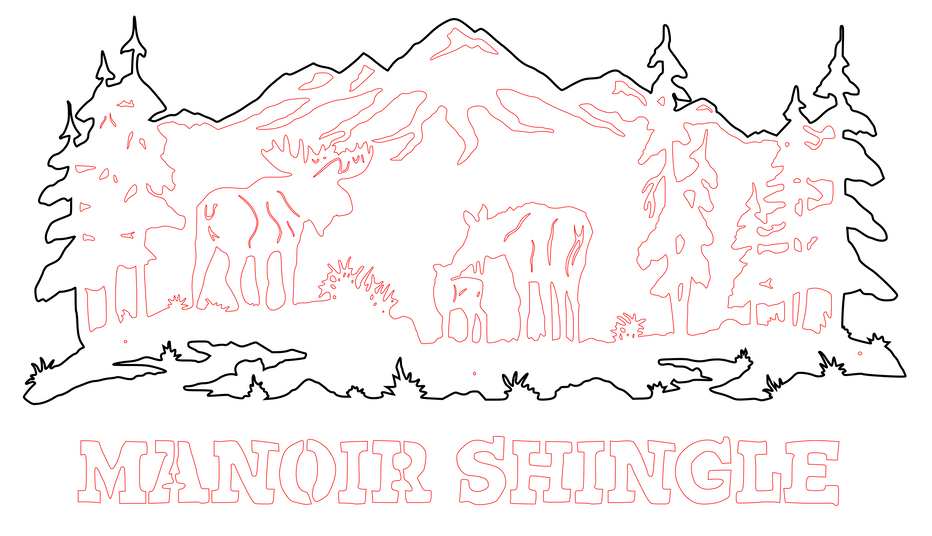
In my image, I want to engrave the black line. But when I choose “engrave”, it becomes a solid object. Can someone explain to me how it’s done? Please remember I’m very new to Inkscape.
In order to engrave the black lines from a vector standpoint, the easiest thing for beginners to do is to turn just the black lines into a Bitmap copy. Which you have already tried. But engraves on thin lines like that generally don’t turn out very visible.
You can either thicken the stroke style on the lines before you turn it into the Bitmap copy (which will give you a thicker engrave) or you can try just using it as a Score instead of a cut, which will be darker, but still thin. (You can convert the cut into a Score if you do not make a Bitmap out of it.)
Yes, the red lines are for cutting. That I have no problems with. I will try again the Bitmap copy with a thicker line. Maybe with all my experiments, I got things wrong. It is a lot to learn in a few days.
I will tinker some more later on and will let you know about the result.
Thanks again!
One thing to watch for with Inkscape…when you make the Bitmap copy, it literally does make a copy and drop it exactly on top of the original lines. So make sure you capture the image (it’s going to say Image on the bottom instructions line in the gray bar when it is selected.). You can delete the original lines after making the copy if you don’t want a cut line there.
Thank you guys! The Bitmap copy looks very promising. I also tried to put the black line as a score with 0.5" focus but that didn’t do a thing. Now, I want to print my image on a piece of 10x10" medium maple. Any advice?
Also, I noticed when the printing is done, it’s not exactly the same as on the GF screen. The scoring and cutting lines are not aligned with the image on the computer. Any way to rectify that?
Well, I drew 3 squares with Inkscape. Each had a speed of 500, one pass with 0.5" focus. The only difference between them was the power. One was at 20, 50 and 80. Maybe I did something wrong while drawing the squares?
No, but if they all had the same 0.5" focus, you didn’t have anything to compare it to really.
Normal focal point for medium thickness material is about 0.13". With a Score, that creates a very thin line. When you change the focus on a Score, it makes the line look wider. (And fuzzier.)
To compare the two lines, you need to run one at 0.13" focal point, and one at 0.5" focal point. All other settings the same. Then you’ll be able to see a difference between the two lines.
You can use Inkscape “Stroke to Path” to turn the line into an object with a width as set by the stroke style width value. Then set object fill to a color and stroke paint to “no paint”. This will then give you a line that the GF will vector engrave. I’ve done this with great results.
on one of the two lines you have on top of each other and froze both (poked em in the eye) and you get 5 lines of low opacity and some blur (that you can put the opacity to 100 (visible) and no blur) all 5 are in a group. So leaving them in the group, I froze all but two and made sure that the inner one left was above the outer one and both were selected and went to Path>Difference and removed one from the other. I made the fill purple and the lines black so it is easy to see but that vector object you can now set to engrave and it will engrave the purple part. Rather than delete lines, I froze them so you can go in and see what they are (use the object floater)
An alternative is to make more than the basic 5 and score them all.
If it is only a few days, you are doing it wrong. Even as I was getting the method down so I could show it, I was also learning new things about doing that.
@puppyvanille I’m so sorry for the delayed response. It looks like you’ve been able to print since creating this tread! Were you able to get everything working and ready to print?
If you’re still running into troubles please don’t hesitate to let us know.
It’s been a little while since I’ve seen any replies on this thread so I’m going to close it. If you still need help with this please either start a new thread or email support@glowforge.com.

 I will try again the Bitmap copy with a thicker line. Maybe with all my experiments, I got things wrong. It is a lot to learn in a few days.