i engraved using one of hobby lobby’s wooden plaques and the engrave is not deep and didn’t char at all. i used 1000/100 as i thought that would be a good place to start. is there anyone who knows how to get a deep engrave and char on these plaques?
Welcome to the forum.
I am not familiar with the plaques as Hobby Lobby sells lots of different things. With any new material, you may have to experiment and test until you get the desired results. Also, it is possible that your material was not in focus and therefore didn’t engrave well. Did you use the set focus tool? For deeper engraves, you will either need to increase power, decrease speed or repeat passes.
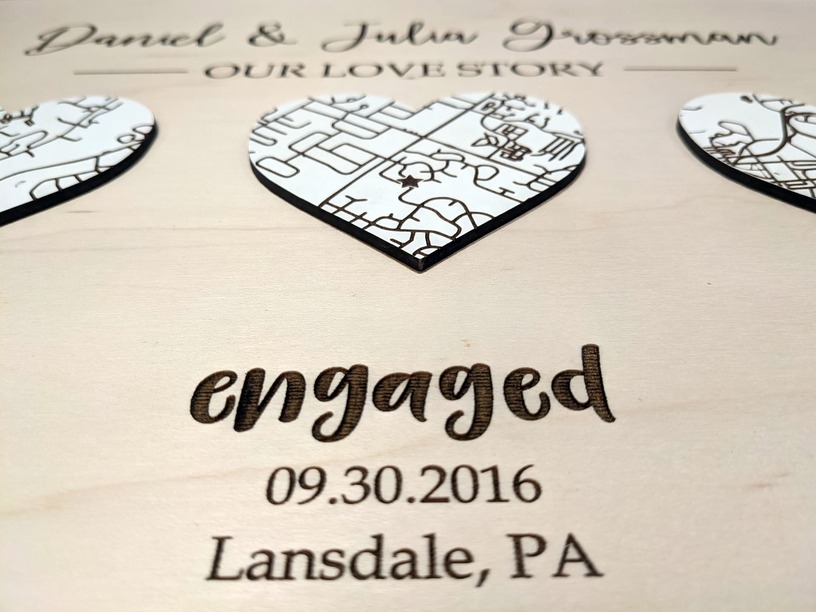
Perhaps share a photo of the item you are trying to engrave for additional guidance.
3 Likes
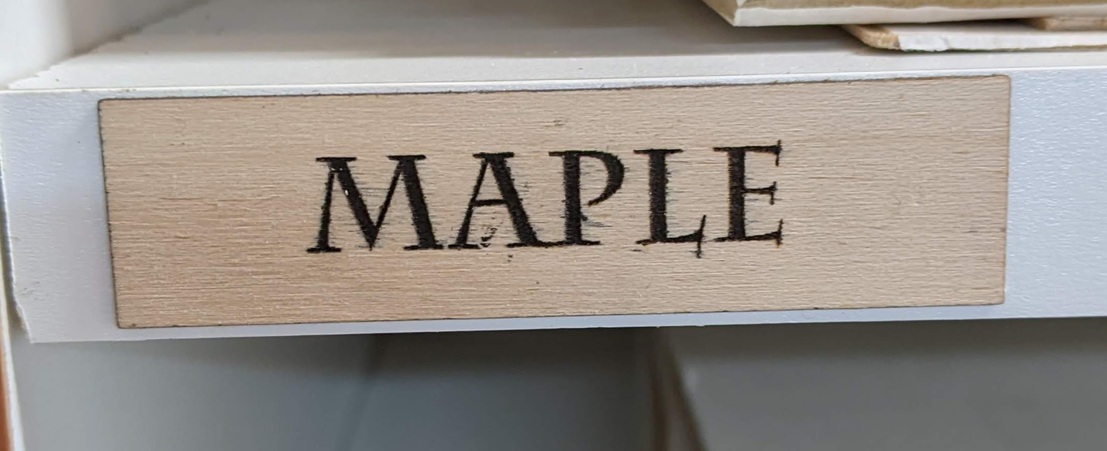
Char is just burned wood, so I would lower my speed to 80 or 90 so the wood burns hotter, and test again on the plaque that didn’t work out. FWIW, I’ve done a few HL plaques and found that I never could get a real dark char on the pine ones, and I think it’s just the nature of that wood. But I agree with @dklgood that a photo to see what kind of wood it is might help.
3 Likes
I. usually pick from the proofgrade ‘stuff’. For something like this i would choose i.e. walnut ply as my ‘start’ and test/adjust from there and. have had good results.
1 Like
Also, different woods react differently, test all the things!
If you can’t get a result you like, you could mask it and paint the engrave before removing the mask.
Engraving also opens the end grain, and some woods will absorb the paint by capillary action, so again, testing would be advised.
If that happens, you can seal the end grain with an artist’s brush and clear before using a pigment.
1 Like
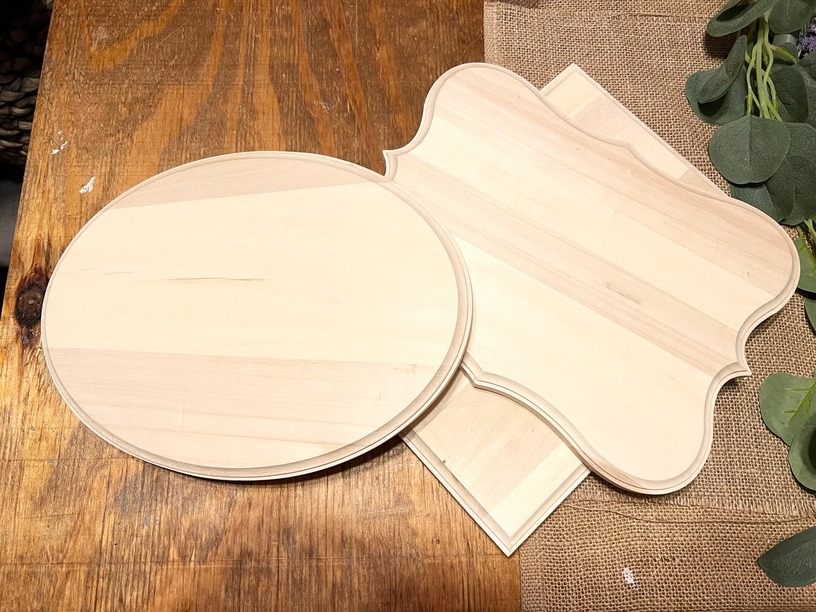
i typically wouldn’t choose wood from hobby lobby my aunt actually bought these and i was asked to make signs for a memorial we are having.
1 Like
The photos will help. How thick are these plaques? Did you remove the honeycomb tray when you first tried an engrave?
The surface you engrave must be within the 1/2" focus range of the Glowforge. When you remove the honeycomb tray, you must elevate your material so that the top surface is between 1.5" and 2" from the floor of the Glowforge. These look to be about 3/4" thick, so you must put something under them to elevate them if you removed the honeycomb tray.
1 Like
For engraving without the tray, This comes in handy.
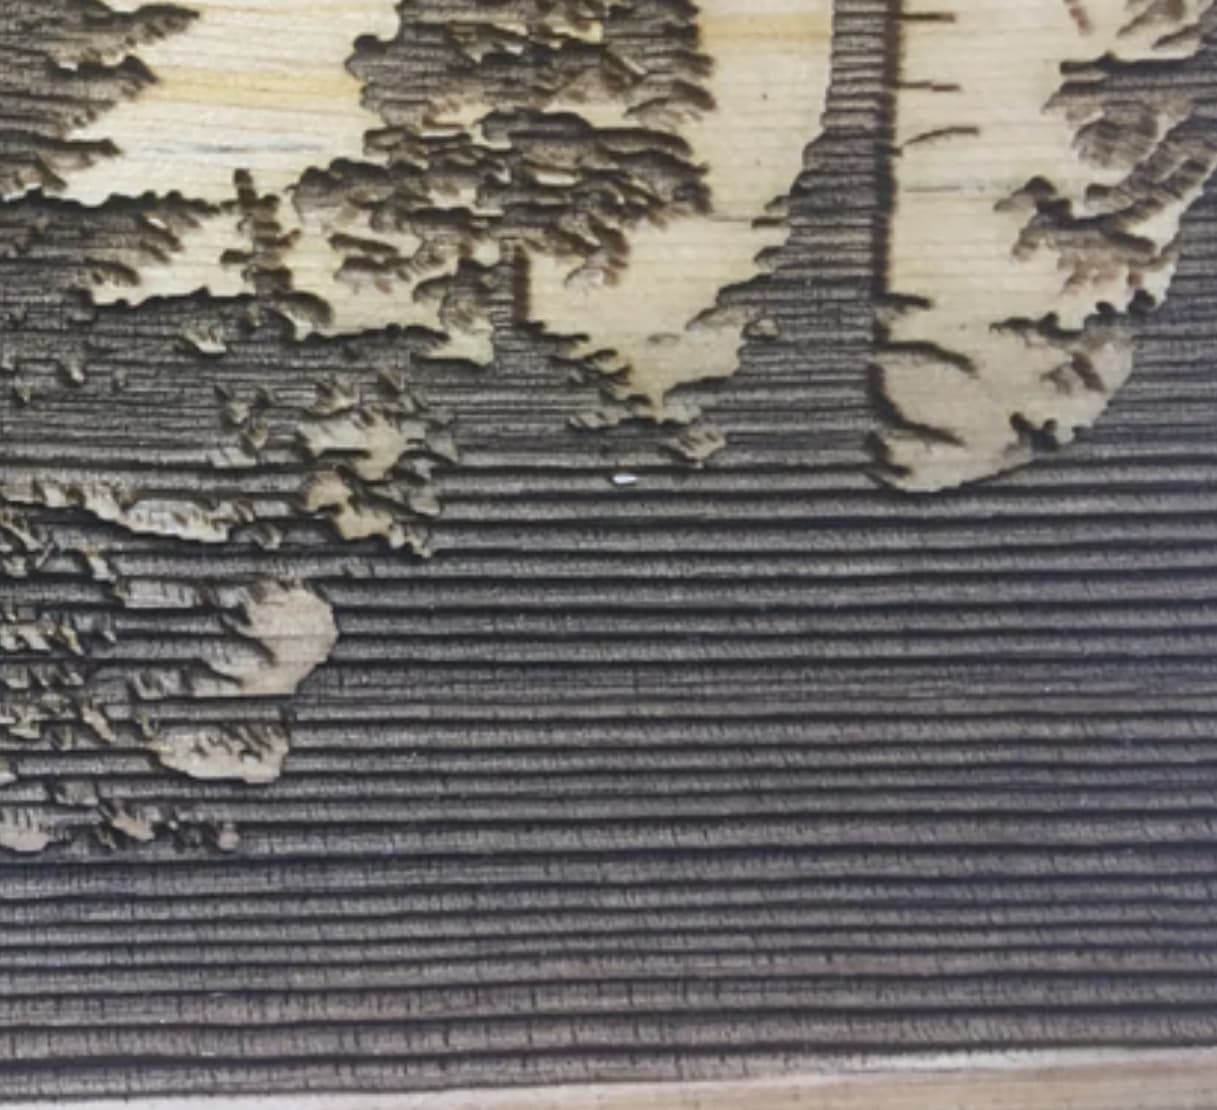
A lot of the wood shapes in craft stores are made of pine and IME pine doesn’t laser engrave well. Comes out looking like the inside of corrugated cardboard.
1 Like
I don’t have a lot if experience with painting crafts. Had laser engraved maple tap handles for the local brewery. Every night the bartender would wipe down the handles at the end of the shift. Probably used some sort of bleach based cleaner. Noticed after a week or so the engraved letters became lighter and lighter. So tried painting the letters after engraving. Oil or stain based paints bled with the grain but acrylic paint did not, or at least not noticeably.
The blank tap handles were pre-coated with polyurethane so all I had to do was engrave the handles, blob cheap black Walmart acrylic paint in the engraving and wipe off the handles with a damp rag. The letters were filled with the paint and the rest of the handle was unmarked. Been several years and the updated handles show no wear. Covid pretty much shut down the brewery as far as distribution goes. No orders for handles over that time even though the brewery itself stayed open. Got a text this week ordering more handles. Hope my GF still works. Haven’t turned it on this winter.
4 Likes
Welcome to the community
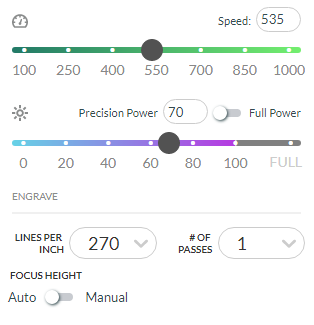
Sounds like you should check out the Manual section of the First Prints. 1000 speed should only be used when you’re trying to get the lightest of engraves. For example the Basswood hardwood PG setting is:
1 Like
535/70 and 1000/100 are almost identical settings. It was only a year and a half ago or so that the default Proofgrade SD Graphic engrave setting for all wood and plastic products was changed from 1000/full/270 to 535/70/270. You weren’t meant to notice the difference in output, and it seems they were successful in that! The Draft Graphic PG settings still use 1000 speed (at a lower LPI).
I’ve stuck with the faster speed, since you get the same end result in less time. My go-to for most wood is 1000/90, which gives a dark and deep engrave, just a touch shallower than the old 1000/full default:
3 Likes
I saved the earlier settings and use those. The ‘new and improved’ are not improved at all in my experience. I have no clue why they changed it.
1 Like
I’ll bet it does. In my perception, my use closely matches yours, long periods of dormancy. I expect to get 5 years out of this tube. Except now I went and said that…
2 Likes
I get a bit of a twitch when I post that mine is over 4yrs old and working fine…
It’s how I feel when I hear fellow motorcycle riders talk about the times they “had to lay her down”…
4 Likes
Haha! I had a bike parked in the back and when a friend saw it he burst out laughing, I was puzzled until he pointed out the license plate that had a right-angle bend in it…
1 Like
i definitely needed this. thank you for sharing!
1 Like
I get you. It’s a feeling like your Glowforge is that ‘other’ shoe waiting to drop.
1 Like