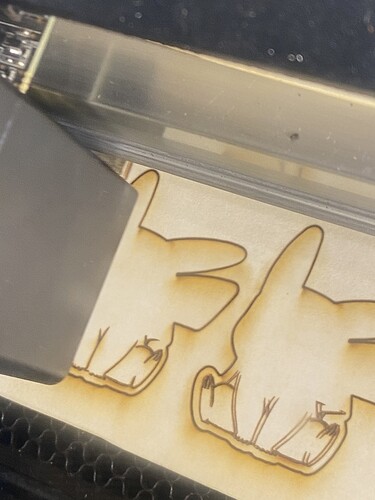
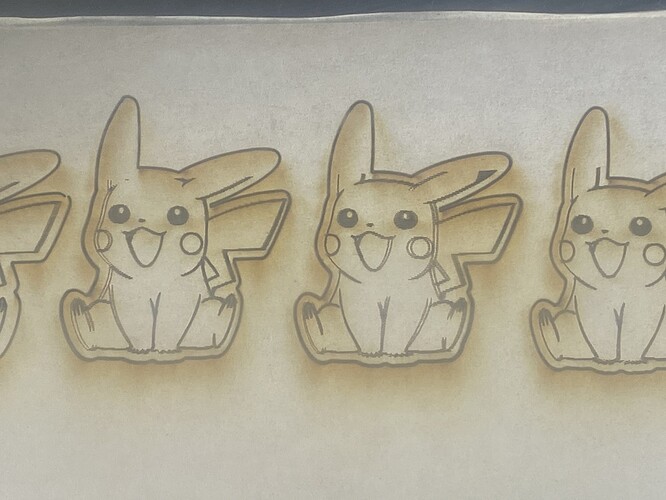
i dont know hwy it is doing this, i have checked the belts and cleaned it. i have tried to reconfigure it but it keeps saying not completed. I have used this a lot and this is the first time in a year this has ever happen to me.
Turn off the machine, lift off the printer head and check the wheels on the carriage plate for cracks. I believe that can cause that.
By twice, do you mean going over the same lines twice or two images as shown in your picture?
its printing the same image twice but in my file there is only one image
i took it off and it is all good cleaned it very well too
Hmmm. Is that one of the designs that comes from the Glowforge Interface? Are you Scoring it instead of Engraving it? It might be designed for engrave, which would create two outlines like that.
As Jules said, it looks like it is following an outside and an inside line of the stroke. If it is your file, make sure center stroke is selected in your graphics program like Inkscape.
Assuming you are referring to the double lines in the lower right side of the image, that is most often caused by a belt tension issue, or a broken/damaged wheel on the carriage plate.
thank you but that is not the case i have printed this file many times before this happend after i cleaned it i thihnk its the belt. and now its off alinment as well
Did you take the belt off when you cleaned it? It might not have the correct tension…that would be something to check.
I’m so sorry about the continued trouble, and for our delayed reply. As @Jules pointed out above, and as you mentioned as well, the results in your photos lead me to believe this is a belt issue. Would you please check your X and Y axis belts for me to ensure they’re correctly tensioned?
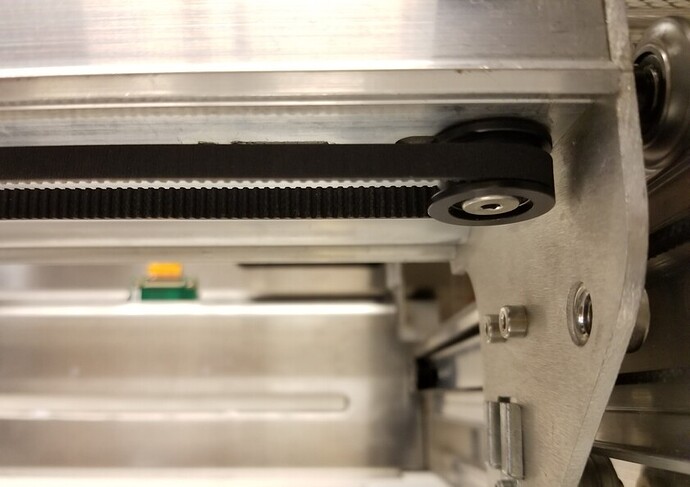
For the X axis belt (Located under the Laser Arm)
- Turn off your Glowforge.
- Carefully remove the crumb tray.
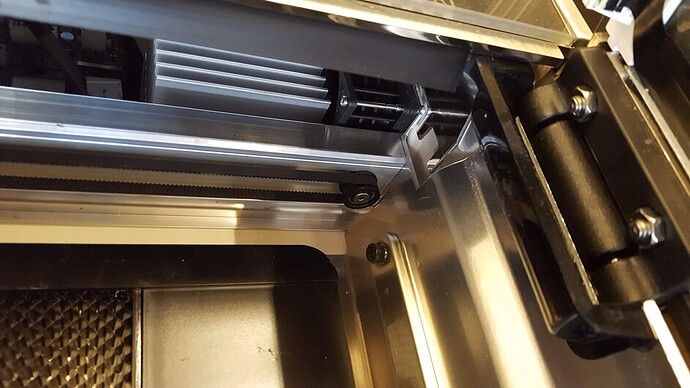
- Without removing the carriage plate and belt, locate the black pulley fastened by a metal screw on the right end of the laser arm.
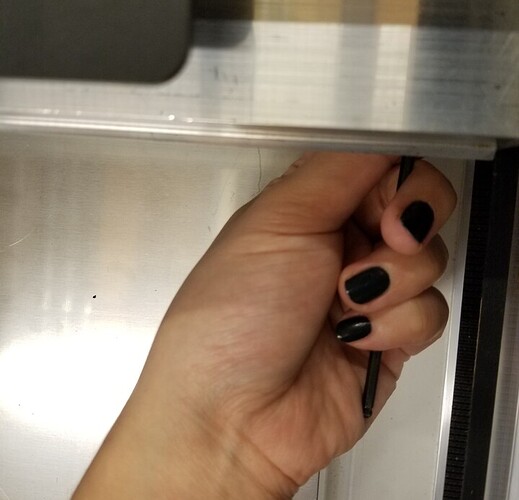
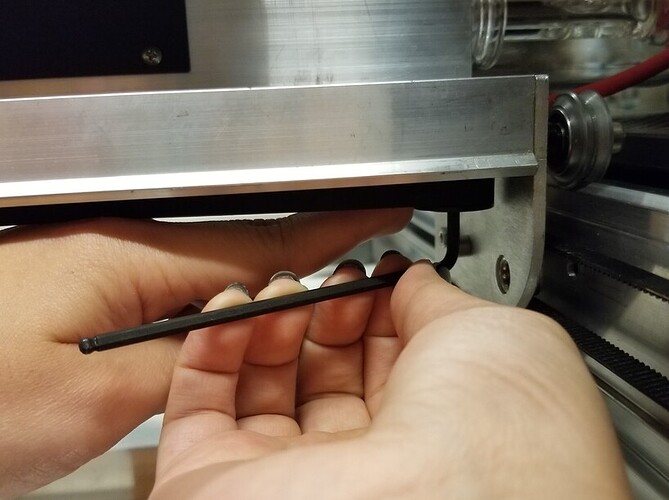
4. Insert the short side of the 3mm hex L-key into the metal screw with the long handle pointing toward the front of the unit.
5. Turn the key clockwise to loosen the screw until the pulley can slide with some friction. Don’t remove the key from the screw.
6. Holding the key with your right hand, use your left index finger to push the pulley to the right until the belt is taugh. Don’t stretch the belt or touch the belt with your fingers as this can affect the tension on the belt.
7. Applying firm pressure with your left index finger, turn the key counterclockwise to tighten the screw. Make sure the pulley doesn’t move during this time.
8. Continue tightening the screw until you can’t turn the key anymore.
9. Gently slide the carriage plate from side to side to ensure it moves smoothly and the belt does not catch or sag.
10. If you’re not satisfied with the tension on the belt (it should be taut, but the belt shouldn’t be stretched), go back to step 4 and try again.
11. If you are satisfied with the tension on the belt, try a test print. Print the Gift of Good Measure on the Proofgrade Draftboard we included in your material shipment for troubleshooting, and let me know how it goes!
If you have any questions or run into trouble along the way, don’t hesitate to reach out! I’m happy to help.
For the Y axis belts:
The Y Axis belts are located on the left and right side of the interior of your Glowforge.
Turn off your unit and move the laser arm to the front of the bed. There should be a black pulley connected to each belt on the far end of the rail. Try to wiggle the pulley and let me know if it’s secure.
After you’ve tried the above, please let us know how a test print goes.
It’s been a little while since I’ve seen any replies on this thread so I’m going to close it. If you still need help with this please either start a new thread or email support@glowforge.com.
