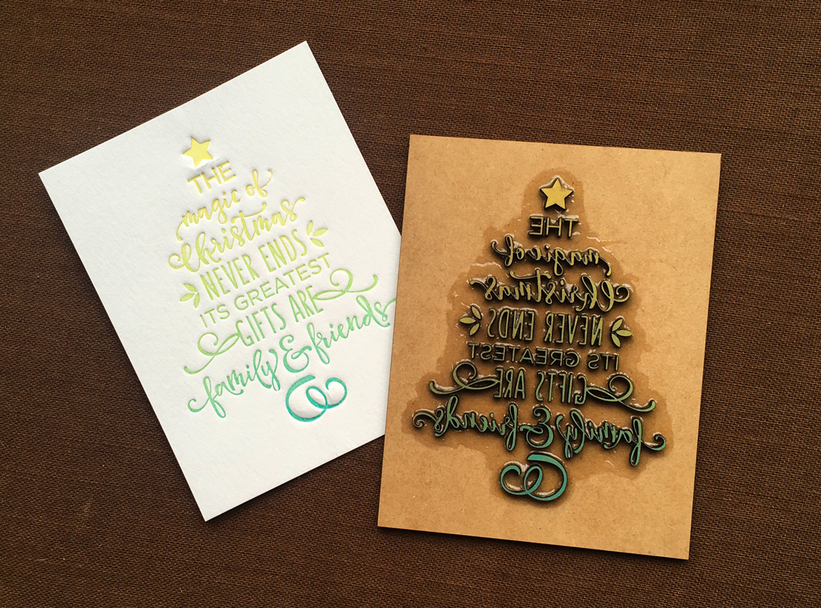
I was working on this project when I saw the posting on this subject by @j_d_hastings, and he inspired me to continue this project using the Draftboard that I had initially cut it out of as a prototype (was going to use maple ply). It took me so long to weed all the little bits that I was dreading doing it again!
The design is one I purchased from the Silhouette Design store by Kolette Hall. I figured it’s getting close to time to crank out my Christmas cards. I usually make them by hand each year, but wanted to try something special now that I have a laser.
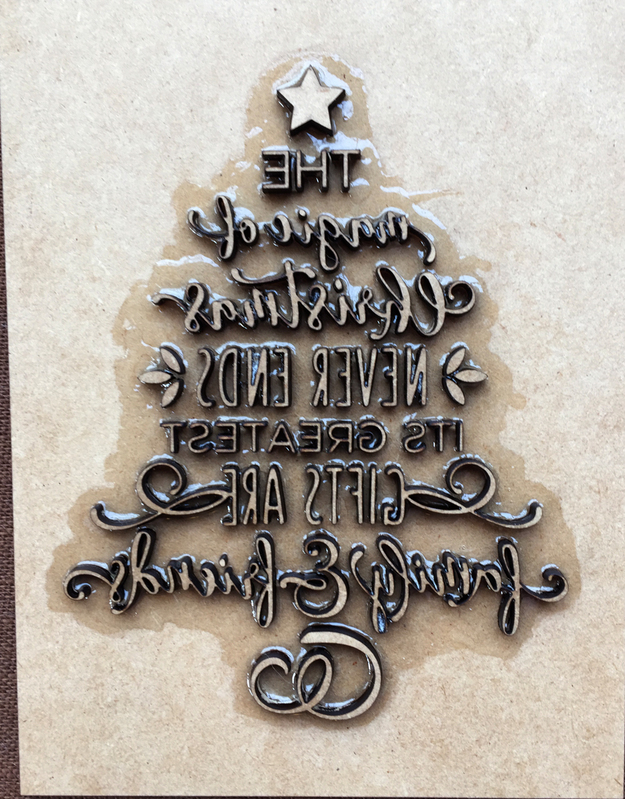
In Illustrator I thickened all the lines of the design to account for kerf, by offsetting the path (Path…Offset Path…) with an amount of 0.4mm. I think it could have been even a little wider. Then I deleted all the inner paths of the outsides of the letters and the outer paths of the insides of the letters (like the insides of a, e, f, etc). Hope that makes sense. Cut everything with default settings from Draftboard. I flipped the whole thing over and glued to a backer board of Draftboard, then I sprayed with a couple coats of matte workable fixatif to limit the surface porosity. I applied a coat of UV resin around the base of all the letters to give them some support.
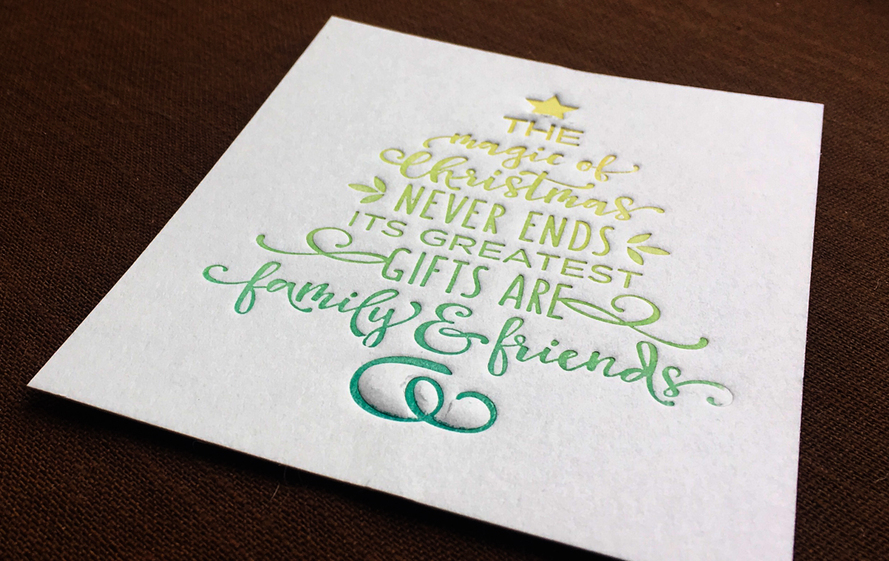
Inked it up with a brayer using Distress Oxide ink (it’s a pigment ink), popped into my Big Shot Pro with a piece of cheap watercolor paper with a rubber gasket under it. I’m pretty happy with how it turned out, although I did somehow miss a little edge of a letter.
That looks totally professional! (When you ink that using the brayers, are you using several ink pads for the colors? How do you keep the ink from just drying out?)
I squished some ink from the pads onto a piece of smooth glass. These inks are pigment inks so relatively slow drying. Then ran the brayer through back and forth to blend the inks, then ran a couple times across the cutout letters.
Stunning…just stunning! I love how this turned out! Edit: I bookmarked this so I could revisit. I really want to do some of this when I get my Glowforge!
This is super awesome! What kind of card stock are you using, if you don’t mind me asking? I’ve never worked with cardstock before, so this is all new to me.
This turned out really nice! Kudos!!! Appreciate your techniques for sealing and securing the pieces to the backer. Really an incredible piece of work!

 …I need to dig my big shot out of the closet!