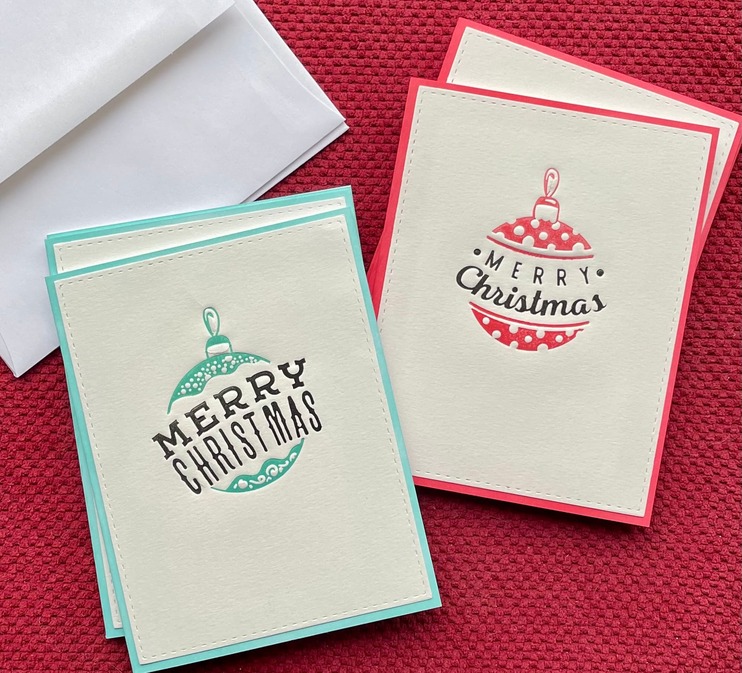
I just really like the look and feel of a letterpress card. If you’ve seen my past cards here and here, you won’t be surprised that I’m at it again.
This time I made two passes on each card by printing the color design first and coming back with the sentiment on a second pass.
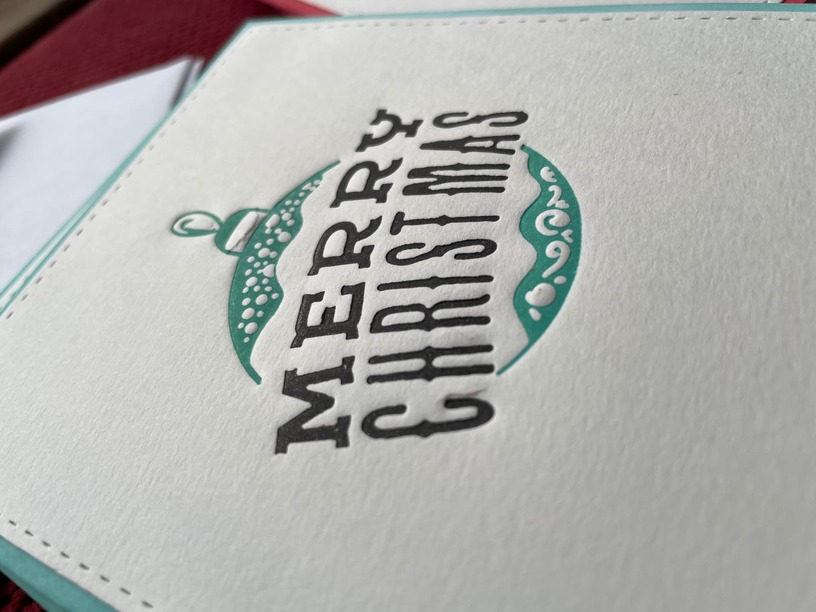
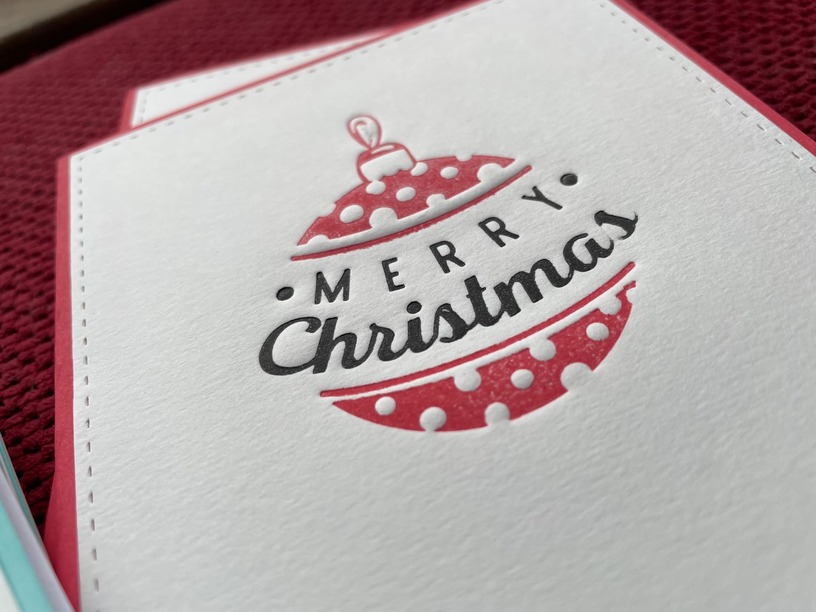
Here’s a couple side views so you can see the dimension:
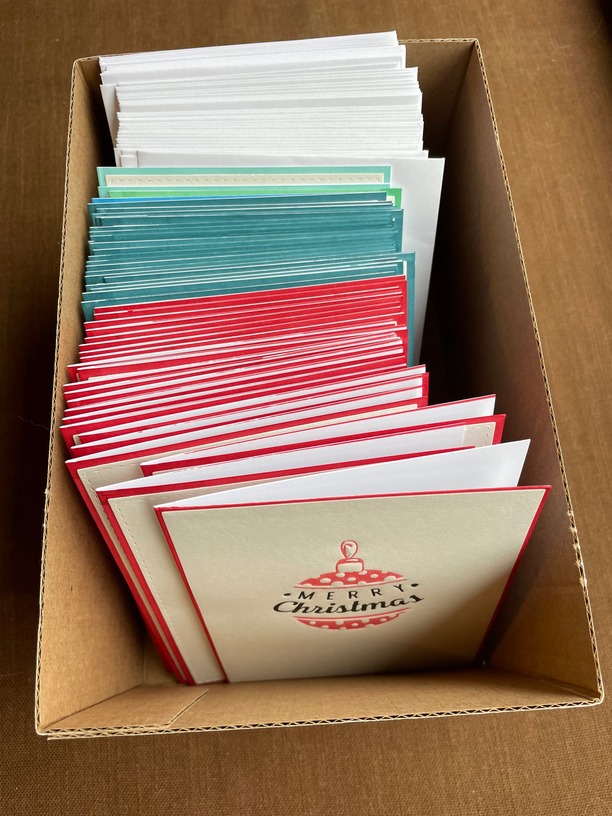
I made about fifty of them, 25 of each design.
If you are interested in trying it, here’s a brief sketch of how I did it:
I cut the design (in reverse for text print right-reading) out of medium Draftboard.
I cut a plate out of Draftboard the exact size of the paper I intended to print on (I used the cheapest 90 lb watercolor paper from Michaels) and scored the design (again, in reverse) to make gluing easier. Then glued the cut out pieces to the plates.
Here’s what my plates look like:

To print you will need some type of machine that applies pressure. I used a Big Shot Pro die cutting machine. You have to experiment with the sandwich of different layers to get the right pressure. My bottom layer was the A plate followed by a layer of 1/8” hard rubber plumber’s gasket material. Then the paper, then the inked up plate, centered face down on the paper, then whatever the top layer was (I forget exactly what it was) to get the right total pressure.
For colored ink I used Tim Holtz Distress Oxide re-inkers, applied to a sheet of glass then picked up by a brayer and applied to the plate. For the black I used a printing ink (Akua intaglio black ink) because the Distress Oxide black was too pale.
The design came from Adobe Stock free files section. I found a nice typography based file with some really charming designs. It’s here if you’re interested: https://stock.adobe.com/images/merry-christmas-typography-set/233123603?prev_url=detail. I’m not selling these cards, they are for my use only.
To finish the cards, I die cut each piece with a die that adds a faux stitching edge, then stuck it down to a side folding card that had been edged with Copic marker.
Edit: forgot to mention that I also flooded the plates around the glued-on pieces with 2-part epoxy resin, to support the tiny cut pieces. I don’t know if that was absolutely necessary, but when I finished, the plates were still going strong and I could have printed many more pages. In contrast, in a previous year when I just engraved the plates, they disintegrated pretty quickly.


 I love embossing too, and the dimension adds so much to a simple design.