For the last couple days my Glowforge Plus has been refusing to set focus on anything. My crumb tray is in, and I am trying to focus on (and subsequently cut) 1/8" acrylic. It struggles to get through the focus setting, no matter where I ask it to focus on the material, and eventually comes back with a message that reads:
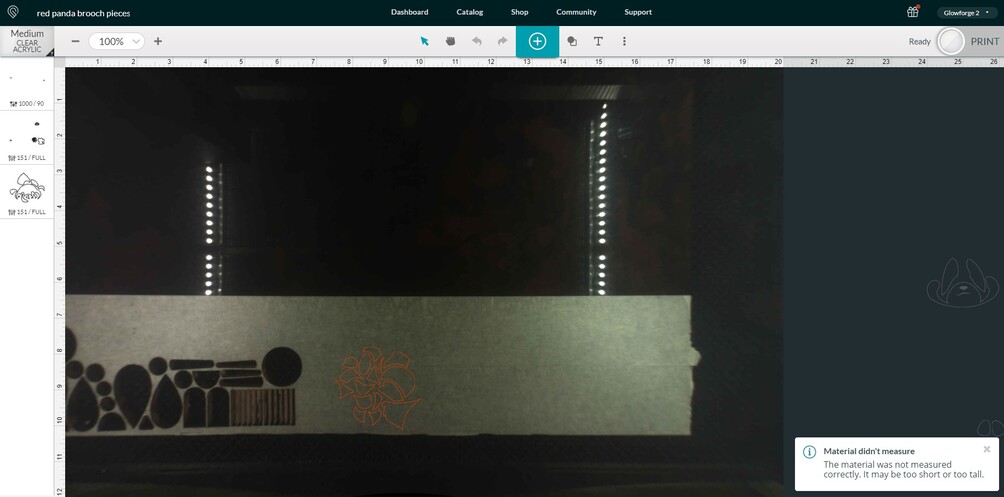
“Material didn’t measure - The material was not measured correctly. It may be too short or too tall.”
I have tried this with a variety of materials, all between 1/8" and 1/4" and it isn’t giving me anything other than the above message. I have cleaned my machine, restarted it several times, and checked to make sure that the crumb tray is situated correctly and I’m not sure what else to do from here. I’ve attached a screen capture below with a screen capture.
Thank you in advance for help with getting this rectified.
I appreciate the help, but before I posted I cleaned the machine, including all the lenses and mirrors, twice in an attempt to get it fixed. It’s still acting up.
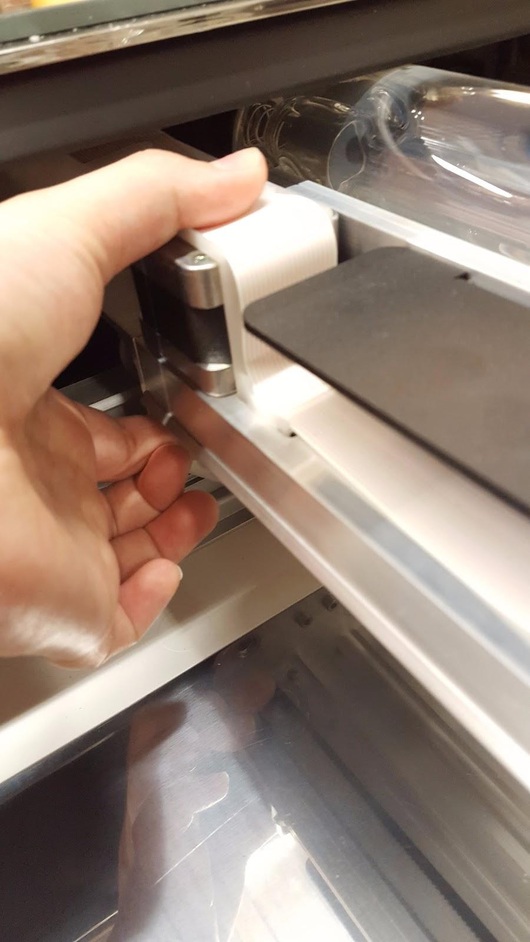
Any chance you could share a picture of the under side of your laser head? just curious if the sensors on the bottom look different than ones on a working unit.
Make sure you are using manual focus for a setup like this, or move your scrap to the center of the bed. I suspect autofocus is hitting one of the holes in the scrap and is causing the error. This has been known to happen when cutting on smaller pieces.
I’m not being a smart aleck, which it seems like you think I’m being? I do appreciate any assistance, but I did state in my original message that “I have cleaned my machine, restarted it several times, and checked to make sure that the crumb tray is situated correctly and I’m not sure what else to do from here. I’ve attached a screen capture below with a screen capture.”
I can’t count the number of times people have posted problems and made the statement “I’ve cleaned everything,” only to discover they were missing a crucial spot that needed cleaning and was the cause of their issue. It wasn’t that I didn’t notice you’d said “I have cleaned my machine.” It’s just that “I have cleaned my machine” can sometimes mean very different things to different people.
Thank you for reaching out to us. I’m sorry to hear your Glowforge is having trouble measuring the distance to your material.
I took a look a the logs from your unit and it looks as though the red dot has landed either very close to the edge of the material or completely off of the material on your recent prints.
Try running Set Focus again, place the focus area on the material, so it’s not near an edge. Then watch to make sure the red dot hits the material.
If the app displays the error message again, the next step would be to check that your carriage plate and printer head are both properly installed. If either one is not fully seated, it can cause the printer head camera not to measure distance accurately.
Below are instructions that will walk you through re-installing the carriage plate and checking the printer head installation. Once you have confirmed both parts are properly installed, try running another Set Focus print and let us know if the error continues.
Please let me know if you have any questions. Thank you!
Carriage Plate/Printer Head Installation
Turn off your Glowforge
Open the front door and carefully remove the crumb tray
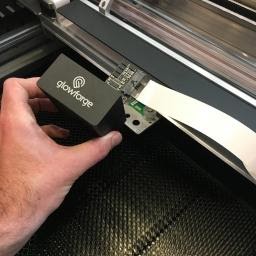
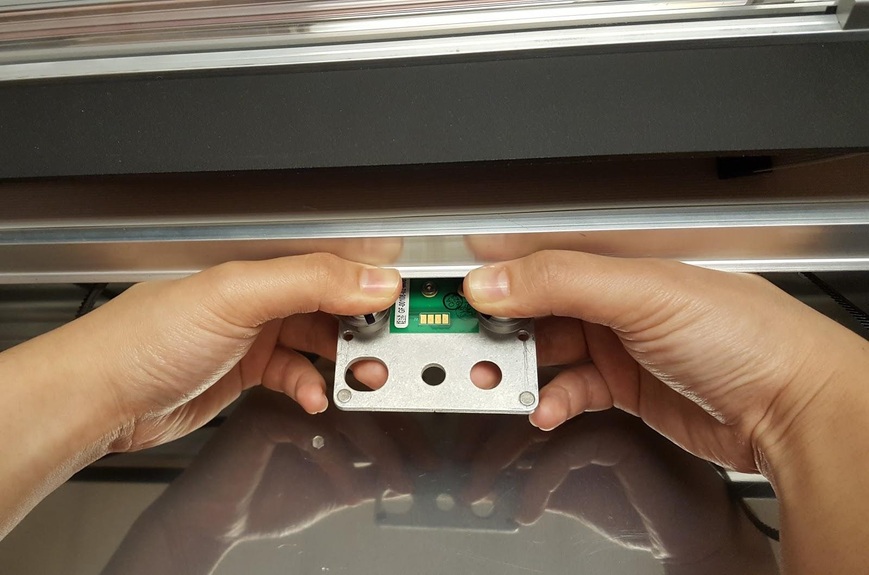
Remove the printer head
Holding only the finished black surfaces, grasp the printer head as shown. Pull gently up and back to disengage the magnets and remove the head.
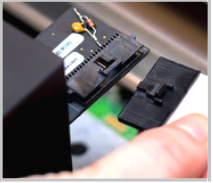
Push down fully on the wire ribbon tab to unplug the wire ribbon from the printer head. Pull the wire ribbon gently away and tuck it into the laser arm.
Placing your thumb between the belt and the laser arm near the pulley, push down on the belt while sliding the belt to the right towards the pulley. The belt will slide off of the pulley. Don’t be afraid to use pressure.
Unhook the belt from the motor on the left side
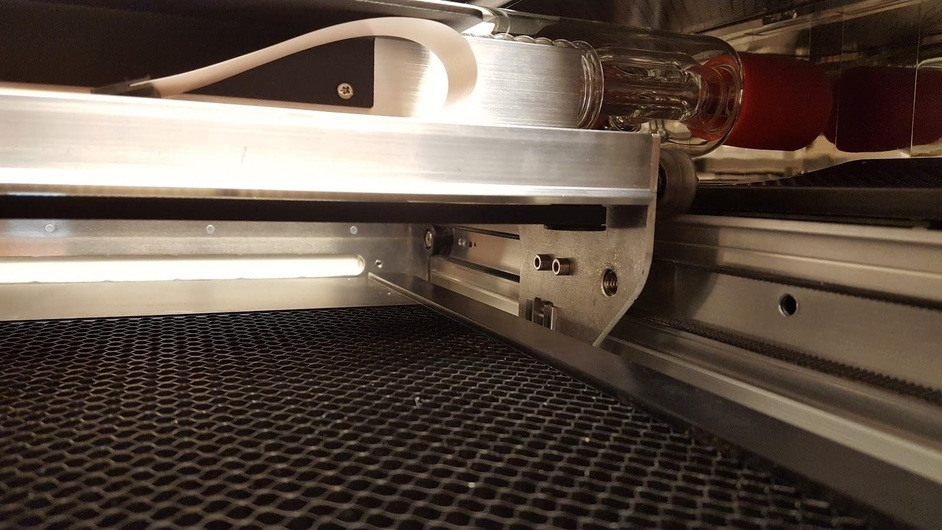
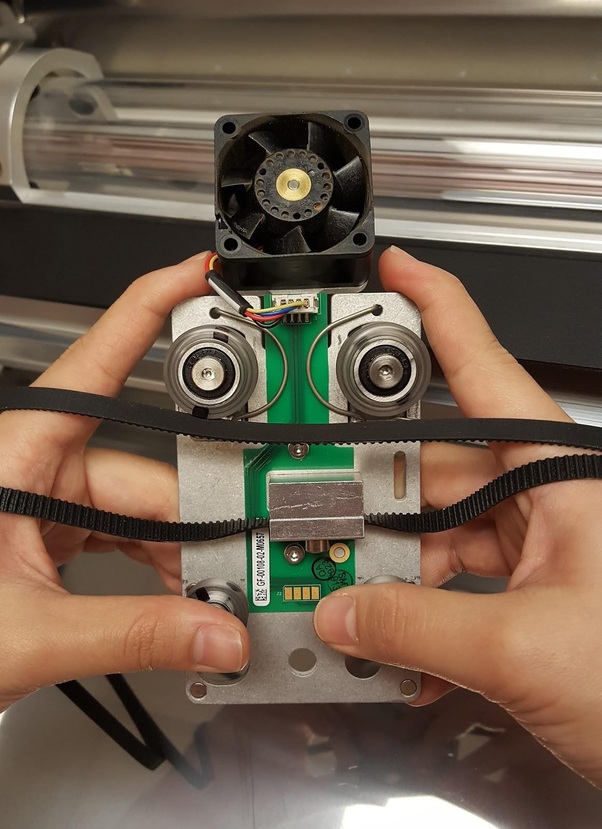
Remove the carriage plate
Place both index fingers on the rear corners of the plate and both thumbs on top of the front wheels. Use your other fingers to support the plate. While keeping the laser arm stable with your thumbs, use your index fingers to pull the plate towards you as far as it will go. Then push down with your thumbs to tip the front of the plate down and towards the back of the Glowforge until the plate pops off of the laser arm.
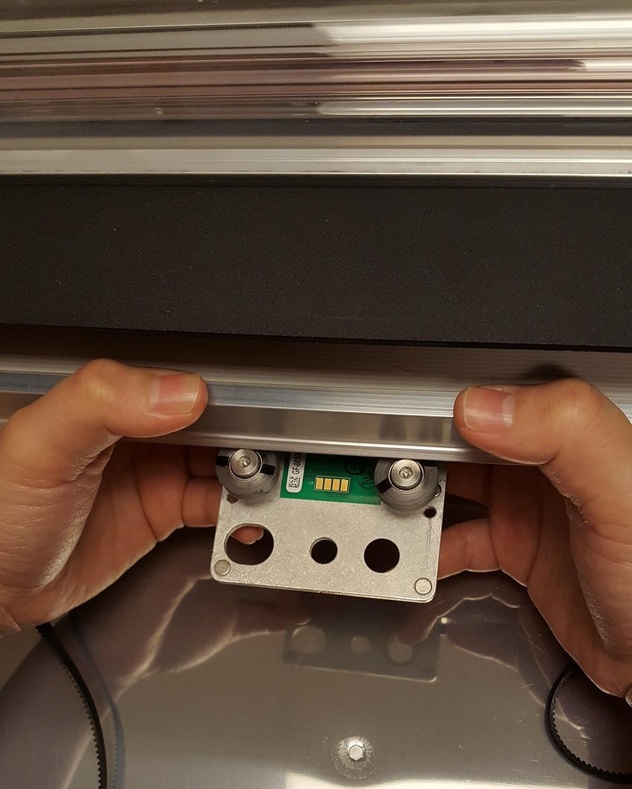
Placing your index fingers on the back corners of the carriage plate and your thumbs on top of the front wheels, hook the rear wheels on the groove under the laser arm. The front wheels should be mostly visible.
Pull the plate forward against the springs until the front wheels clear the laser arm then angle the plate up until the wheels are in line with the rail. Release the plate – it should grasp the rail firmly.
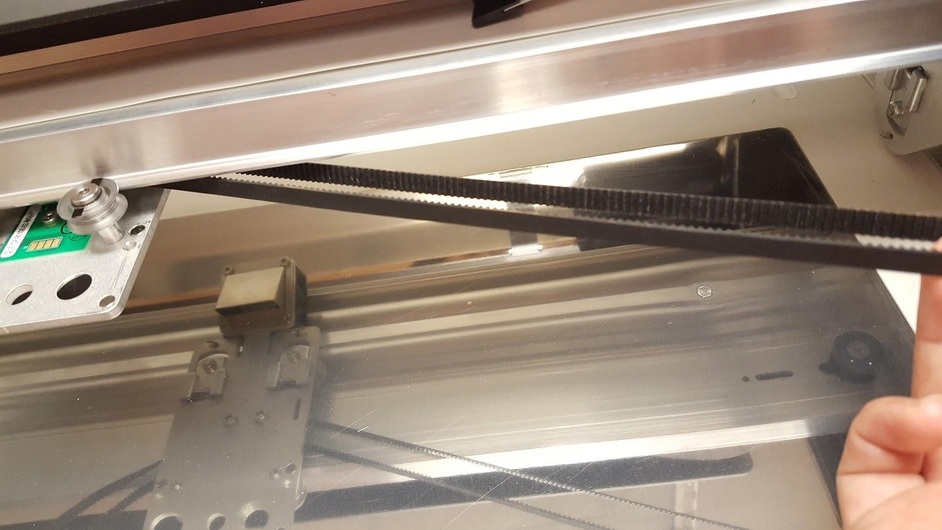
Pick up the right side of the belt and make sure it is not twisted. The outside of the belt should be smooth and the inside should have ridges.
Make sure that the left side of the belt is not twisted and is smooth on the outside and ridged on the inside
Attach the belt on the left side
Using your left hand, set the belt on the front half of the motor (the silver piece on the left-hand side below the laser arm) and support it with your fingers by placing them under the motor. The belt will not be fully on the motor. Use your left thumb and fingers to clamp the belt firmly in place and apply pressure.
Still holding the belt and motor firmly with your left hand, use the pressure from your left fingers to guide the belt clockwise around the pulley as your right hand slowly pushes the carriage plate to the left. The belt should roll onto the pulley until it is secure.
Once the belt is in place, be sure it is taut and does not sag. If it’s quite loose, please take a photo of the belt and send it to support@glowforge.com.
Prepare to Print
Gently slide the carriage plate back and forth on the laser arm to ensure that it travels smoothly. If it doesn’t, remove the plate and try again.
Replace the printer head and crumb tray according to these instructions
Hello @GinAndJazzHands, its been a few days since we heard from you, so I wanted to check in and see how things are going. Were you able to try the steps I provided? How did it go?
It’s been a little while since I’ve seen any replies on this thread so I’m going to close it. If you still need help with this please either start a new thread or email support@glowforge.com.