Ok — time to test out that Proofgrade acrylic. Definitely not an artistic build, but I had a hardware project that I thought would be perfect as a first acrylic test.
Although the wifi signal in my workshop is fine, I had an unused Raspberry Pi 3 laying around as well as an open port on my ethernet router, so I decided to turn it into a dedicated wifi hotspot for my Glowforge. Idle hands…
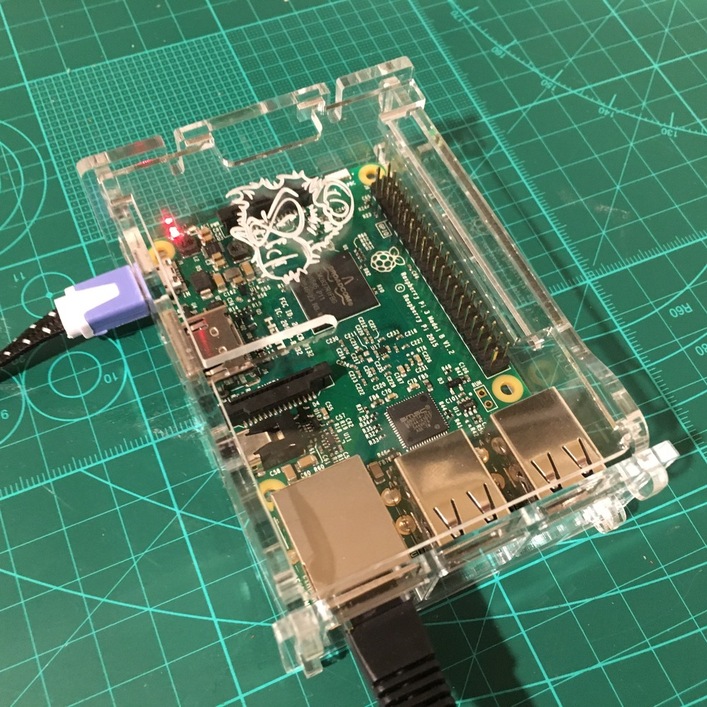
I grabbed a design from Thingiverse and dropped it into the GFUI. The only adjustment I made was to replace the original logo with my own. Didn’t adjust for kerf, thickness, nada. I did cross my fingers, though.
Plugged it all in and pointed my Glowforge to the new wifi network. Super easy project (I’d say my RPI skills are “intermediate”), and worked beautifully, if I do say so myself.
Agreed! I’ve 3D printed many enclosures, but there’s something about seeing a nice shiny acrylic box that really makes it pop. I have some black acrylic on the way — I look forward to adding labels for each of the openings, e.g. Power, HDMI, Audio, etc.