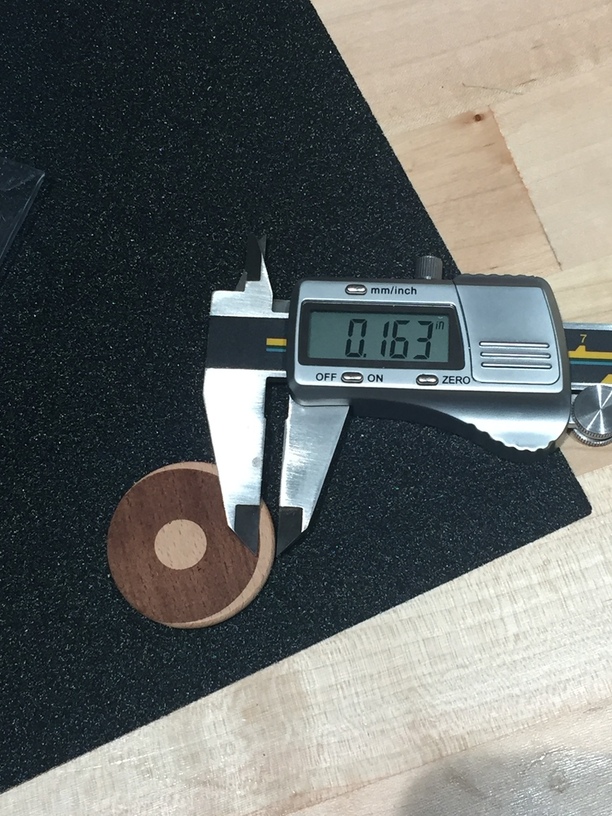
Today I ran some prints for the first time in about a week, engraving some flat wood pieces. Things were off by about a centimeter which was new. I was able to get the print I needed after a few fails, but I haven’t seen this previously. The material was measured with digital calipers. Can alignment drift or is this maybe a change in firmware or software alignment?
At one point the engrave overlay got way out of alignment during zooming in the web app, visually. I was using Chrome with no browser zoom, just in-app, so wanted to report this as well.
Do the lenses need cleaning? That can cause placement issues if they get too dirty. Not a bad idea to clean them periodically using the instructions here:
I’m so sorry you hit a snag! The software on your Glowforge is responsible for ensuring that the print lands on the material in the same place as the preview. When you’re done with a print, let a new image load. If the print appears on screen far from where it was supposed to go, you may have an alignment problem.
Most alignment problems come from the material being closer or farther from the camera than expected. While the software is still improving, you can take these steps for the most accurate alignment results:
Use Proofgrade™ materials.
If you don’t use Proofgrade materials, use a precision set of calipers to measure your material, and enter the thickness in the “uncertified materials” dialog.
Use material that is not warped or tilted.
Place your design near the center of the bed.
Clean the area underneath your crumb tray, particularly the four indentations on the floor.
Reboot the machine. Alignment can drift over time, particularly if you bump the head of your Glowforge while removing material.
Should you finish all of these steps, and find that you have an alignment error of more than 1/4", please contact us so we can investigate.
Thank you, I am going to give it a good clean and try again. I’ll also check the crumb tray again. I always use precision calipers (digital) and the surface was quite flat. The design was as close to right under the camera as can be and in the past I have had good alignment there so it was puzzling.
After a complete cleaning of optics, and using a similar file on similar non-proofgrade wood, it is definitely still out of alignment as compared to two weeks ago. I’ll post some images and measurements when it finishes. I don’t mind if I need to calibrate it manually, and while I understand that you only guarantee proofgrade prints, my alignment has definitely somehow changed.
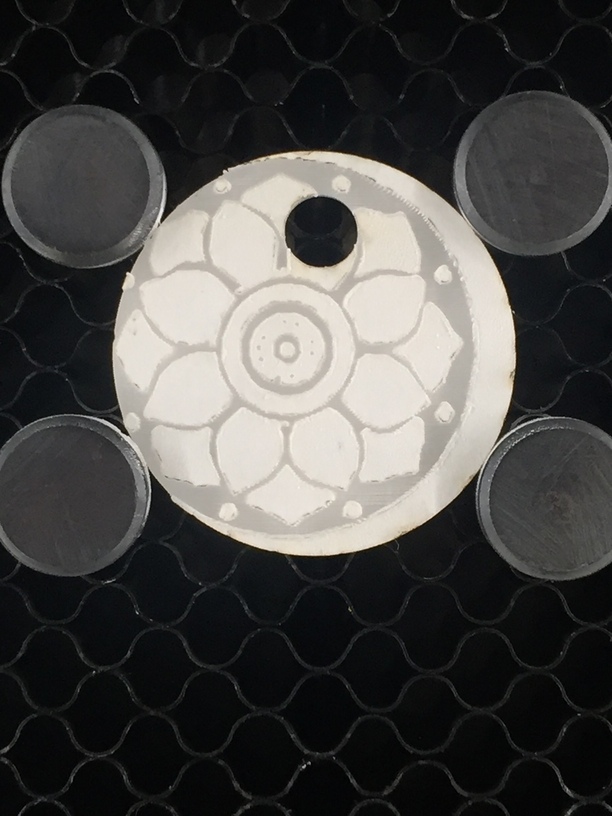
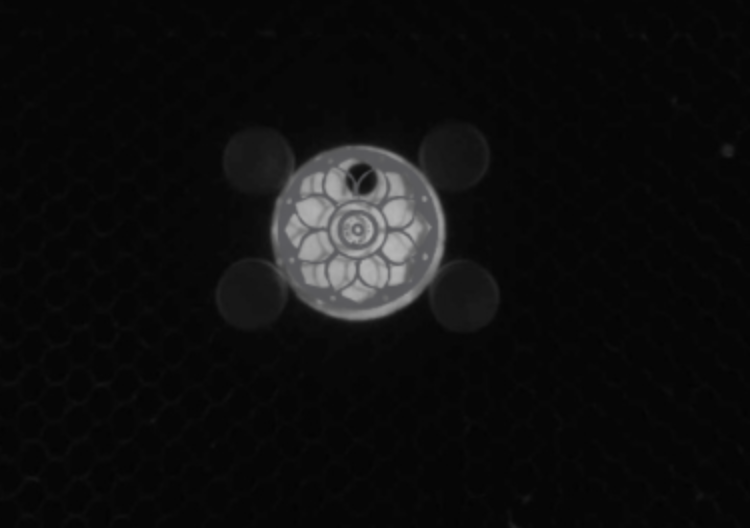
I printed half a dozen of these two weeks ago, same browser, same zoom level, same measurement with digital caliper, but now alignment is off. It should be centered on the coin. Clearly this is within the acceptable result guidelines, but it is less accurate as it was on the same machine before the last update.
Can I ask you question? Are you aligning the cut to the engraving in the Glowforge interface?
You know you can get perfect alignment between the cut and the engraving if you put them into the same SVG file before opening that in the Glowforge interface - you will never have them show up off to the side like that.
For that to happen, you would need to use external drawing software like Illustrator or Inkscape to align the engraving relative to the cut before you save the file. It really eliminates a lot of errors, and you can get perfect cuts/engraves no matter where you place them on the bed.
There’s a discussion here on how to do it in Illustrator, it’s very simple. But you can also do it in Inkscape if you prefer not to buy the Illustrator license.
My problem is in engraving materials accurately. Sometimes they are materials I did not cut. The proofgrade demo is only an example to show that alignment is messed up the same way with proofgrade materials and settings. I realize you’re trying to be helpful but I want to assure you I’m not a total idiot.
That method I linked is also used to create jigs for materials that are not cut at the same time. Since you’re not an idiot (no one assumed that) you can probably easily interpret it to create jigs to align your non-proofgrade materials.
Jigs are a great way to work around the current camera limitations until they finish tweaking them.
I use jig those. In the engrave file I include a cut of the coaster (I do this a lot with coasters). Then I run it with engrave off & cardboard on the bed. Pull out the cutout, drop the coaster in the hole and ignore the cut & run the engrave.
I also will just do a score instead of a cut and place the coaster in the scored outline.
Right, I mean I’ve used illustrator for years, I understand how this works.
The jig is a great idea for doing ten of something at once, but I would prefer my alignment to work well enough that I don’t have to make custom jigs for every object I throw in. Perhaps a consumer laser just isn’t for me. I would prefer manually zeroing the tool head like a CNC than a browser interface with a camera.
I am having very similar issues of missalignment, all within the last 2 updates. Performance of my machine in regards to accuracy has been dimishing rapidly to the point of not using the GF anymore and reverting to my old chinese reliable machine.
I am also having issues with circles being cut completely out of round and skewed. a separate issue from being 1/4" off on placement alignment.
It would be nice if they could include an option to turn on the measurement red laser to use as an alignment tool and use a preset offset to the actual cutting beam. Or just work reliably, that would be nice as well.
I would love that option so much… I really hope that the engineers are already on this and that it is a fast and easy software fix. I’m at the point where I can’t even resell this in good faith.
It would be nice, but it wouldn’t likely help since the red beam is not parallel to the IR laser. It’s aimed at an angle so that the horizontal distance on the material can be measured by the camera to detect material thickness. That is, the hardware is built entirely different to other laser cutters.
To be more clear by “On this” I mean I hope they are on the messed up alignment issue. Thanks for that tidbit of information about how the beam works. About half the time the visible red spot never makes it on to my material but support says doesn’t matter for the feature.
Currently, this is only used to set the focus for the laser which will affect cut quality and depth, but Support is correct, it has 0% impact on alignment. It could help with alignment if the software used it to measure the material before showing you the bed image in the browser. Today, the UI depends entirely on the accuracy of the material height entered in the manual box (or Proofgrade consistency) and the bed being settled and level precisely the way it was at the factory.