I was wondering if anyone has ever tried using a feeler gauge to measure kerf?
I have one that I ordered from Amazon, and I was wondering if I just just a few line into small scrap of medium draft board and then kept trying the different sizes (thicknesses) of gauges until I got one that would go through the cut and fit snugly, if it would be accurate?
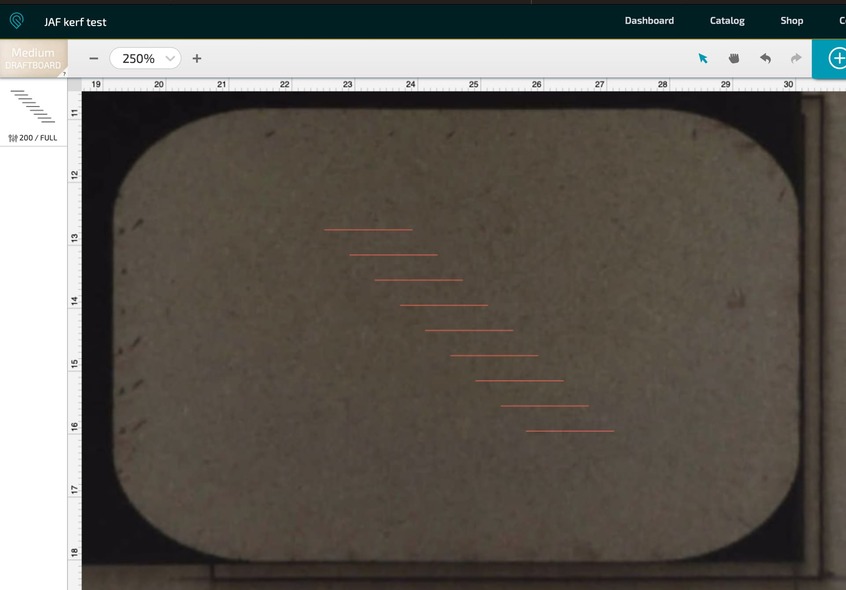
When I tried the pattern below, a size of 0.1 mm felt about right… however I did notice, that the while the cut was made all the way through the material, it looked like the cut on the top side of the draft board was a wee bit thicker than the cut on the back side.
The laser beam is cone shaped as it passes through material and the edges cut by a laser are slightly angled. Therefore the back may be slightly different than the front. I don’t remember anyone using a feeler gauge, but there are tons of kerf discussions and tips here in the forum.
If you can develop a method for measuring the kerf and turning that value into a kerf number for your projects, that could be very useful. Because of the cone shape of the beam my guess is they won’t be the same number, but it may be possible to develop a consistent translation.
The bottom of that kerf is really all that matters but it is extremely variable depending on many factors. The main concern is that it be greater than zero on the bottom, and many times the fact that the wood has charcoaled is what is letting the pieces apart.
Then the issue is if the pieces can fit, and that too is variable in a narrow range. Frequently, I find myself using clamps to force the pieces together, but some glue (or coating) is needed even then so they do not fall apart when the humidity drops.
A 0.006 total kerf is pretty standard and if there is a line that width made into two lines (with Path>Stroke to Path in Inkscape) the result will be very close.
Thanks! I missed that post somehow. I use a method @mpipes explained in Inkscape.
Set your stroke width to that of the beam, and stroke to path. Then break apart. That will give a vector on each side of the stroke. The inside path is the hole, and the outside path is for the inlay. Cut one upside down for a tighter fit.