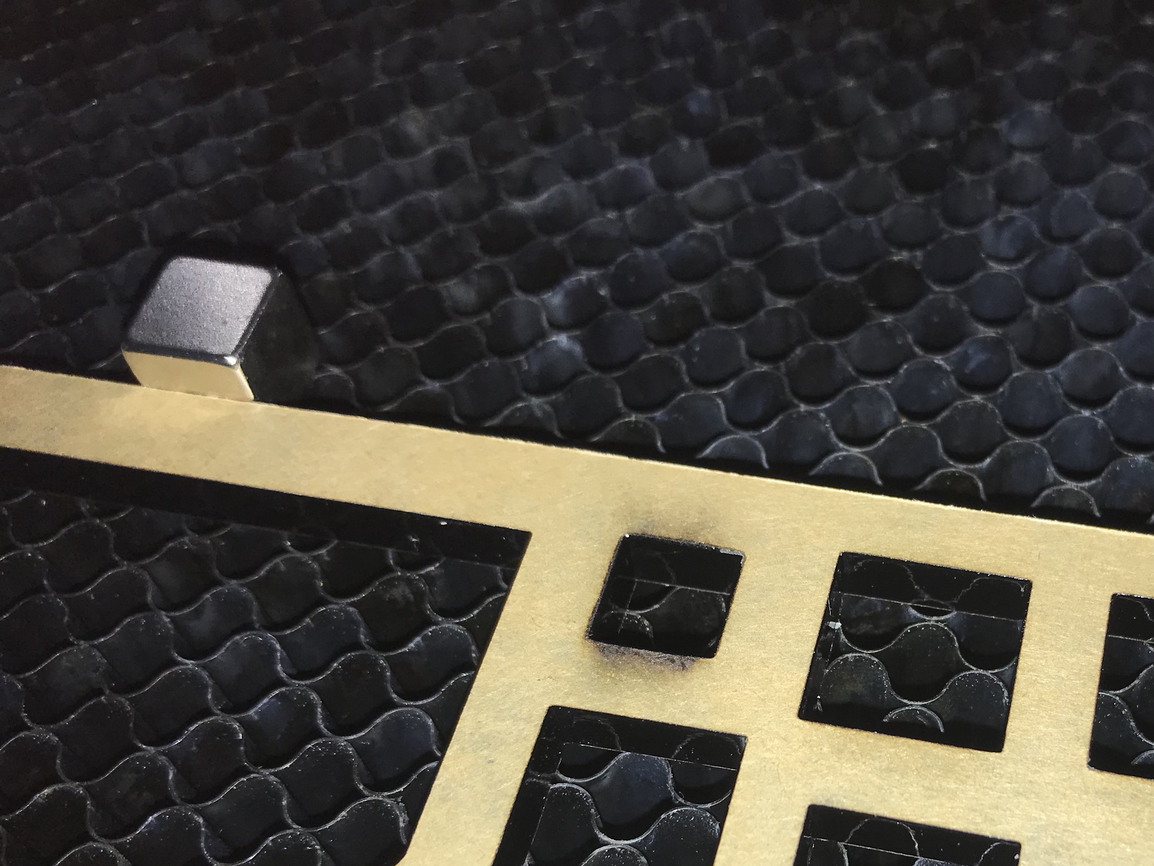
I got some 1/4" black acrylic from Inventables and made several cuts before with the proofgrade settings for “Thick black acrylic”. Everything came out really nice… until now.
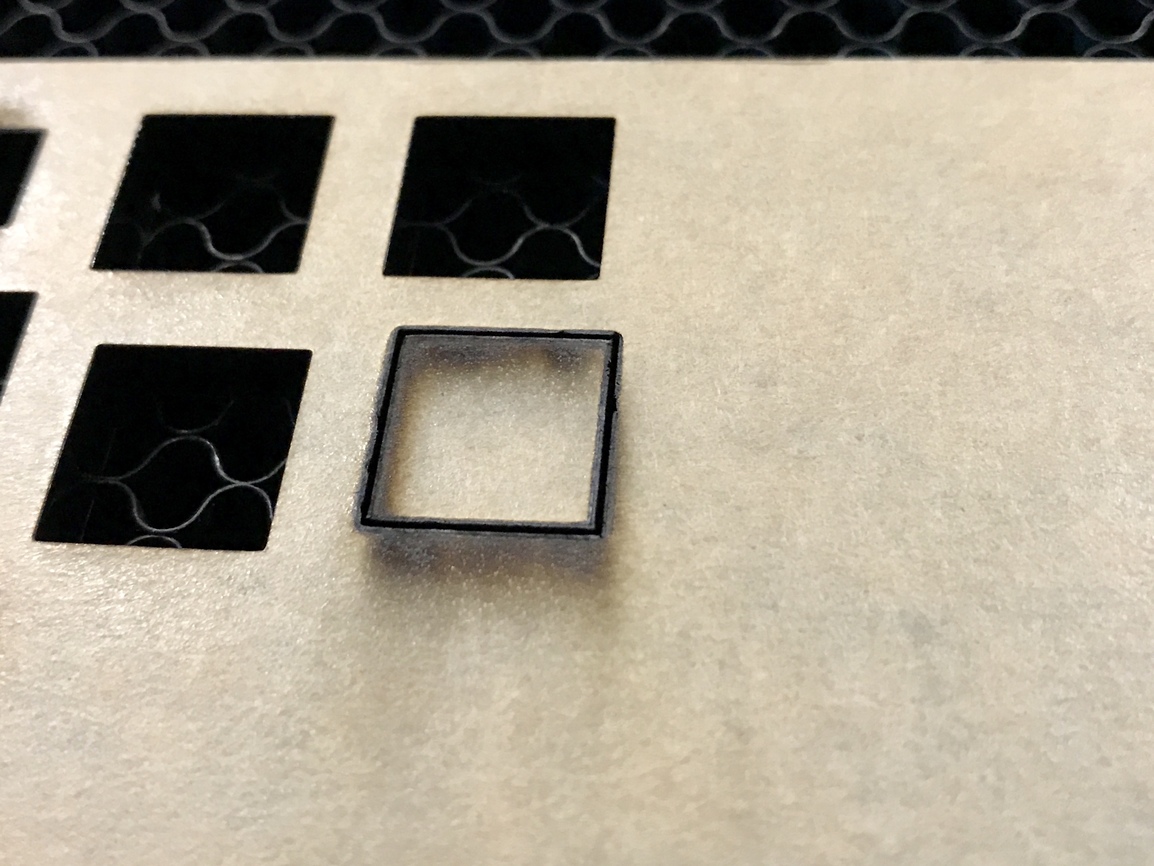
Today, 3 out of 4 cuts caught fire, something that never happened so far.
I realized the UI is uppdated. Maybe the PG settings has changed?
I can’t recall what the PG settings were last time. Does anyone remember?
Now it’s: S-125, P-Full (Pro unit)
Of course the PG settings are not intended to be used for non-PG materials (Inventables).
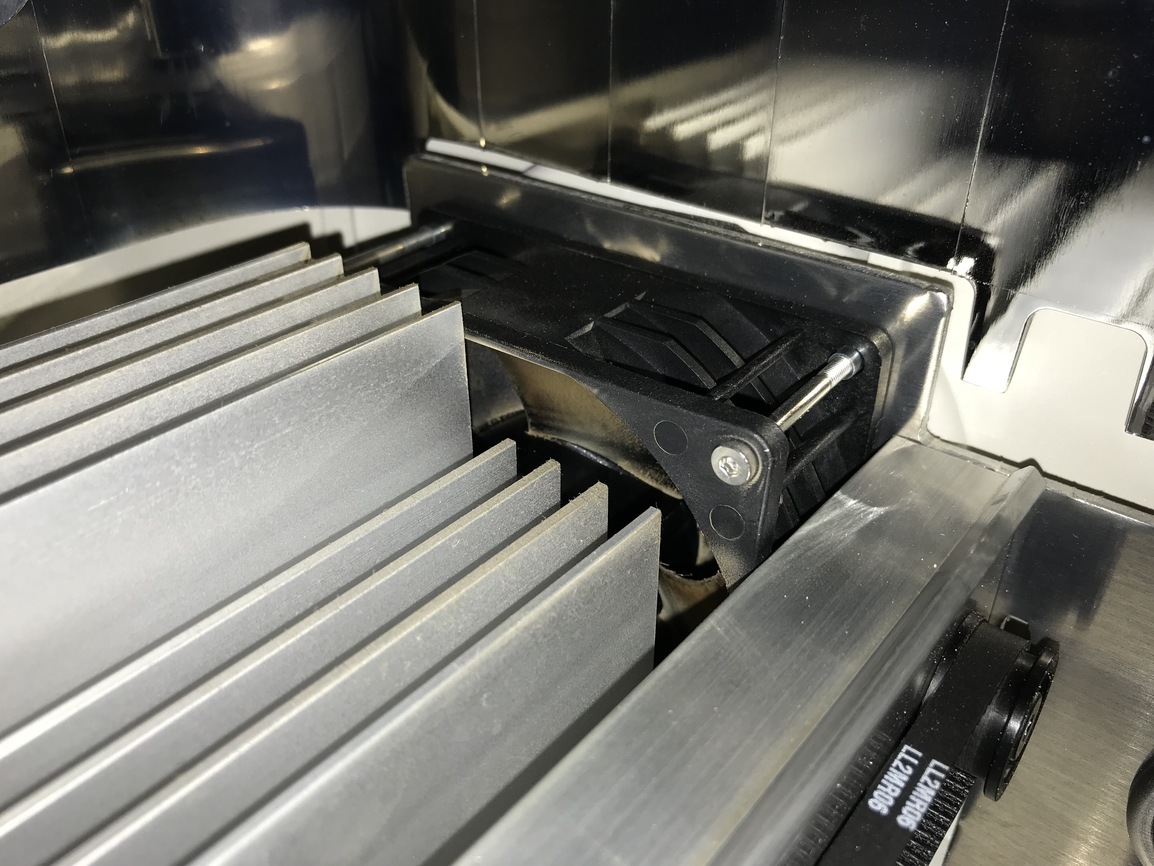
But lets assume it has always worked before… If the material is catching fire it could be poor air flow from the air assist (dirty fan), a poor focus, or a dirty optical path. I noticed that my head lens looked relatively clean but upon very close inspection with a bright flashlight it was coated with little white specs of acrylic material from previous acrylic use. It caused a few failed cuts before I noticed.
You’re right, but since it’s very similar materials it could be a good start to tweak from. And it worked just fine from the beginning.
Last cuts without problem was 3 days ago. Same acrylic. And I didn’t cut/engrave anything else after that. Until today. It feels like to much of an coincidence, that something would change from one cut to another.
Are you sure its the old ones? I thought, in case they changed (would be nice if someone from GF could confirm this) it might have been saved as PG settings only, and now when you open it, it just takes the new PG settings?
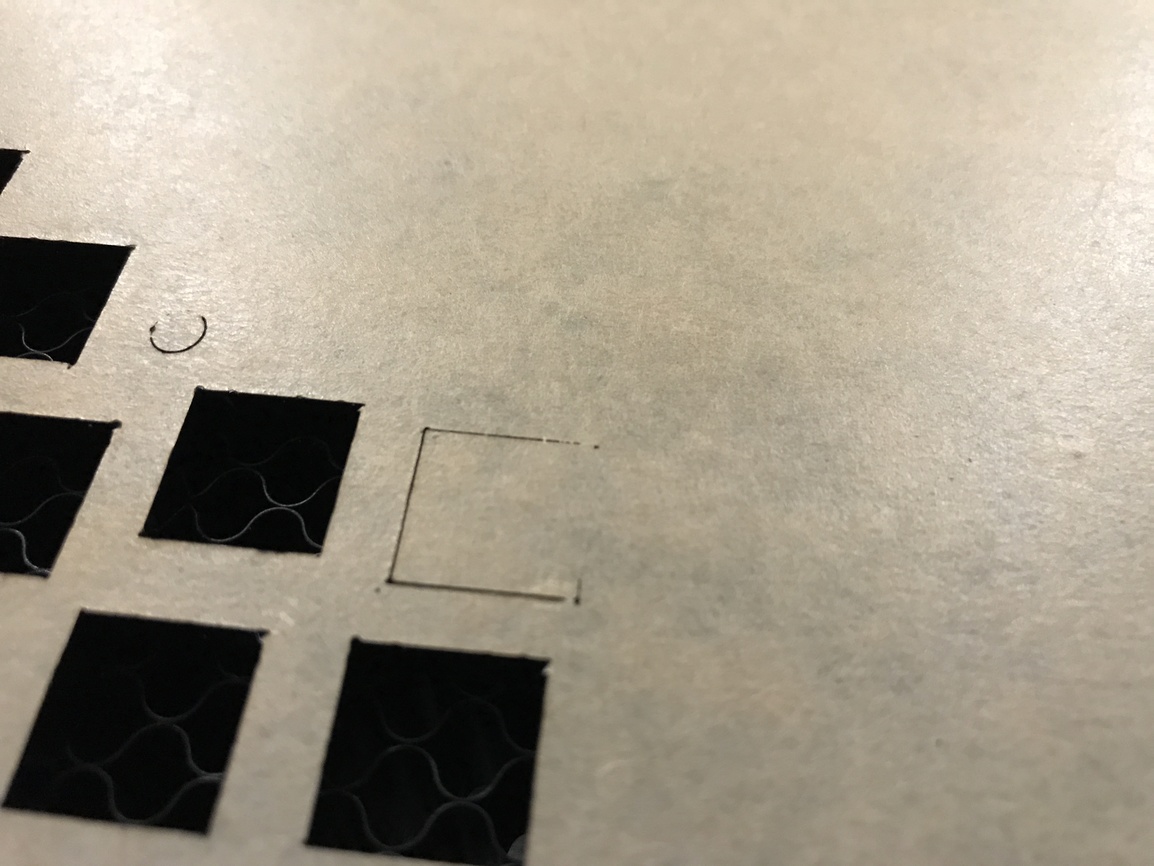
Hmmm…okay - sheets of cut up acrylic are prone to warp, and that can affect how well the beam is going to get through, especially if you are cutting in an area with just a few strands left…did you have it pinned down all over so that it was perfectly flat?
I would pull that lens out and double check it again just to make sure the lens is oriented correctly. Your cuts look like things are out of focus. The lens should face downwards (as in, the lens is offset within the lens frame/holder, when installing it using the lens installer tool, the glass should be offset to the bottom, nearest to the installer tool).
It only takes a few seconds to check and make sure.