I have a couple of walnut word flash drives about 1/4" thick. Has anyone engraved something like this and do you have any advice/settings for them? Thanks so much for any ideas before I melt these or something worse.
CMadok
January 20, 2021, 10:20pm
2
I’ve seen a few aluminum flashdrives on the forum. I’d say make sure it’s real wood, make a jig and test it with Walnut veneer settings.
[image] [image]
I am pretty pleased that these were so successful on the first attempt!
I used 200 (speed)/100 (power) on 1 pass. The Evermore Studio ambigram logo was a vector “score” while the spirals were an engrave at 225LPI.
I cut a cardboard jig for holding and positioning, then used the paper marking technique to align it. Here’s a shot of the setup:
[image]
Here are a few assorted marketing gifts I’ve made for my company to hand out.
Keychain - Walnut with Padauk inlay (no glue); chain part was just from Amazon.
[IMG_0282]
[IMG_0300]
Leather coaster set from Johnson Plastics Plus - Working on these now as New Year’s gifts for most of my clients. Coming out really great, but they do take a bit of time to engrave at 6 to a set. At least I set up a jig so I can engrave 10 at a time. As a nice side bonus, all the engraving time is givi…
I echo what everyone is saying. Jigs are really the way to go. What @hcdragon is doing is essentially a jig too. I use cardboard and in the Illustrator/Inkscape/etc. file, you just need an outline of the object (cutting board in this case) as a cut line, and then your design in the same file. @evansd2 post is a good explanation of it, and his take of using an offset corner instead of cutting out the entire outline is nice and efficient
The key to why this works is that in the GF interface, the …
6 Likes
Yes I have. Keep an eye on alignment after you press the print button in the user interface. Sometimes it refocuses and your image will no
Longer be aligned. If it happens, just realign your design on screen and try again.
7 Likes
evansd2
January 20, 2021, 11:23pm
4
mprather:
Keep an eye on alignment
Use a tape alignment jig and no problem.
Put blue painters tape on the crumb tray.
Score the outline of your thumb drive right into the tape. .
Place thumb drive on the tape in the right spot.
Turn off the score and engrave. Completely ignore the camera, the tape outline is exactly where the engrave will hit.
5 Likes
shop
January 20, 2021, 11:27pm
5
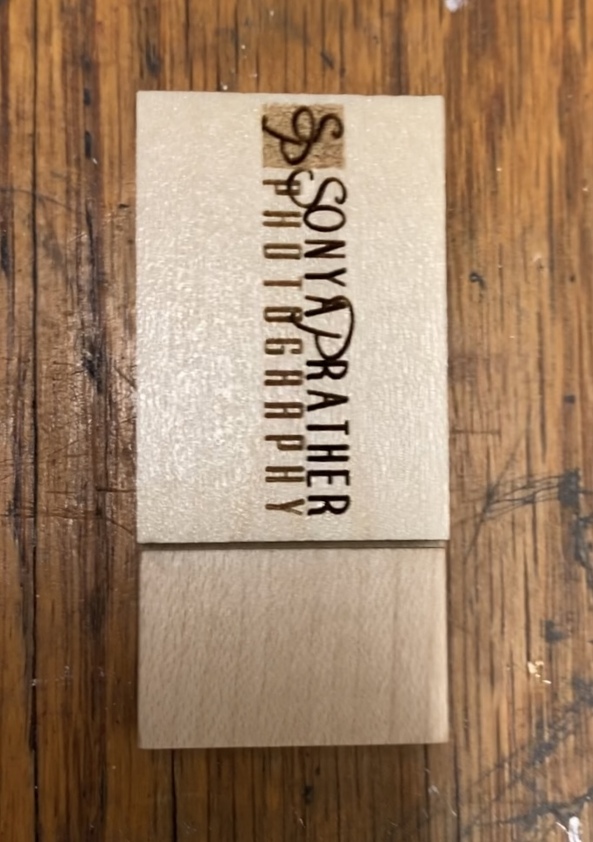
i did walnut thumb drives, both on the GF and on a universal.
pretty sure i started with walnut hardwood settings.
but i had a box of them and used one to do several tests to get my 3D portion right.
10 Likes
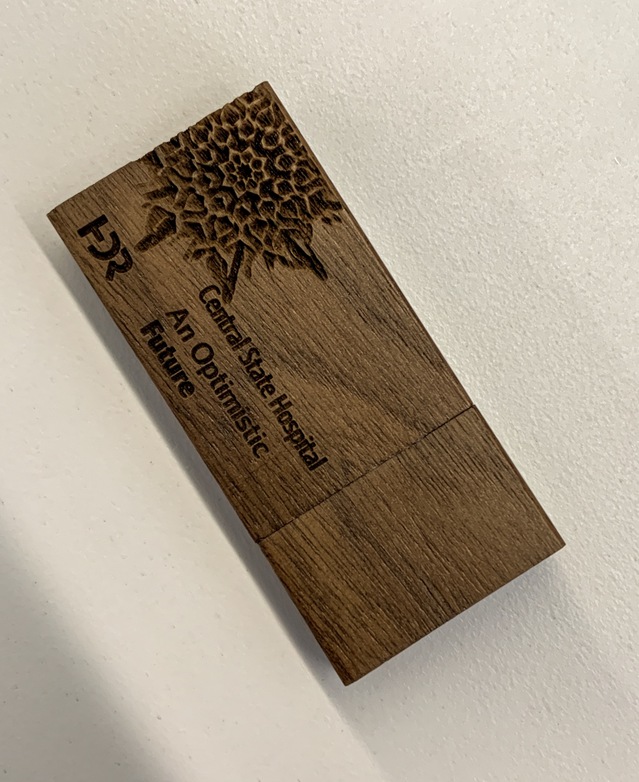
Very classy looking engraving.
2 Likes
shop
January 21, 2021, 12:35am
7
thanks. i was very lucky that the flower illustration we used worked well as a 3D engraving without a lot of manipulation.
5 Likes
system
Closed
February 22, 2021, 2:35am
8
This topic was automatically closed 32 days after the last reply. New replies are no longer allowed.