I’m a newbie and I have read the forum to nauseam. Maybe I missed something?
Project is to engrave a logo and persons name on a cedar notebook. I need to make sure this all lines up perfectly. So…
I was going to cut a trace outline of said notebook and that way I would have a specific place to place notebook and be very accurate of the placement of graphic to be lasered.
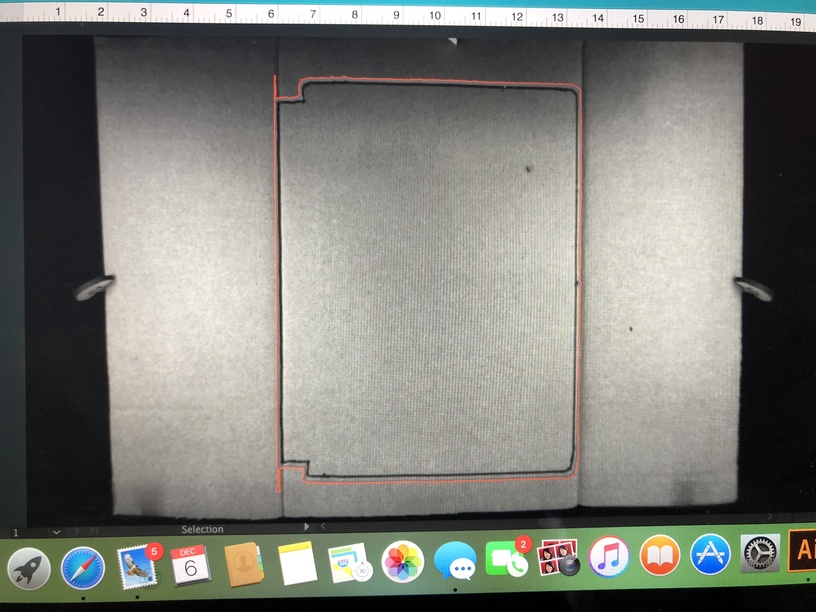
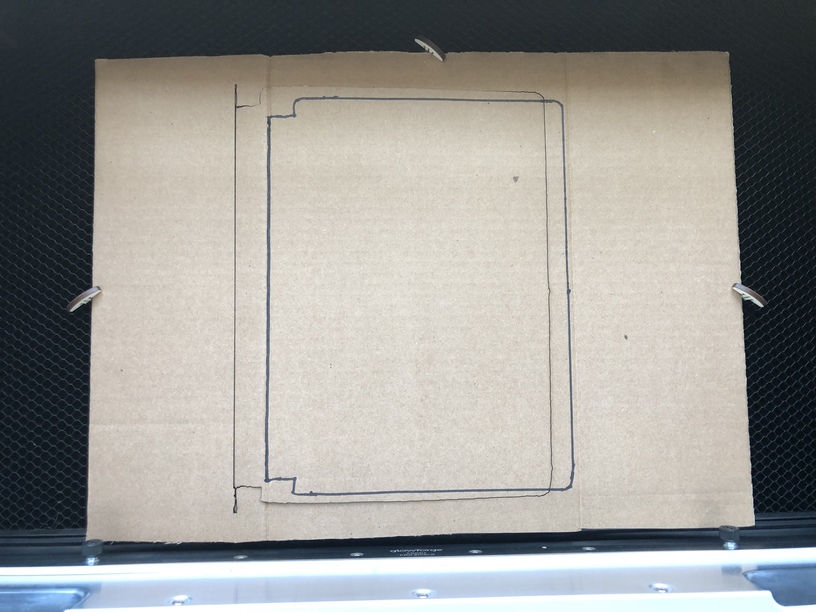
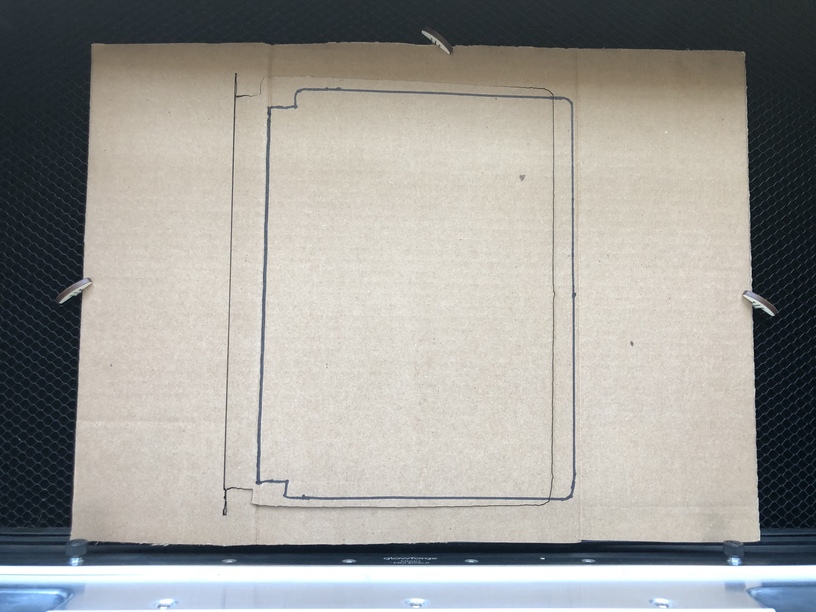
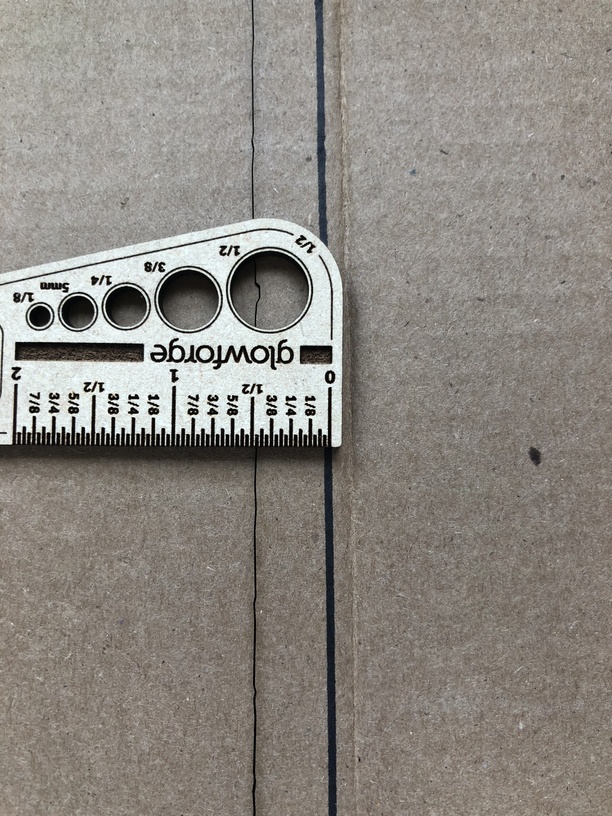
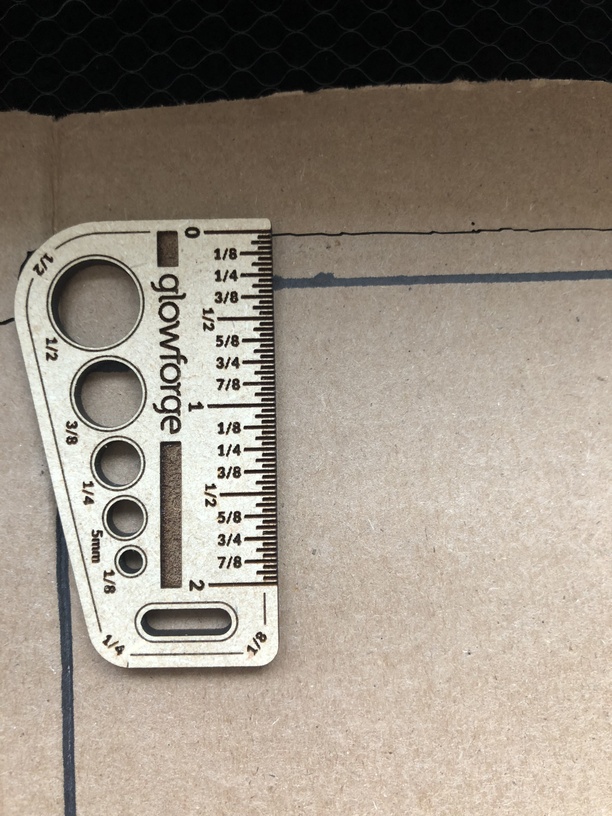
So I traced with black sharpe the outline on cardboard did a bed trace. All looks great (Pictures)
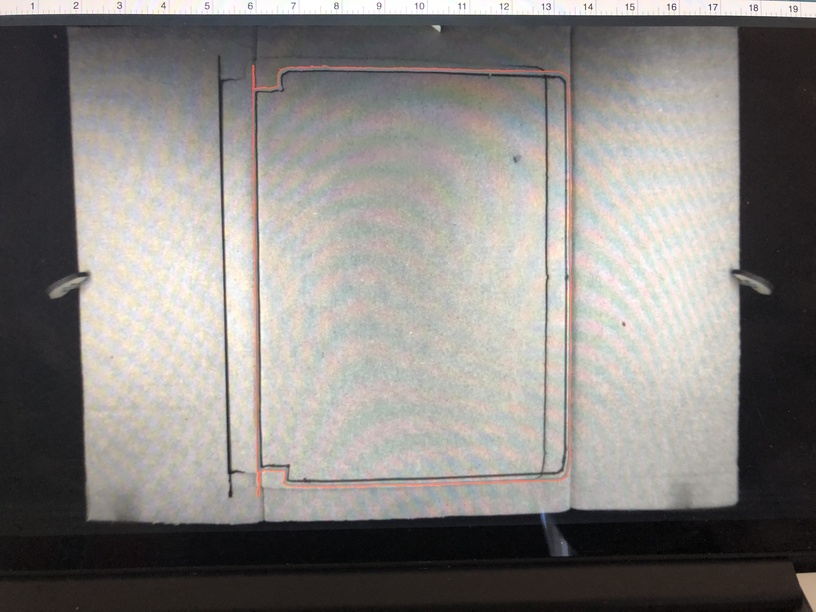
I send job and the laser cuts no where even close to black lines (left: 3/4" off, Right: 1/2" off, Top: 5/16", Bottom: 1/4")
Were you very precise in entering material thickness for the cut? Since you have read the forum, you have probably already seen this post, but it has helped me so many times with alignment: A way to improve object placement
Make yourself some rulers that match the marks in the UI. There are plenty of samples shared here. When you cut and score those, you will now have guides that will give you perfect alignment when you use the reference marks in the UI.
Hmmmm…okay, let me see if I can explain it to you…there is a slight variance in where the cutting happens from where objects appear to be located on the screen. You can see that in your example above…the actual cut is approximately 1/4 inch to the left of the view shown on the screen where the design is placed, correct?
So here’s what you need to do…when you align your addition to the trace, align it to the Pink Preview on the screen…not the results on the cardboard. When it prints, it is going to print the same 1/4 inch over, and it will land right on the center of whatever object you drop into the hole.
As long as you:
Do NOT shift the cardboard jig once you have cut it.
Do NOT shift the preview of the cutout from where it appears on your screen.
Align anything new to that pink preview…center it in that instead of trying to hit the cutout that shows on the cardboard.
Doing that causes the relative distances between the design elements to be maintained. (It’s called creating a jig.)
Does that explain it? (We’ve got tutorials that go into more detail if you need them.)
Okay your images didn’t load, but it doesn’t matter.
1.Start over with a fresh piece of cardboard and a fresh trace of the notebook. (Just the drawing on the cardboard.)
Trace it using the Glowforge trace function and cut it out. It doesn’t matter where it cuts, just cut it out of the cardboard. Take the cutout out of the hole.
Add your engrave or whatever you want to do to the file on screen by dragging and dropping it onto the open file. Do not under any circumstances shift the Pink Preview image of the cutout on the screen.
Align the engraving with the Pink Preview image on the screen. You will have to visually center the engraving, and move it using only the arrow keys on the keyboard…you don’t want to accidentally shift the pink cutout image.
Once you have it aligned and centered the way you want it…put the cutout piece of cardboard back into the hole…I wouldn’t have you test this on the notebook without a dry run to show you that it works.
Once you put the cardboard cutout back in the hole, set correct Engrave settings FOR CARDBOARD(use no more than 12% power and top speed) and send only the Engrave operation to Print. (Set any Cut operations to Ignore in the thumbnail column before you engrave.)
The design should engrave lightly on the cardboard in the correct location, and once you have seen that it is placed correctly, you can cancel the engrave by lifting the lid, or let it run. (Good idea to watch it though on cardboard.)
If the results of the test are accurate, remove the cardboard cutout and drop in the notebook.
Set the correct Engrave settings for the notebook, and change the focal point in the engrave settings to match the thickness of the notebook. Then send the Engrave to process again with the correct settings.
That’s it. It sounds like a lot, but it really doesn’t take that much additional time, and after you get comfortable with the idea of aligning design additions with the pink preview, you don’t need to perform that middle test on the cardboard cutout.
Since this problem is being seen on materials that were purchased from another company, we can’t offer support for prints that don’t come out as expected. I’m going to move it to Beyond the Manual so other folks here can help. Should this happen with a print on Proofgrade materials, please open a new ticket in Problems and Support and we’ll help you right away!
Yeah, TimeHop has been popping up reminders from early projects for a little while now. But I kind of dove in head first into the deep end. I’m still anything and everything that’s laser safe and fits, when I have the time to burn.