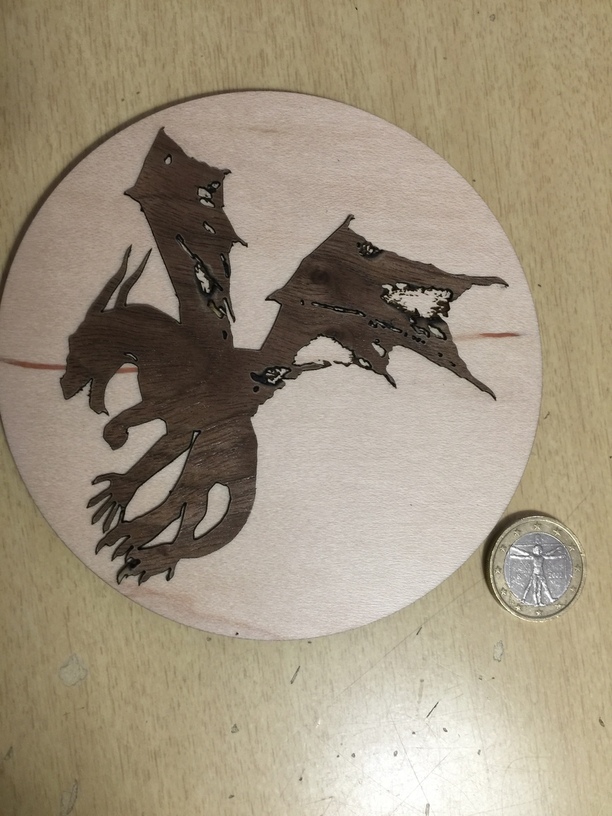
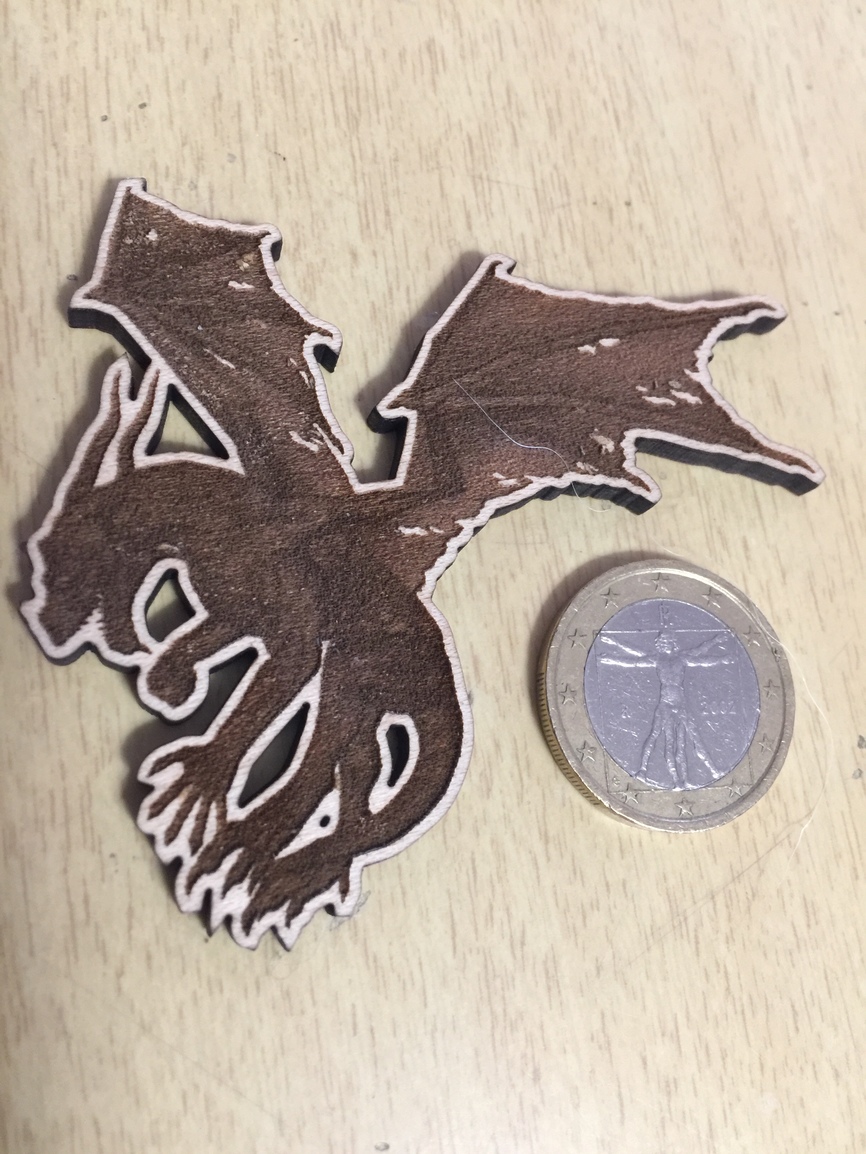
Tried a small cutout with border — definitely going to have to work on the contrast and lightening up of the raster artwork. Then I tried my first inlay — walnut veneer into medium hard maple plywood. Of course, I had to work small and with a pretty complex shape (weeding off the backing from the 3M adhesive on the back is a bear), but I think it turned out pretty well. Definitely need to make a second pass on the engraving step to get the veneer flush with the surface.
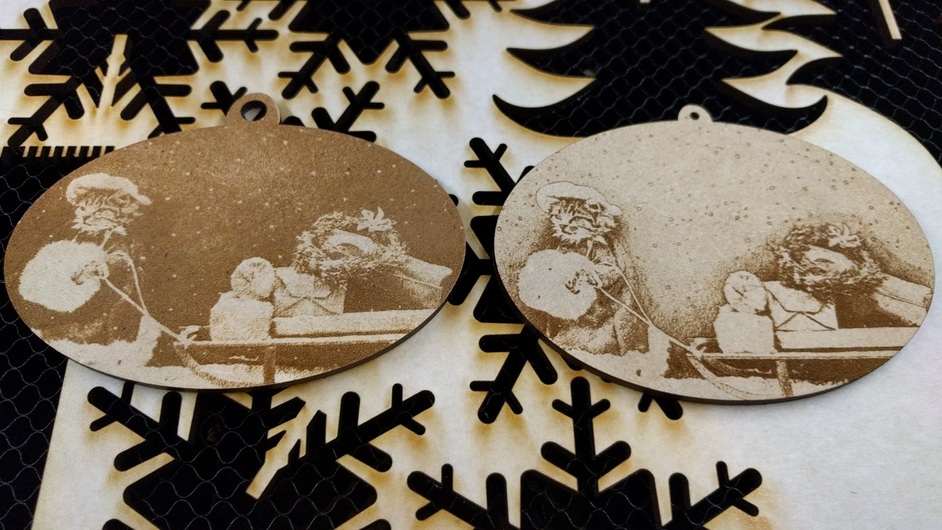
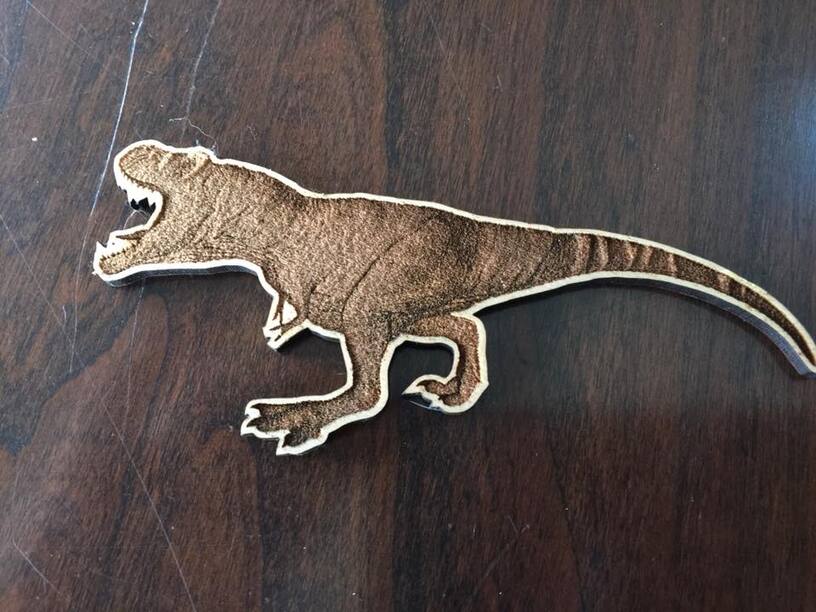
The tutorial in the Matrix for photos in GIMP does some magic. Although my source photo hit some of the “no no’s” for what you should start with, here are the early results.
Well, thanks for the Matrix. Although, when we get to the movie level of “The Matrix,” I don’t think anybody will be thanking you. That’s a couple generations off, though.