Can anyone through in some tips with regards to creating Mandalas?
I’ve done a load of Googling but am coming up short… I can do “path offsets”, and I can also use the “blend tool”, but I can not help to think that I am being a bit cumbersome and there are quicker ways to do this rather than working on individual elements of the whole.
I concur. I’ve done one or two that are nowhere near as fancy as some that you see. And it really does just take a lot of time. When I did it I did a lot of path offsets and using the different pathfinder to union/subtract/intersect the paths to make them correct for the design.
In case you would like a faster option, there are several laser patterns for sale on etsy. Search “laser patterns mandala” to find patterns for sale at reasonable prices.
This is my way - not the only way, just the way I do it easily. If you are using illustrator:
Create your outermost mandala out of line art - no fills, then group it all together
Copy that layer as many times as you want for the layers of the finished piece
Now select all layers and stroke them at about 26pt or whatever thickness you want
important - make sure you have turned off “scale stroke and effects” in the preferences menu
Select the next layer down and hold shift + Alt (win) or shift+opt (mac) to shrink the mandala constrained toward the center by dragging the corner and moving inwards. You can also shrink it by just typing in the smaller size in the properties window.
Do this for each layer - pro-tip change the color of each layer’s grouped lines so that you can see them and how much offset you want.
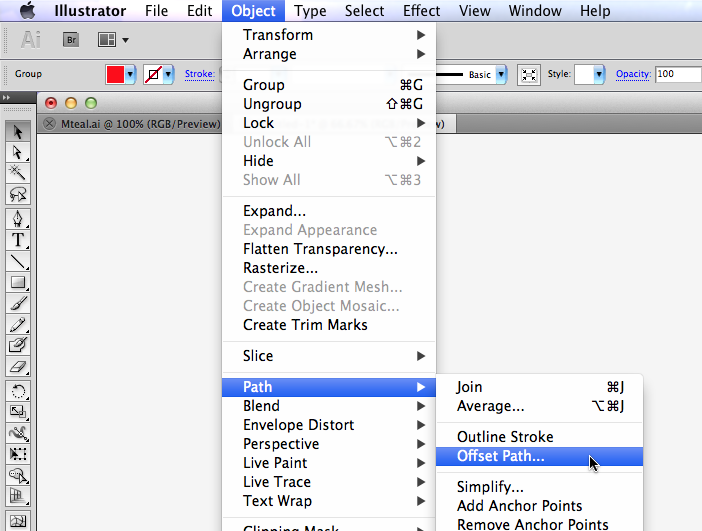
Now starting with the top layer select the grouped madala and under the Object tab select “expand” make sure only “stroke” is clicked
Now go to the “pathfinder” menu under the window tab and chose “Unite” - Do this for each layer.
Before sending to GF make sure you have stroked the object (I always use .25pt) and removed the fill or turn the fill white.
Turn off all the layers but the top one “Save As” Mandala1.svg then turning off each other layer in turn saving them as 2, 3, 4 etc.
Bring into GF and go!
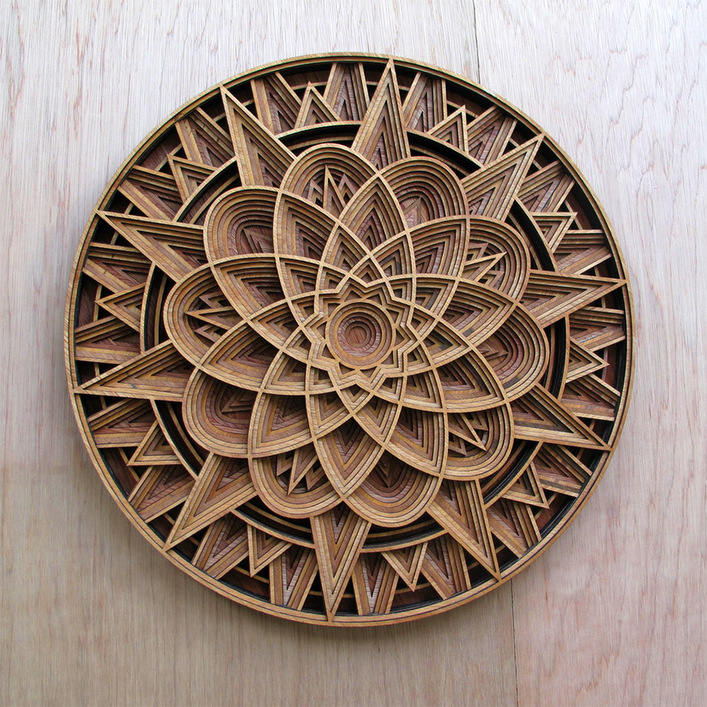
If you put the outermost circle like the one that was in the original post and group it with the rest of the mandala then each time you shrink the subsequent layers the circle with shrink inwards as well. So instead of a solid straight outside frame, it will be be stepped inward from the top toward the bottom layer. Just disregard that and play with the process outlined in the steps. It will help you understand how to make each layer.
I followed the instructions and was able to create this (really basic) layered look in less than 10 mins. It’s not exactly stepped perfectly, but you get the idea. It really isn’t that hard to layer it. The hard part comes from drawing them
This is a fantastic insight… I can see from your screenshots you’r using some of the techniques I’m currently using… lovely work mate… I also bow down to the way you’ve encased the borders… thats very neat
LOL I didn’t mean that fast (or cheating)… although buying one of those templates I will be able to see a breakdown of how others have done it… @zormite screenshots are invaluable
Have you also tried using the Blend Tool ? it will take a top “large” object and a “smaller” object, then fill in as many steps in between… essentially creating you as many layers as you want with a few clicks
Looks like I will be doing a mix of this and what you and @zoramite have recommended
There are always a ton of ways to do things. Blend does not accurately work on compound shapes. I have been able to make it work for grouped line art. Just remember, blend works by enlarging or decreasing the object in steps proportionally. So if you want the same width of cut for the object’s layers make sure you are blending grouped stroked line art. You can delete step 2-4 from my instructions, but you will still have to do the rest. Also remember to expand the object after the blend this will allow you to ungroup the layers. The rest of the instructions work. I hope this helps.