Here is my design process for the Baptism Cross I made.
First with the Inkscape design.
I wanted to do some filigree. I did some googling, and found this helpful video.

Once I knew the basics, it was pretty easy to do!
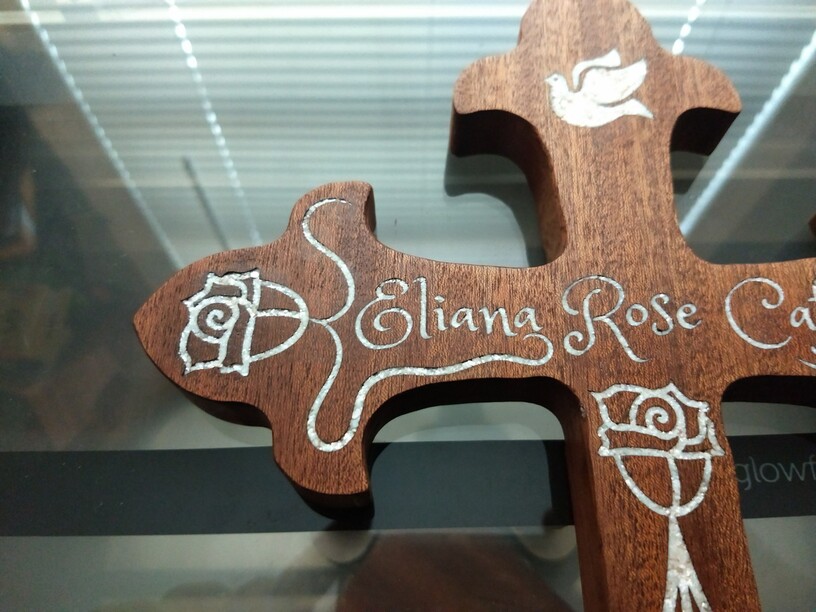
Next was the rose. I found this tutorial very helpful.
I thought it looked okay.
Then my wife said “That’s a tulip, not a rose.” Dang it, she was right (that is a common theme). After some thought and messing around in Inkscape, I ended up with my final design by adding points to the flower.
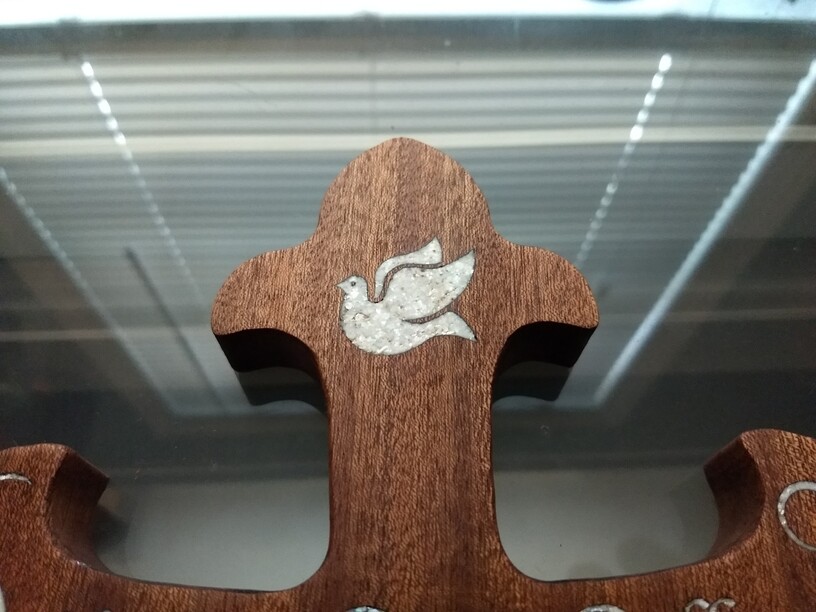
Next was the dove… I can draw a dove in real life slightly better than I can draw one in Inkscape, which is to say very poorly. So I went to The Noun Project, and found something I was looking for. (Dove Icon - Free PNG & SVG 165472 - Noun Project)
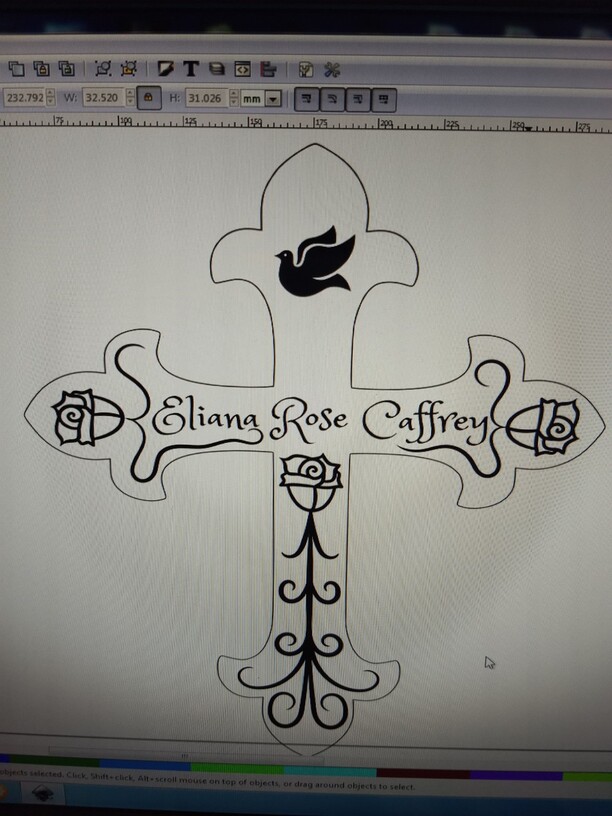
Here is my final design.
Next up was inlay practice.
I already did some testing on this wood before, so I had a good idea of what settings I wanted.
I took my test piece back in Stormageddon and engraved some squares… and some Narwhals, because why not.
For the inlay, I bought the following (not affiliated links).
https://smile.amazon.com/gp/product/B01LX19A65/
https://smile.amazon.com/gp/product/B075VLJQDZ
https://smile.amazon.com/gp/product/B00C32ME6G
I filled the engraves of the practice piece. After it dried, I sanded it down to remove all the glue seepage around the inlay. Here is the end result.
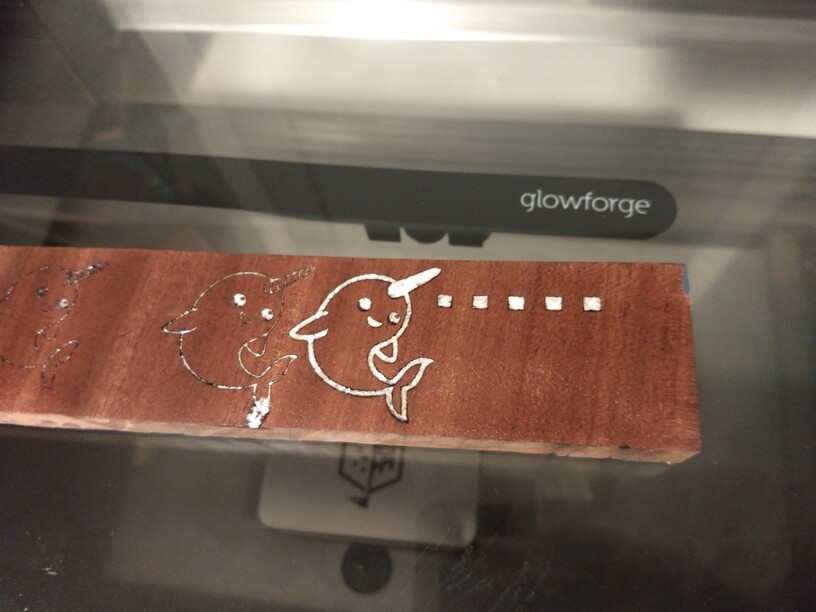
The thin Narwhal did not fill particulary well. The thicker one did better, but I should have packed the powder in more.
The engrave setting I was happiest with was Full Power, 500Speed, and 225 LPI.
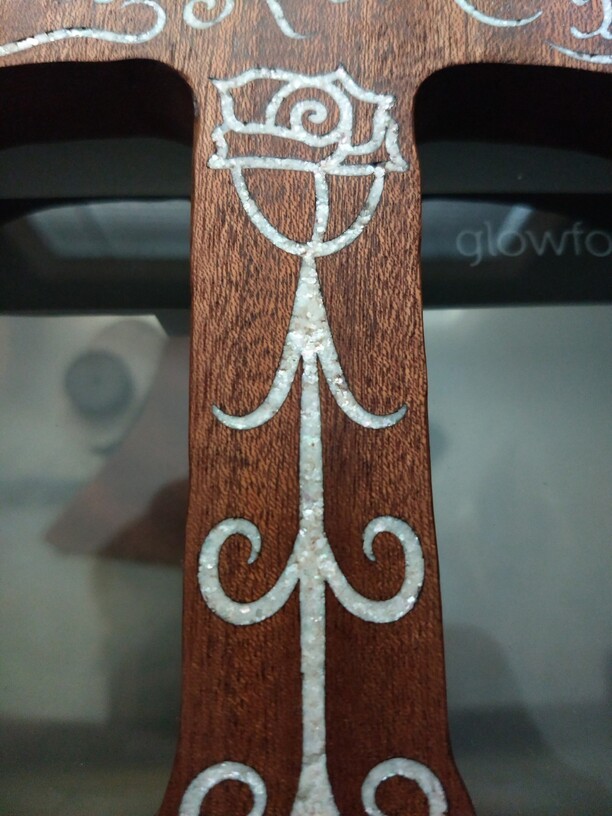
My next test was for features in my design. I was worried that some of the gaps were going to be too small. So I took a rose, some filigree, and some of the letters with some smallish features and engraved that on other scrap of Sapele.
This time, I used a plastic razor blade to help push the MOP into the engrave. This included me having to break up pieces with the razor blade… Yup, I was sitting there, cutting up white powder with a plastic razor blade.
Anyways, here was my next practice part.
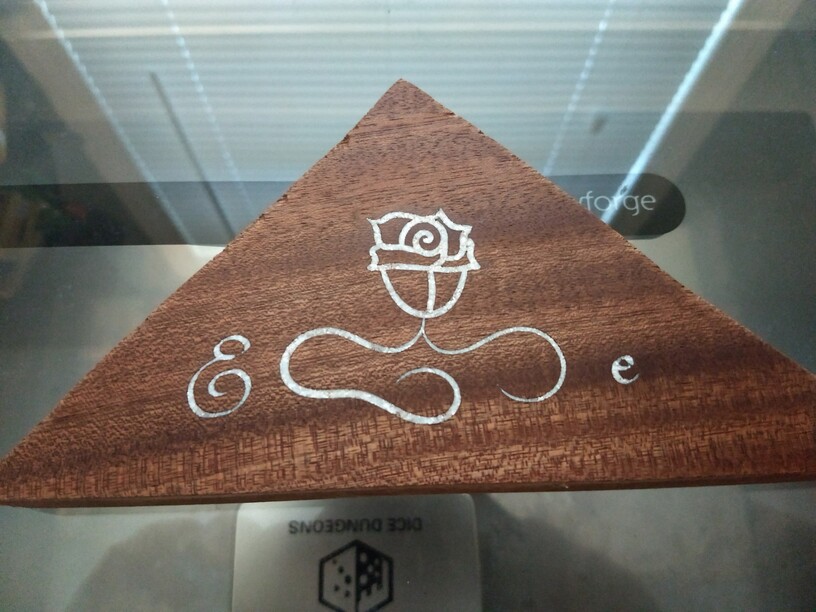
It came out exceptionally well! I was very happy with it!
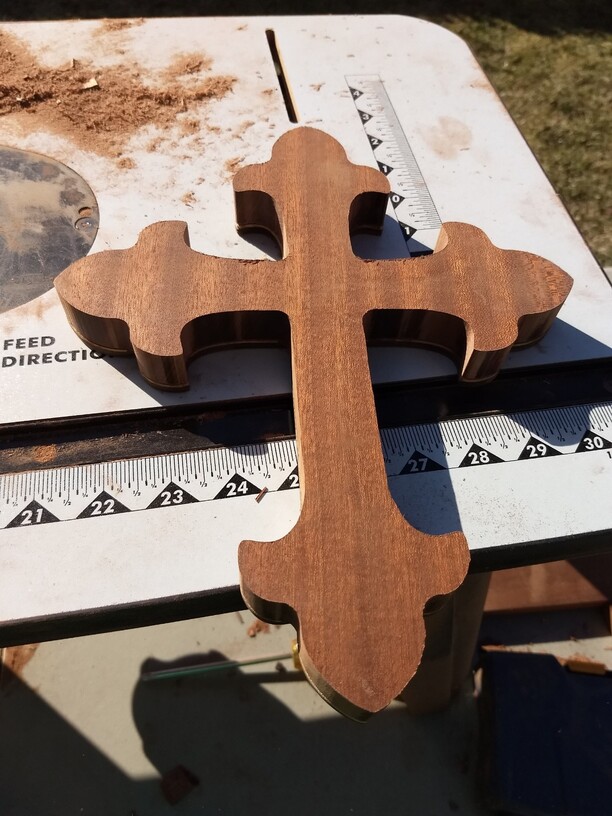
Next, I had to make the cross.
I cut out the design out of thick draftboard, making sure to add snapmarks to the piece (more on that later). I borrowed my friends router table to do the cutting. I stuck the draftboard template onto the sapele, then used a flush trim router bit to do the cutting.
First off, Sapele is a HARD wood. It was tough to cut it, and if I left the router in one place too long, it started to burn.
Second, I’ve used a router before, but never a router table, and nothing this complicated.
That being said, my first attempt did not go well. The bit chattered a lot! I was getting the hang of it though. Then… crack!
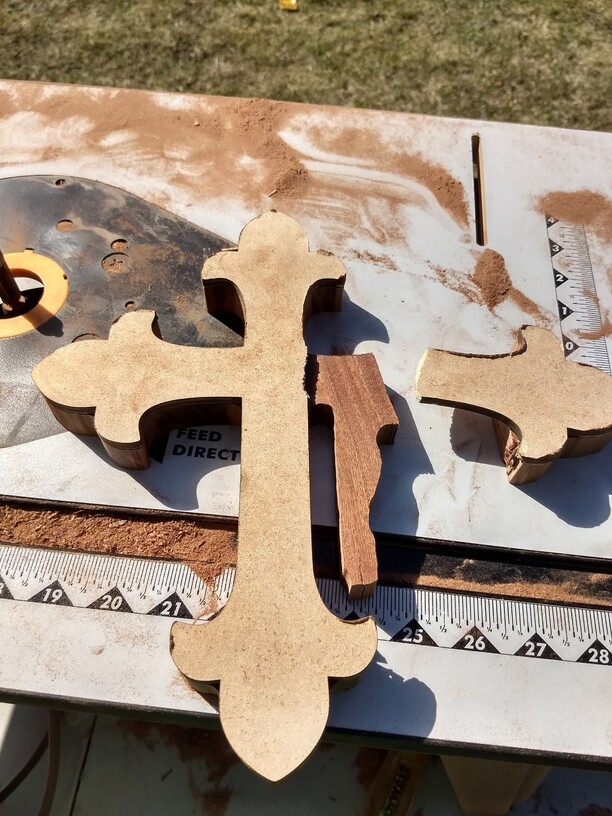
My mistake was I left too much material on the part, I believe. I cut a new template on the Glowforge, and got back to it. This time, I cut out a rough outline with my jig saw first, to minimize the amount of material to remove. That helped considerably!
The only issue was I still had some black burn marks from routeing the edges. I used my Dremel and some flap wheels to clean up the sides. It looks like the one I ordered isn’t available anymore. It was similar to this one, but it when up to 600 grit.
https://smile.amazon.com/Katzco-Pieces-Flap-Wheels-Set/dp/B01H299POI
Engraving and Inlaying the cross!
I put the cross into the Glowforge, then lined up my template on top of it. I used the Snap Marks to align to the cross. And, then we laser!
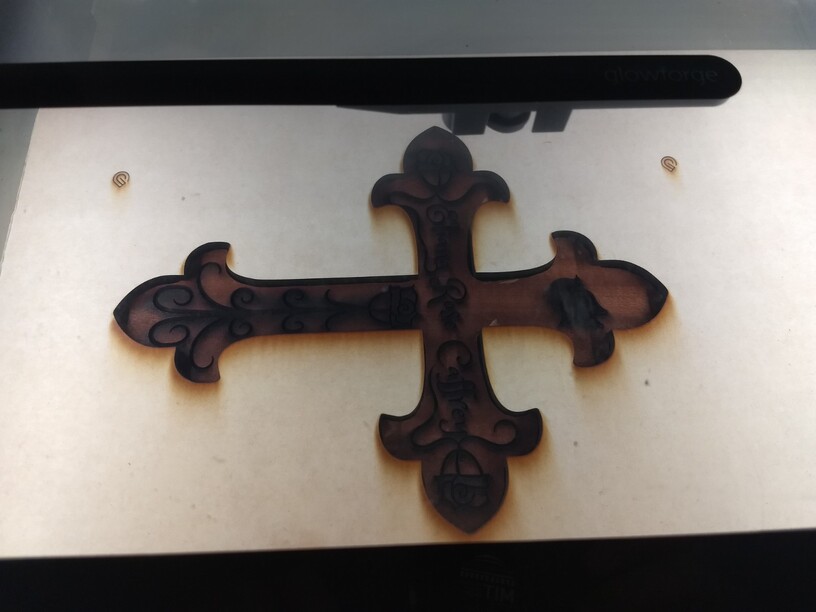
You may noticed I didn’t mask the part. Since I needed to sand it anyways, I didn’t see any point in adding masking. I used some baby wipes to get rid of the residue on the surface, then scrubbed inside the engrave with Denature Alcohol as well.
Next I started filling the engraves. It went fairly smoothly, more cutting up white powder. Up until I was almost done, I shifted the part, and accidentally knocked out a bunch of the MOP powder. I had to refill half of it. But in the end, it turned out beautifully!
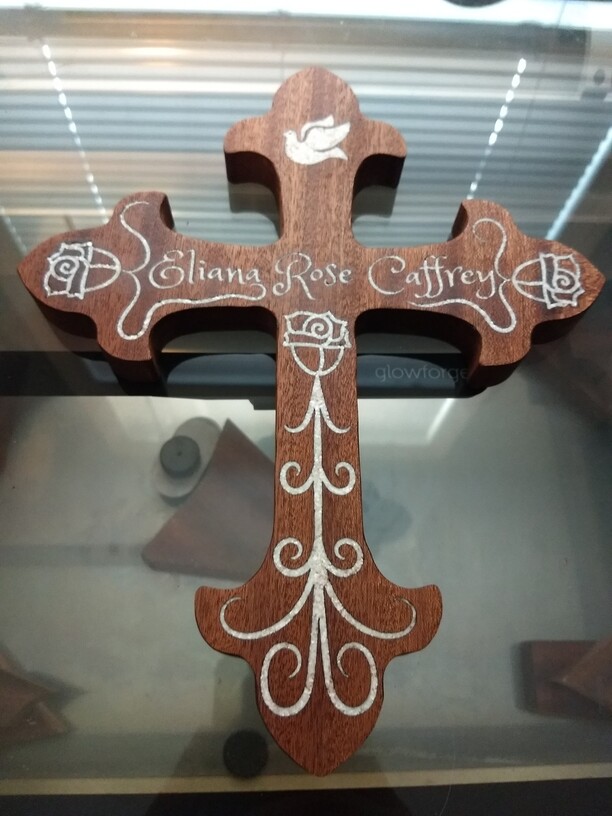
And there we go! Happy Forging!