Hi! I am doing a project where I need to cut a hole dead center in a full piece of proofgrade. How do I place my 12x20 piece of wood in the GF and position the circle so it is in the dead center? Inquiring minds want to know. Thank you!
1 Like
Snapmarks would be ideal for this if you have them.
I would make an X on the masking with pencil (corner to corner).
Set up Snapmarks and the circle on a design. Print it. Line up the circle with the X. Snap to the printed Snapmarks. Remove the print (if you wanted) and then cut the circle out.
I bet there is an easier way that someone will think of.
1 Like
That is a great idea! I reciently got snapmark, so I will try that. Thanks!
if the snapmarks aren’t working out for you, here’s what I often do:
mark center on the masking like @jbmanning5 said
create a small vector “x” or “+” in a unique color and align it dead center to the hole shape in the design file.
Run the “x” as a very light engrave (although in this case it’s hitting a waste area in the center of the hole you are cutting out, so you don’t need to worry about the marks from it burning through the masking). Adjust and repeat as many times as necessary. When you’ve got it dialed in, run the circle cut.
I sometimes do this on the perimeter cut, but that’s not possible when the perimeter is the 12" length.
4 Likes
You wouldn’t technically have to print it, I just think it would be faster / easier to print and trim than to score the Snapmarks on a piece of scrap etc.
The method @jbv mentioned would certainly work as well, since your circle looks to be big enough to hit the waste area in the center and without Snapmarks (or if they give you trouble) certainly the way to do it.
1 Like
Reporting in… OH MY GOSH!!! Amazing!
I created a file in snapmark and taped it to the wood. This is my first time trying the passthrough.
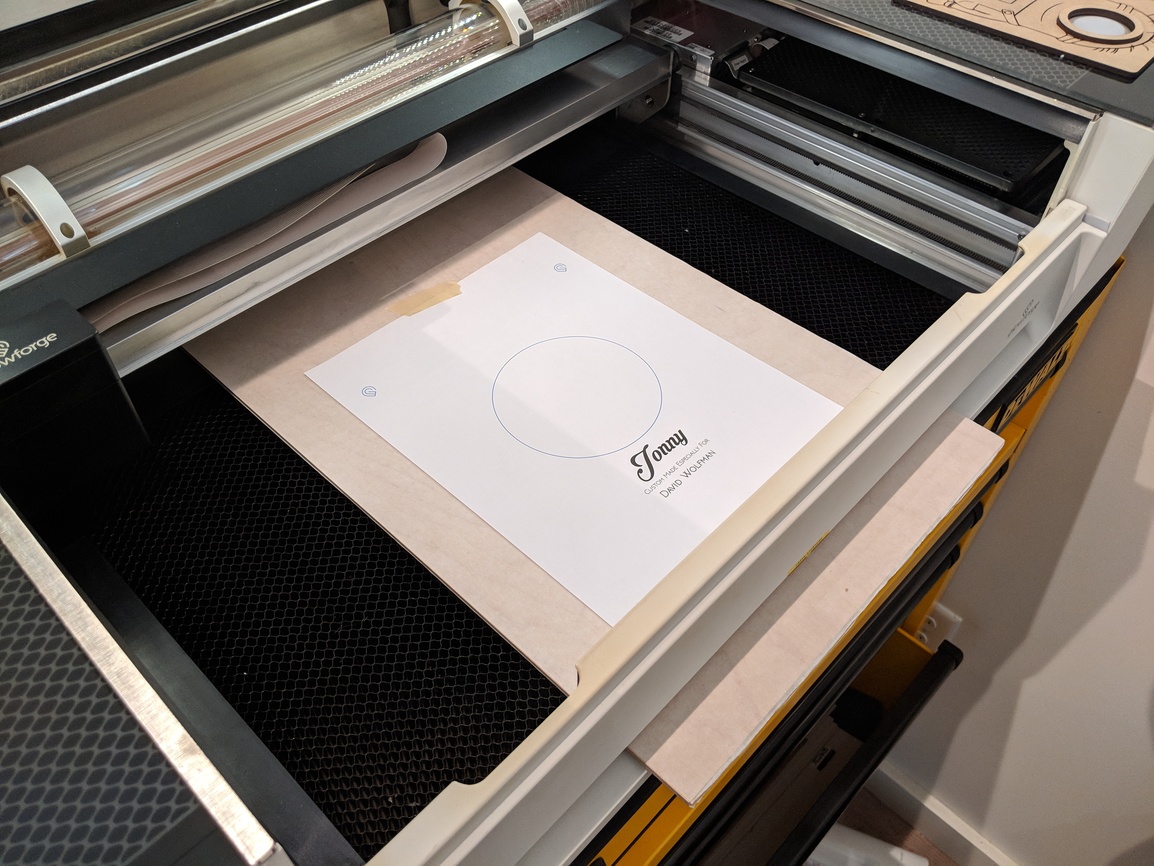
Snapmark aligned the file perfectly. DEAD ON!
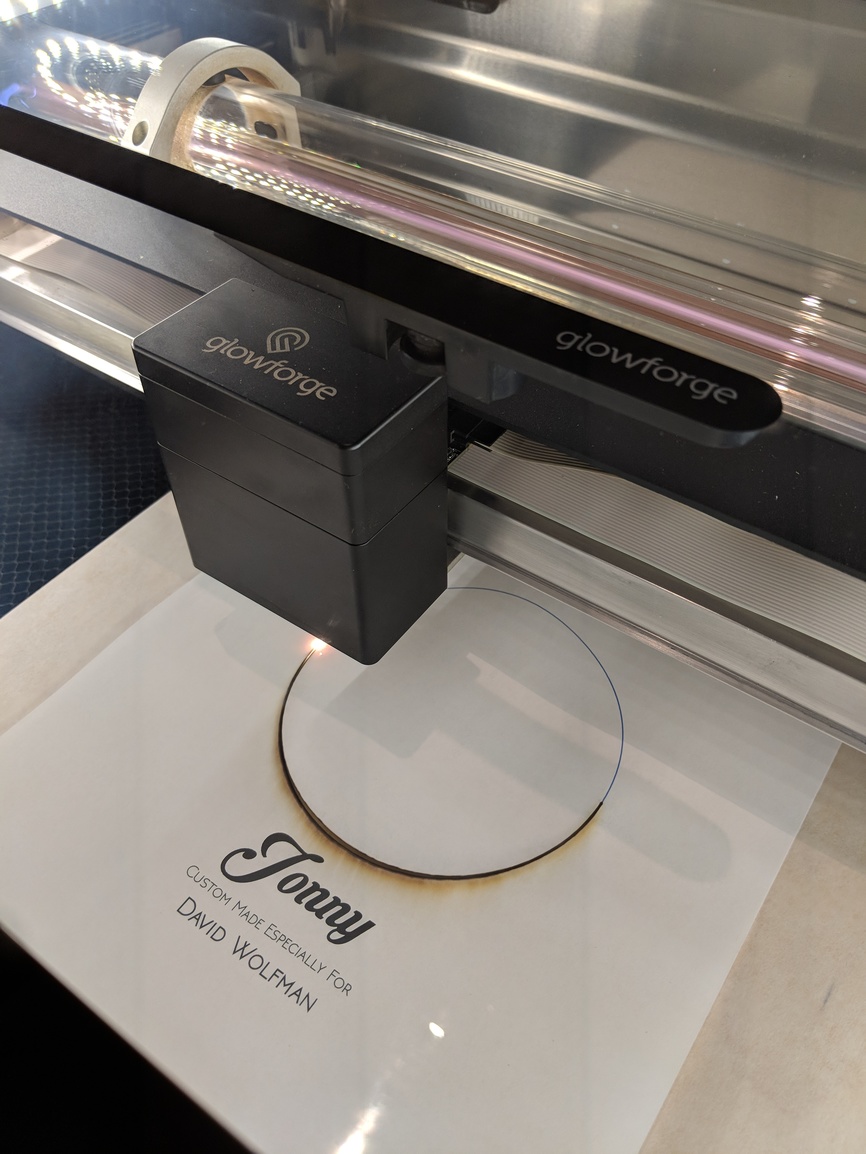
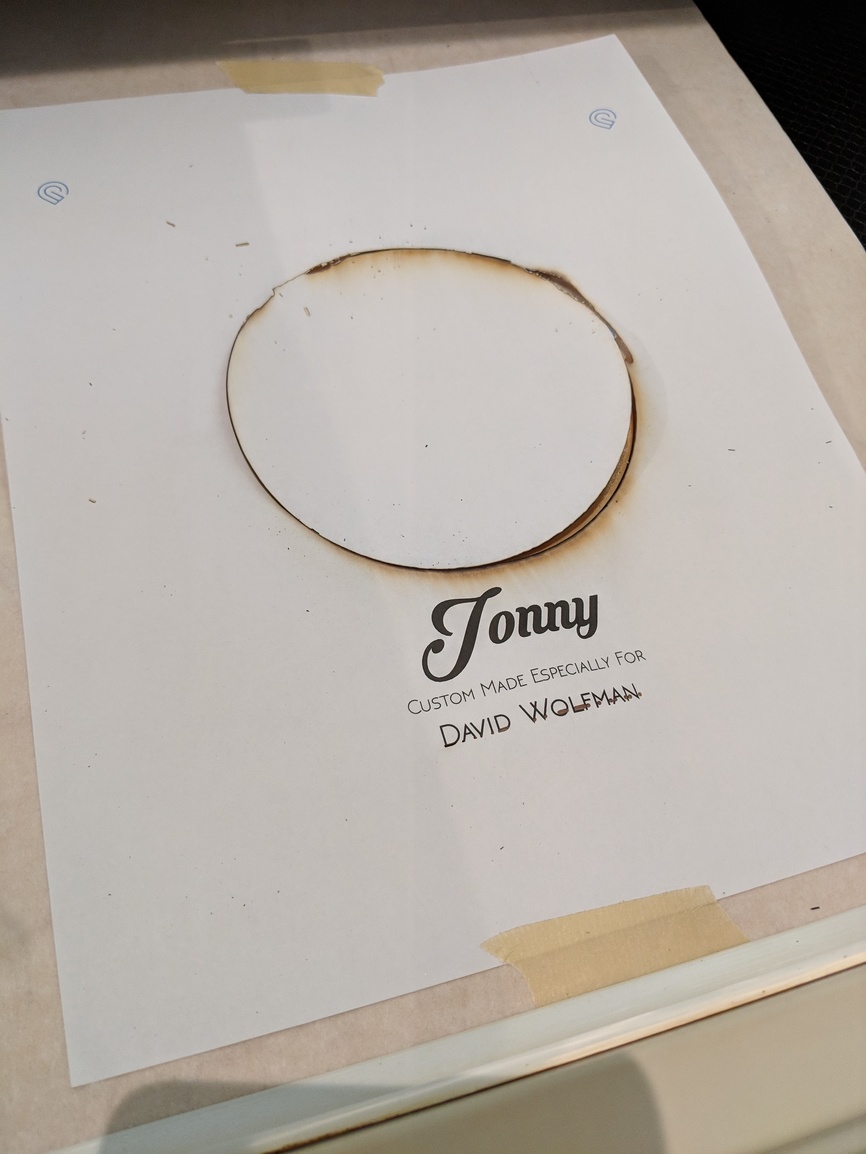
I have to remember to remove the paper before cutting. The circle cut fine but started to detach and burn. I opened the lid before the engrave and removed the paper.
This would have been such a pain. This changes everything.
THANK YOU SNAPMARK!
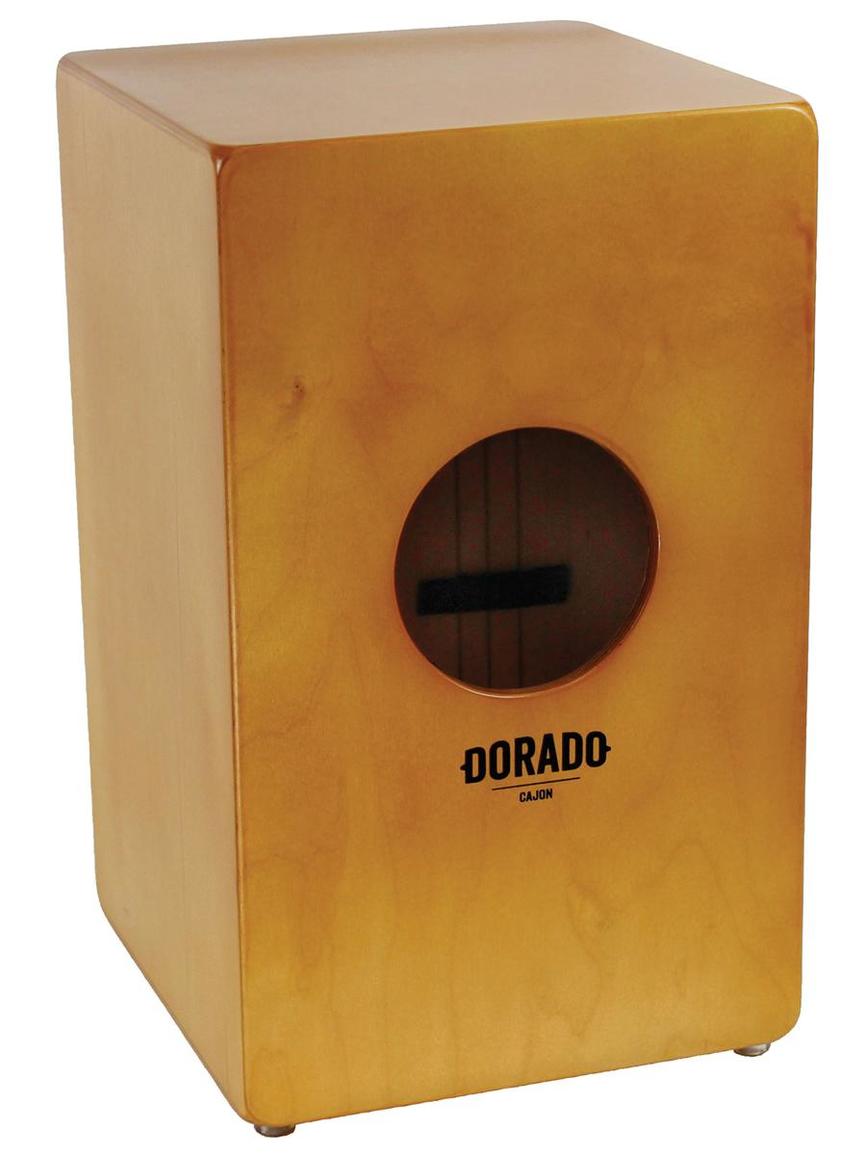
p.s… just in case you are wondering, I am making a Cajon for my brother. This is the pack piece.
16 Likes
You made quick work of that!
1 Like
thanks. Motivated.
You should write that up in a Beyond the Manual post. Great way of hitting dead center. I liked that you used the passthrough also so that way you can match up grain direction, etc.
2 Likes
What I’d do is to tape the paper where you want it, and then when you’re sure it’s in the right spot cut away everything except a thin strip at the top that has the Snapmarks on it.
2 Likes
Agreed. You just need the printed circle for placing the Snapmarks correctly. After that, you can do away with that part of the print. You can always just lift the lid and remove the whole print after you’ve done the snapping. The artwork will stay in place - it just needs to be located that first time. I was thinking of removing it also just to remove another layer of cutting so it didn’t mess with settings at all.
3 Likes
After it has snapped, you can completely remove the sheet of paper. At that point, the SVG file takes over.
You can reuse the sheet on your next one.
4 Likes
My husband was just telling me he wants a cajon, and we might be tackling making one! I would love to see the finished project if you wouldn’t mind sharing 
If you are using the whole sheet, remember a full sized file will not be moved, it will use absolute placement. So in your illustrator file just make it 12"x20" in size, then everything will stay in place if you just load the file and print it.
1 Like
I made a Cajone (Cahone) awhile ago, MOSTLY on the GF (https://community.glowforge.com/t/cajon-made-with-a-glowforge).
My first Cajone was made after I watched Steve Ramsey with Woodworking for Mere Mortals (https://www.youtube.com/watch?v=EVZN_mdz7Ks).
Hope that all helps when you go to make yours!
1 Like
I missed that post the first time around. Thanks for linking it!
Thanks for the answer everyone, it looks like everything turned out great! I’m going to close this thread - if there are other questions, go ahead and post a new topic. Thanks for asking about this!