I’m suddenly having calibration problems with my (until now) trusty GF. My plan for today was to print the final version of my Mastermind game box to make sure it’s ready to share with the world. The first two prints (box top in PG hardwood, then inner box bottom in PG acrylic) went fine. The third and final print job was for all the other pieces, using PG Maple.
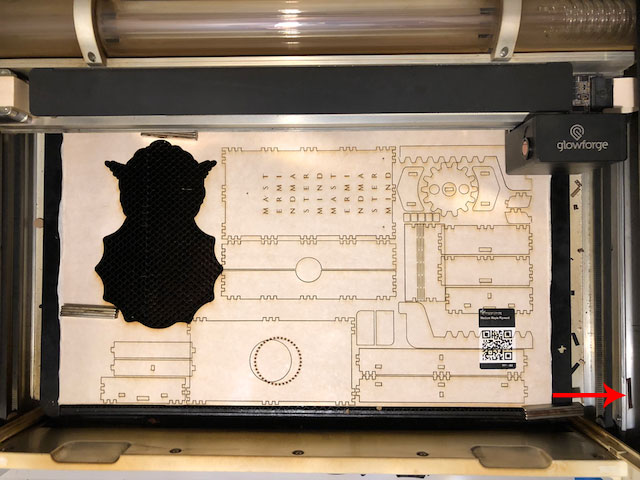
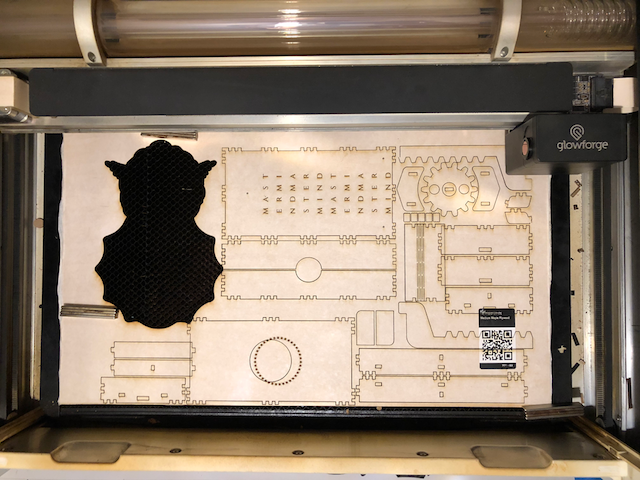
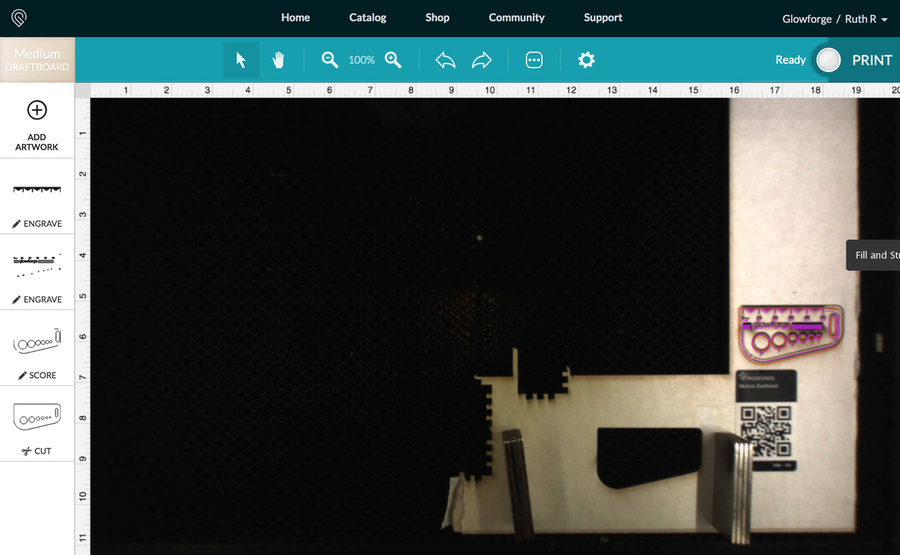
I got distracted and wasn’t watching it print, so it ran all the way through. This is what happened (stuff shifted around so parts overlapped and scores were in the wrong places):
Onscreen:
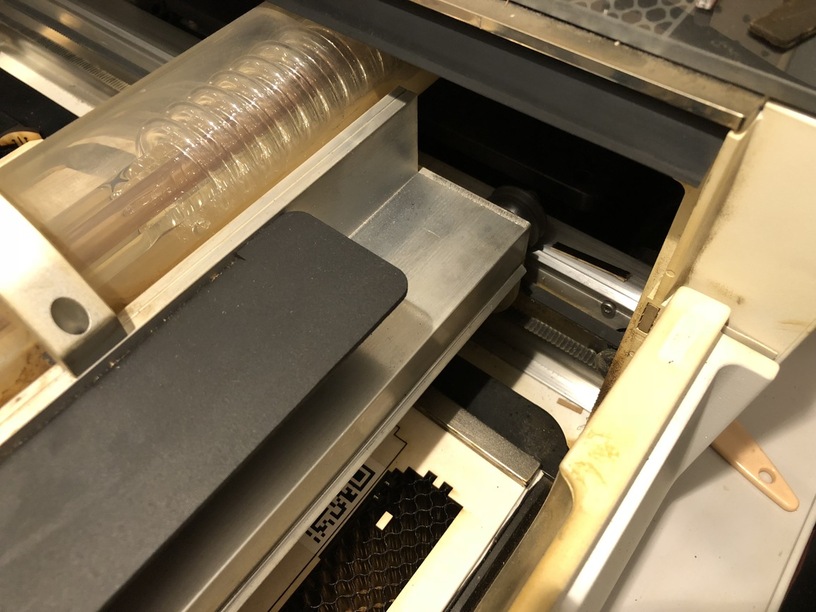
In the 'Forge:
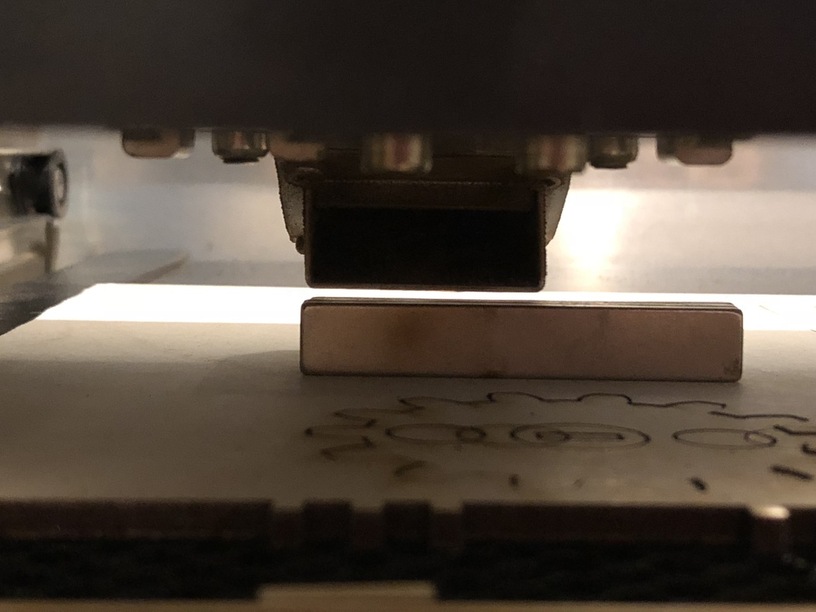
So I cleaned all the lenses and the GlowForge logo, vacuumed all the junk out, checked the divots in the bottom, made sure the door was properly closing and the head and gantry were moving smoothly through their entire ranges, checked yet again just to be sure the magnets weren’t in the way, even though they never are as long as I lay the stacks on their sides – they’re 0.4" wide and the head and vent thingy move over them with room to spare.
I even sent my inspector in to check things out…
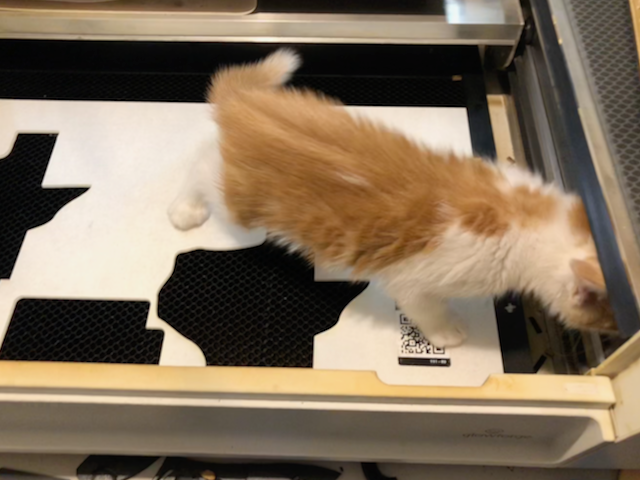
(Not really; that was actually from earlier, when I was trying to get set up to cut the acrylic piece, and our newest family member, Pixel, thought he needed to be involved in the process.)
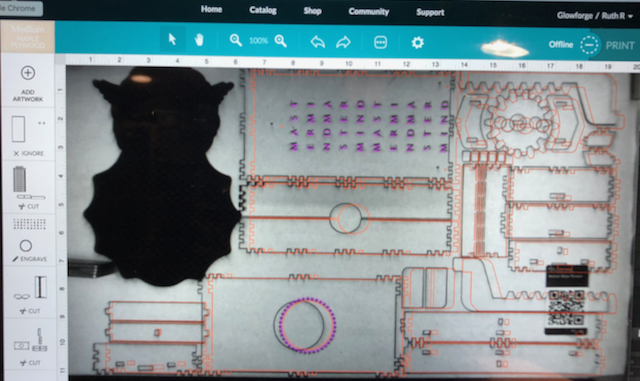
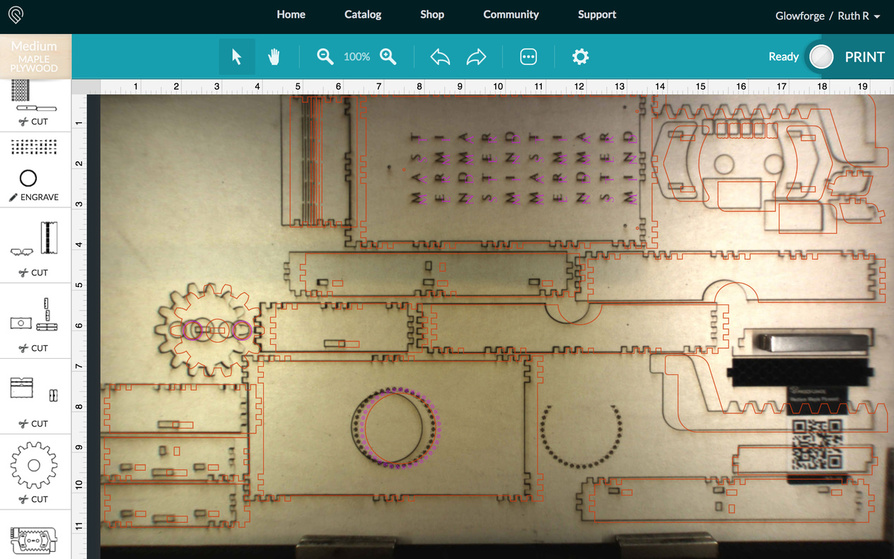
I restarted the machine with the head positioned under the camera, deleted out the parts that had escaped damage, and tried again on a new piece of PG Maple. I stopped this print partway through, because it was already screwing up:
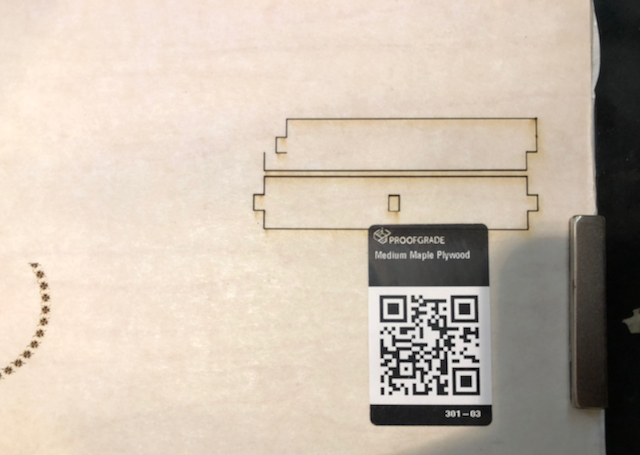
I’m 90% sure I actually had those two pieces placed on the far left, but I they printed on the far right instead, AND didn’t print correctly. (I didn’t realize the position had moved until I was clicking out of the GFUI screen to go find the Gift of Good Measure, so I didn’t get a screen shot, and now I’m questioning whether I hallucinated that, although the previous positioning shot does support my claim…)
So I turned it off again, rechecked everything, and printed the GOGM in the center of the bed. It was perfect:
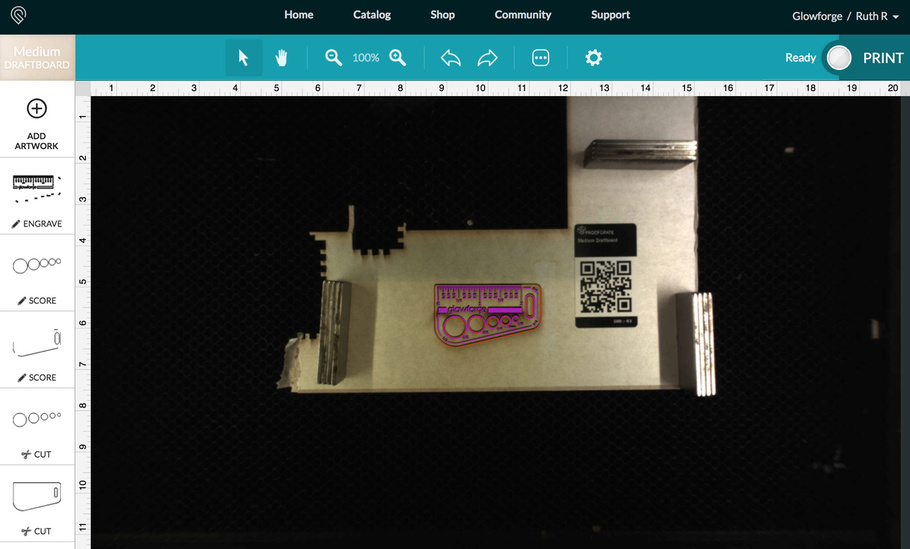
Then I did the whole thing again, but printed it on the right side (metric version this time). Perfect again:
So, okay, maybe that last recheck fixed whatever was wrong…hey, I’m an optimist!
But nope:
I went ahead and let the job finish this time, thinking there might be a hint in there to tell someone more knowledgeable than me where the problem started to happen, so we can pin it down better.
Also I forgot to write down what time I started the last two prints. Argh. I printed the GOGMs at 1:46pm and 1:55pm (Pacific) respectively, if that helps.
Is there anything else I should have checked or tried that I’ve missed?
 …I see something in your first shot that might have caused a problem…junk on the rail.