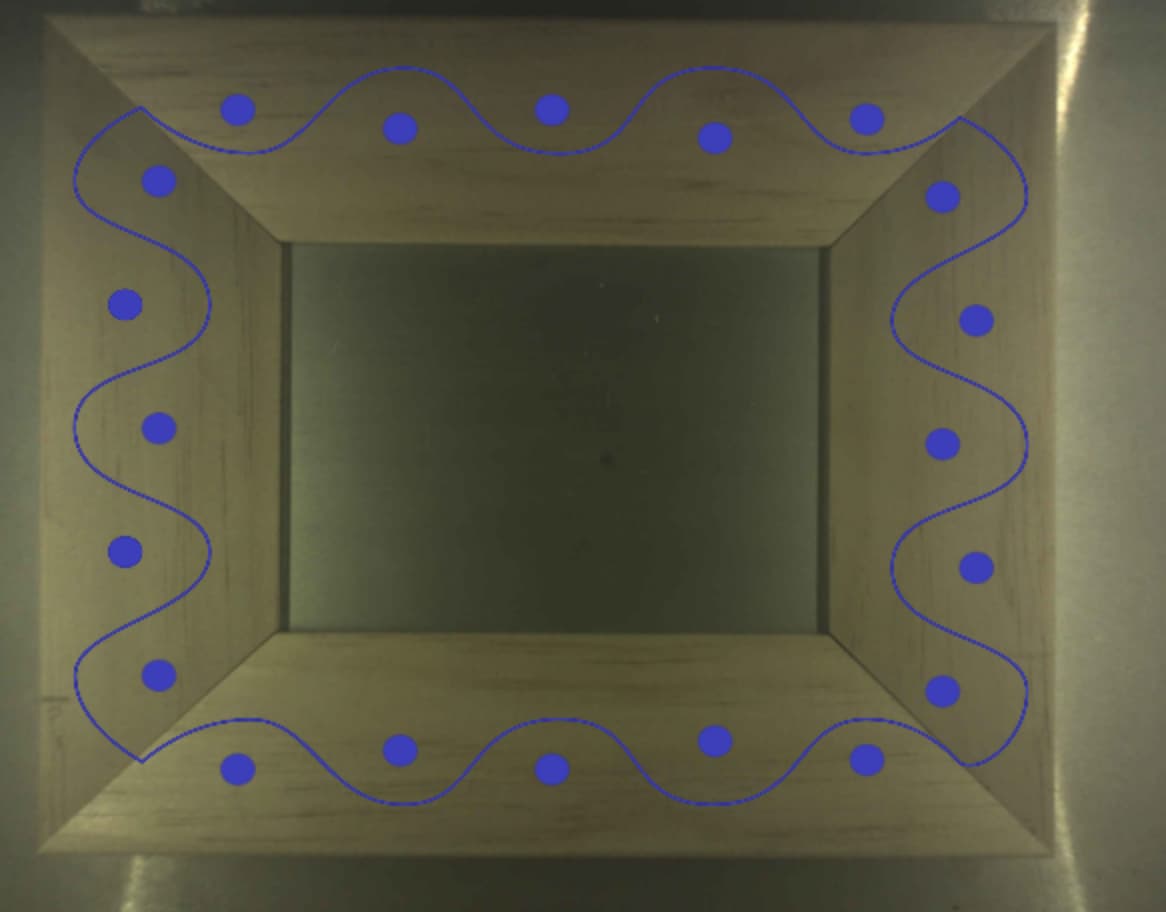
I designed this frame art to go on the wood around a frame. When I set the laser to cut, the result was not aligned the same. I’m not sure why it was so far off. Is this because I’m printing without the crumbtray? If so, how do I adjust for the difference in depth? Is it because of the way the image is centered on an object and I couldn’t see it being offset? Or is it at all related to the frame wood being slanted?
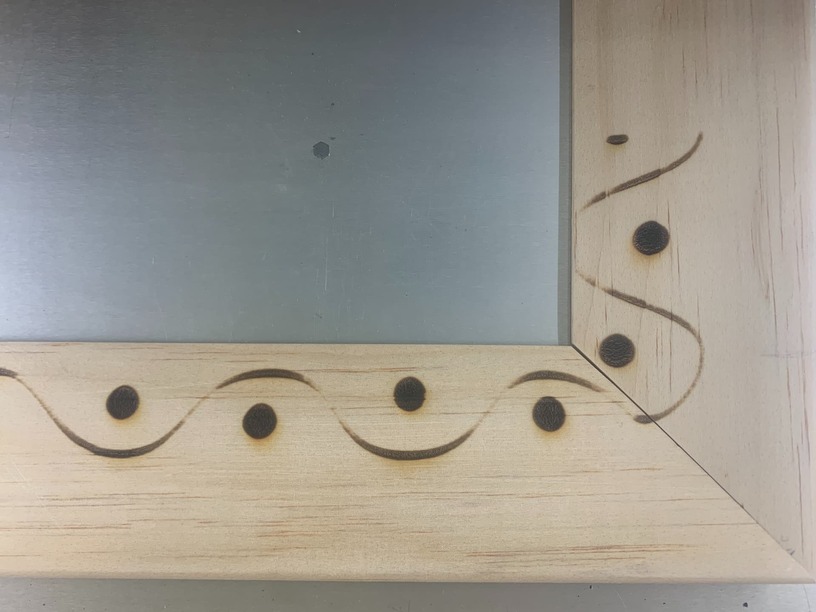
Please look at my two images to see how the alignment is off between software and reality.
The surface of your material needs to be within 1/2” of the laser head, so when you take the tray out, you will usually need to boost up the material to get it to that height. There are lots of detailed instructions on the forum to help you accomplish this. Try a search on “cutting without the tray.” Someone also created a tool that I haven’t tried but a lot of people find helpful—I think a search on “no math tool” will dig that one up for you. ![]()
8 Likes
That makes so much sense. I’m not used to taking out the tray unless I’m using something as thick as the tray. I can definitely see how the math would be off.
2 Likes
Everything @geek2nurse said is correct, though that doesnt quite address your alignment problem.
This is a tricky alignment, even with the set focus and calibration routines. The camera can lie by even a little bit and the engrave will be misaligned – and with a frame like this you’ll notice even a small error.
That’s why I would recommend a jig for this. There are tons of threads about using jigs, but in this case I’d look at using a corner jig like this:
You’ll need to work out a good jigging method for use with no crumbtray, but there are guides for that too. The gist is that you need your jig material in the cuttable zone and then back your frame up to it. It can be a weird way of working at first, but I promise if you fool with jigs a few times it’ll become really intuitive.
(As for the alignment errors as is, I think you’re spot on that the set focus etc is probably confused by your slanted frame wood. It’d throw the measured height off by a little bit in an unpredictable way and will make camera alignment a real challenge. Save yourself the time and trouble by just going the jig route, and ignore the camera.)
7 Likes
it’s a little hard to tell from the photos, but it looks like you also have sides sloping down toward the center of the frame, which may also make alignment a little tricky.
4 Likes
You can also tell that from the pic of the engraving itself - it is defocused at the “top” and “bottom”. I’d probably break something like this up into at least 2, possibly three steps, and engrave each with different height settings.
2 Likes
If it would come apart in such a way as to get the pieces back together, then I would engrave it while while flat.
This is what we need AI for, not “Putting mustaches on cute bunny rabbits”.
Having machine learning work out the focus and power for a multiple angled surface.
4 Likes
Early marketing of the GF stated it would be able to adjust focus on-the-fly, mid print. Obviously, that never happened.
3 Likes
YES.
2 Likes
This topic was automatically closed 32 days after the last reply. New replies are no longer allowed.